by chris
Share
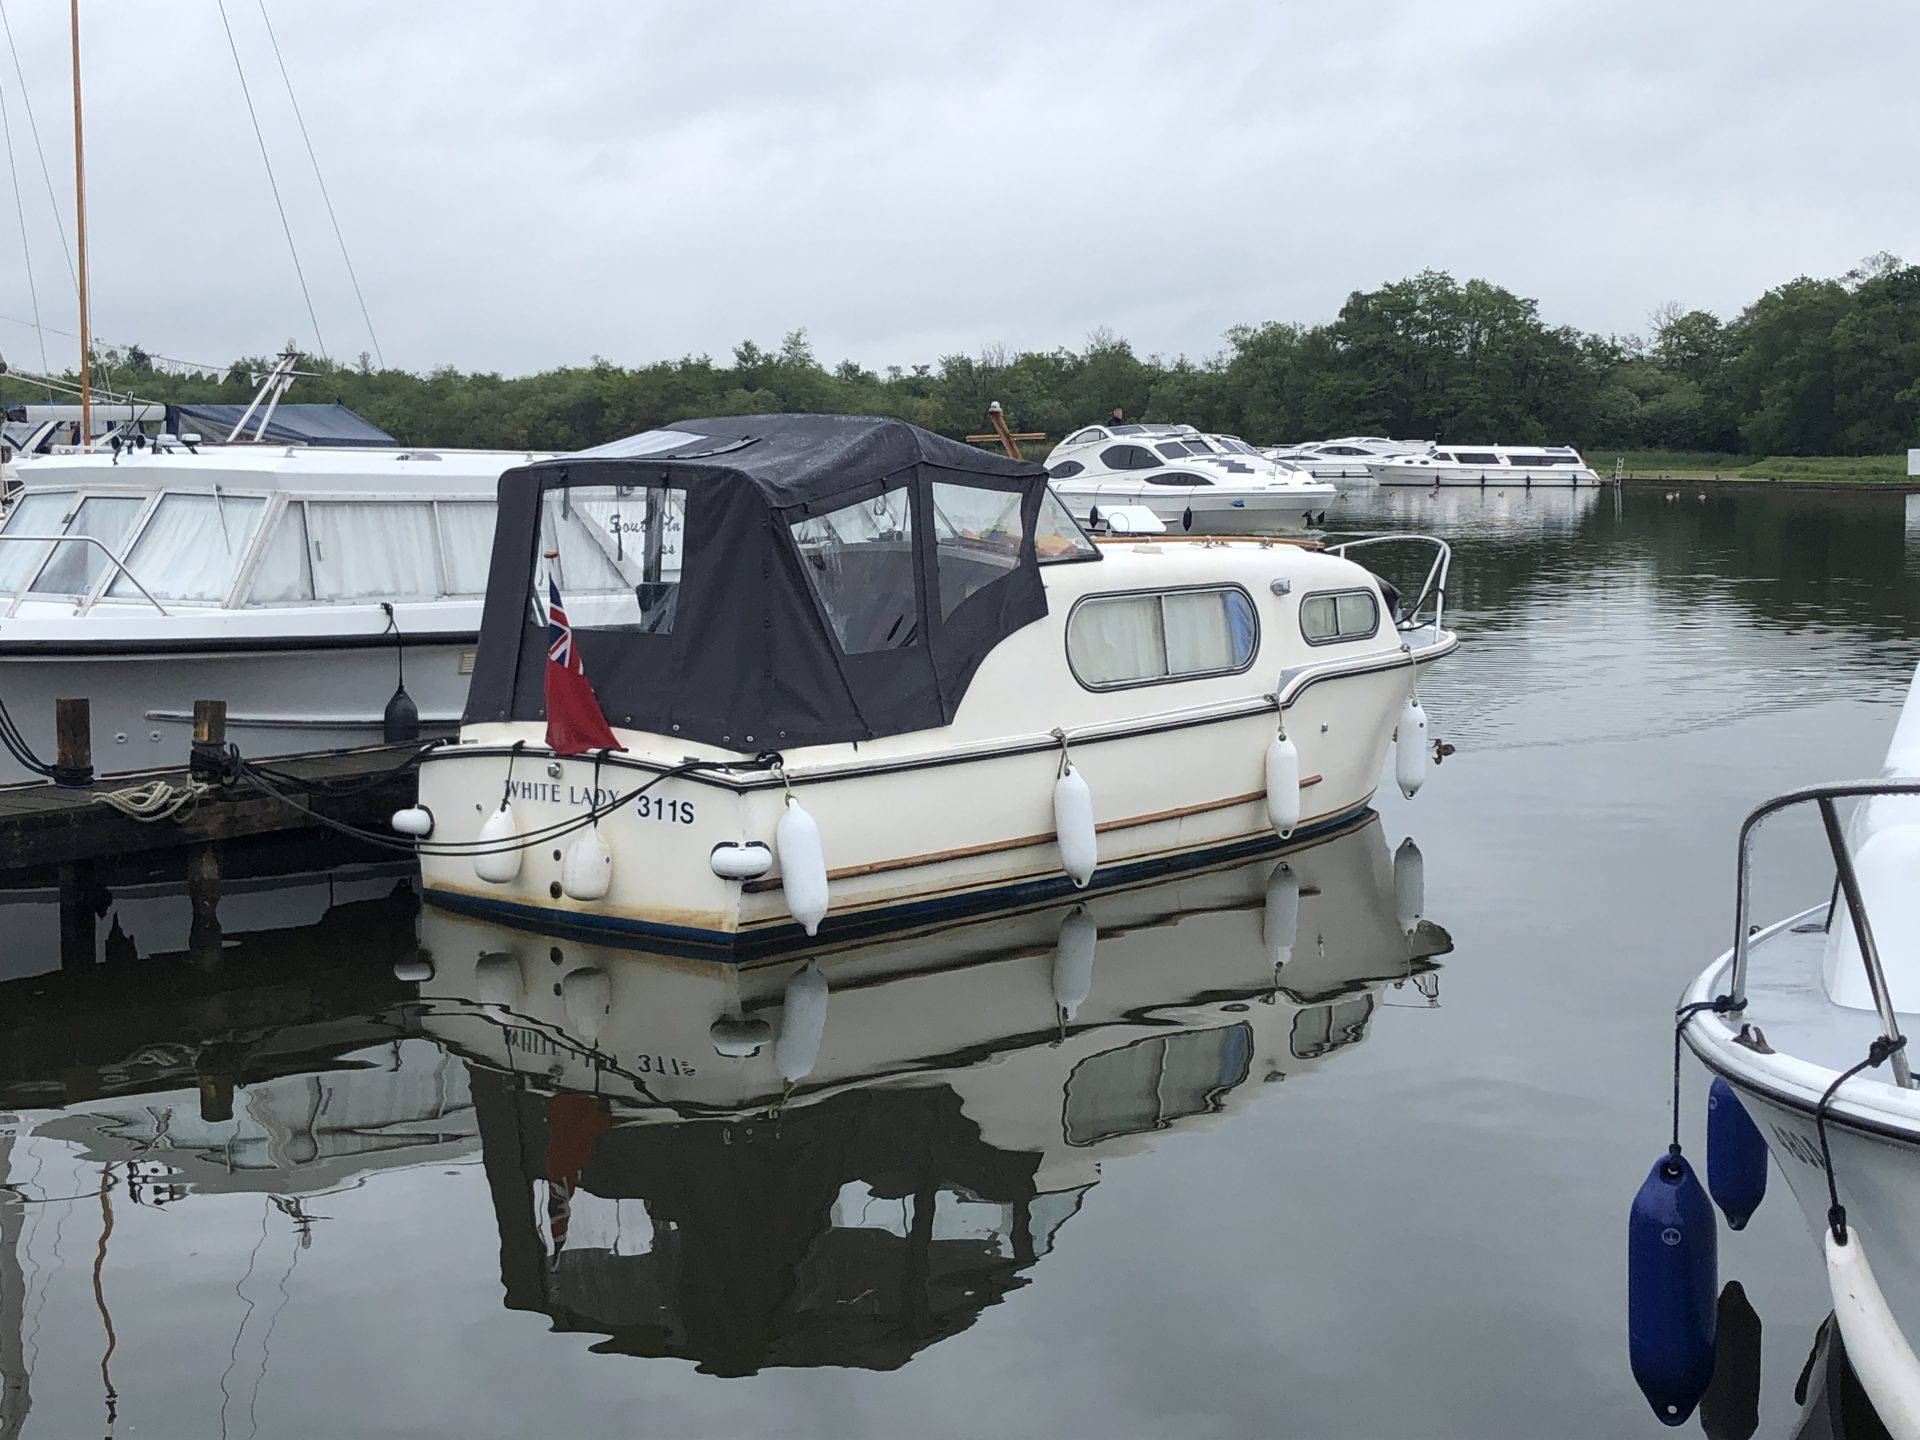
Having ascertained that a reasonably sized fridge mounted in a traditional fashion, opening into the cockpit area, wasn’t going to be worthwhile, I’ve chosen to mount it transversely with the door opening into the helm footwell. This is a bit of a compromise, but to have the door open over the rear seat, the box would have been too high for the seating position and my head would have been hitting the canopy.
I’ve been constructing the box from 30×30 mm sapele battens, creating an open box with lap joints, glued with West System epoxy made up with Microfibres to a paste texture. I was intending to screw the joints together as well, but given my design, I think epoxy on it’s own is plenty strong enough.
Once I made up the frame, I routed inside the two sides and back to accommodate sapele faced 10mm thick marine ply panels. These panels were cut and epoxied in place to give the structure form stability.
I’ve rounded off the vertical box corners to match with the general Freeman 22 styling and am fitting some interior fridge fastening points before receiving a couple of short sapele planks to make up the top of the box to which the helmsman’s seat attaches.


I’m now getting into the details of the build. The fridge compressor module requires plenty of ventilation, the more the better so I researched what was available in stainless steel louvre vents off the shelf. There’s plenty out there on the face of it BUT not that close to the right size. I found one vent which looked great in the pictures but when it arrived, the plate material was very thin and not really robust enough so they’ll be going back. I have after many hours of searching found some simpler, much more robust vents which will hopefully do the trick when they get here.
I did make the mistake of not reading the fridge installation instructions which pointed out the fridge requires vents both at the bottom of the unit and the top. This begrudgingly does make sense as it will create a convection current of air behind the fridge thus ‘pushing’ the hot air out of the top vent. Fortunately there’s just enough space in my seat box for that to work (but only just). The new vents I have coming don’t have a fly/spider screen, so I’ll hot glue some mesh internally to have the same effect but not look ugly.
A remaining problem is how to attach the seat box to the plinth in a relatively easily removable way. Through bolting wouldn’t work as the fridge would be in the way as it has to be in the box before fitting. My solution will be to use threaded M10 Stainless steel inserts epoxied and screwed in to the bottom frame. I should then be able to use M10 bolts from underneath the plinth to fasten securely. Given the rigidity of the structure, I’m confident this will be strong enough.
The boards and new vents have arrived allowing me to fit the stainless steel M10 inserts and cut out the ventilation access.
The stainless inserts required an accurate 12mm hole to be drilled. I used a brad point bit to give accuracy and a clean hole. I fitted them using a 10mm penny washer and nut with a bolt driven in with a long socket wrench to make it easier to get in straight. I also coated the thread in epoxy to both provide lubrication but also to bond it in place.
Cutting the ventilation holes was just a matter of lining up the vent and marking out the the corner vent holes, drilling out the corners and using a jigsaw to ‘join the dots’. This takes the guesswork out of getting the cut out size accurate.
Then it’s been a matter of marking up the seat top which is made up of two solid sapele planks. I’ve chosen to make a 10mm overhang which I think will look nicer than making it flush although I am running the risk of the seat box colliding with the canopy bars. I won’t be sure until I get back to the boat.


Having cut the Sapele planks for the seat top to size, I decided to epoxy glue them permanently to the box rather than make the top removable as I couldn’t see any real benefit to screwing it in place over having the additional form stability with having no screws to come loose.
The next task was to decide how to mount the seat to the box. Previously it was screwed in place from under the box but I thought I’d try a more elegant solution using universal adjustable classic car seat rails. The seat adjustment/ratchet engagement bar needed doctoring as it protruded well beyond the small helm seat. This may still be a problem. The rails also needed to be very low profile in order not to raise the seat further resulting in my head touching the canopy !
I took the largely completed box to the boat to check box and seat position within the boat and whether the canopy bars were likely to collide with it which they unfortunately did. As luck would have it, a small cut-out was easy to make without ruining the box and it became clear that moving the seat inboard (closer to the centerline) is the way to go. The box also has to be fitted as far back on the helm ‘plinth’ as possible to allow space for the fridge door to swing into the footwell and also give the gear shift lever full scope to move.
Varnishing next…
On the home straight now having decided to replace the old mismatched Freeman seats with something a little lower profile to win back some headroom. Sheridans were a combination of too expensive and out of stock on their low profile seats and found a supplier offering something very similar but with a low back (which I think is much more in keeping with a small boat). The varnish work is complete, using a combination of Epifanes Woodfinish Gloss for the build up coats as it doesn’t require sanding between coats and a final coat of Epifanes Clear Varnish UV just to get that extra sparkle.
I fixed some threaded inserts into the new seat base to then take the adjustable seat sliding mechanism allowing everything to be bolted together rather than self-tapped.
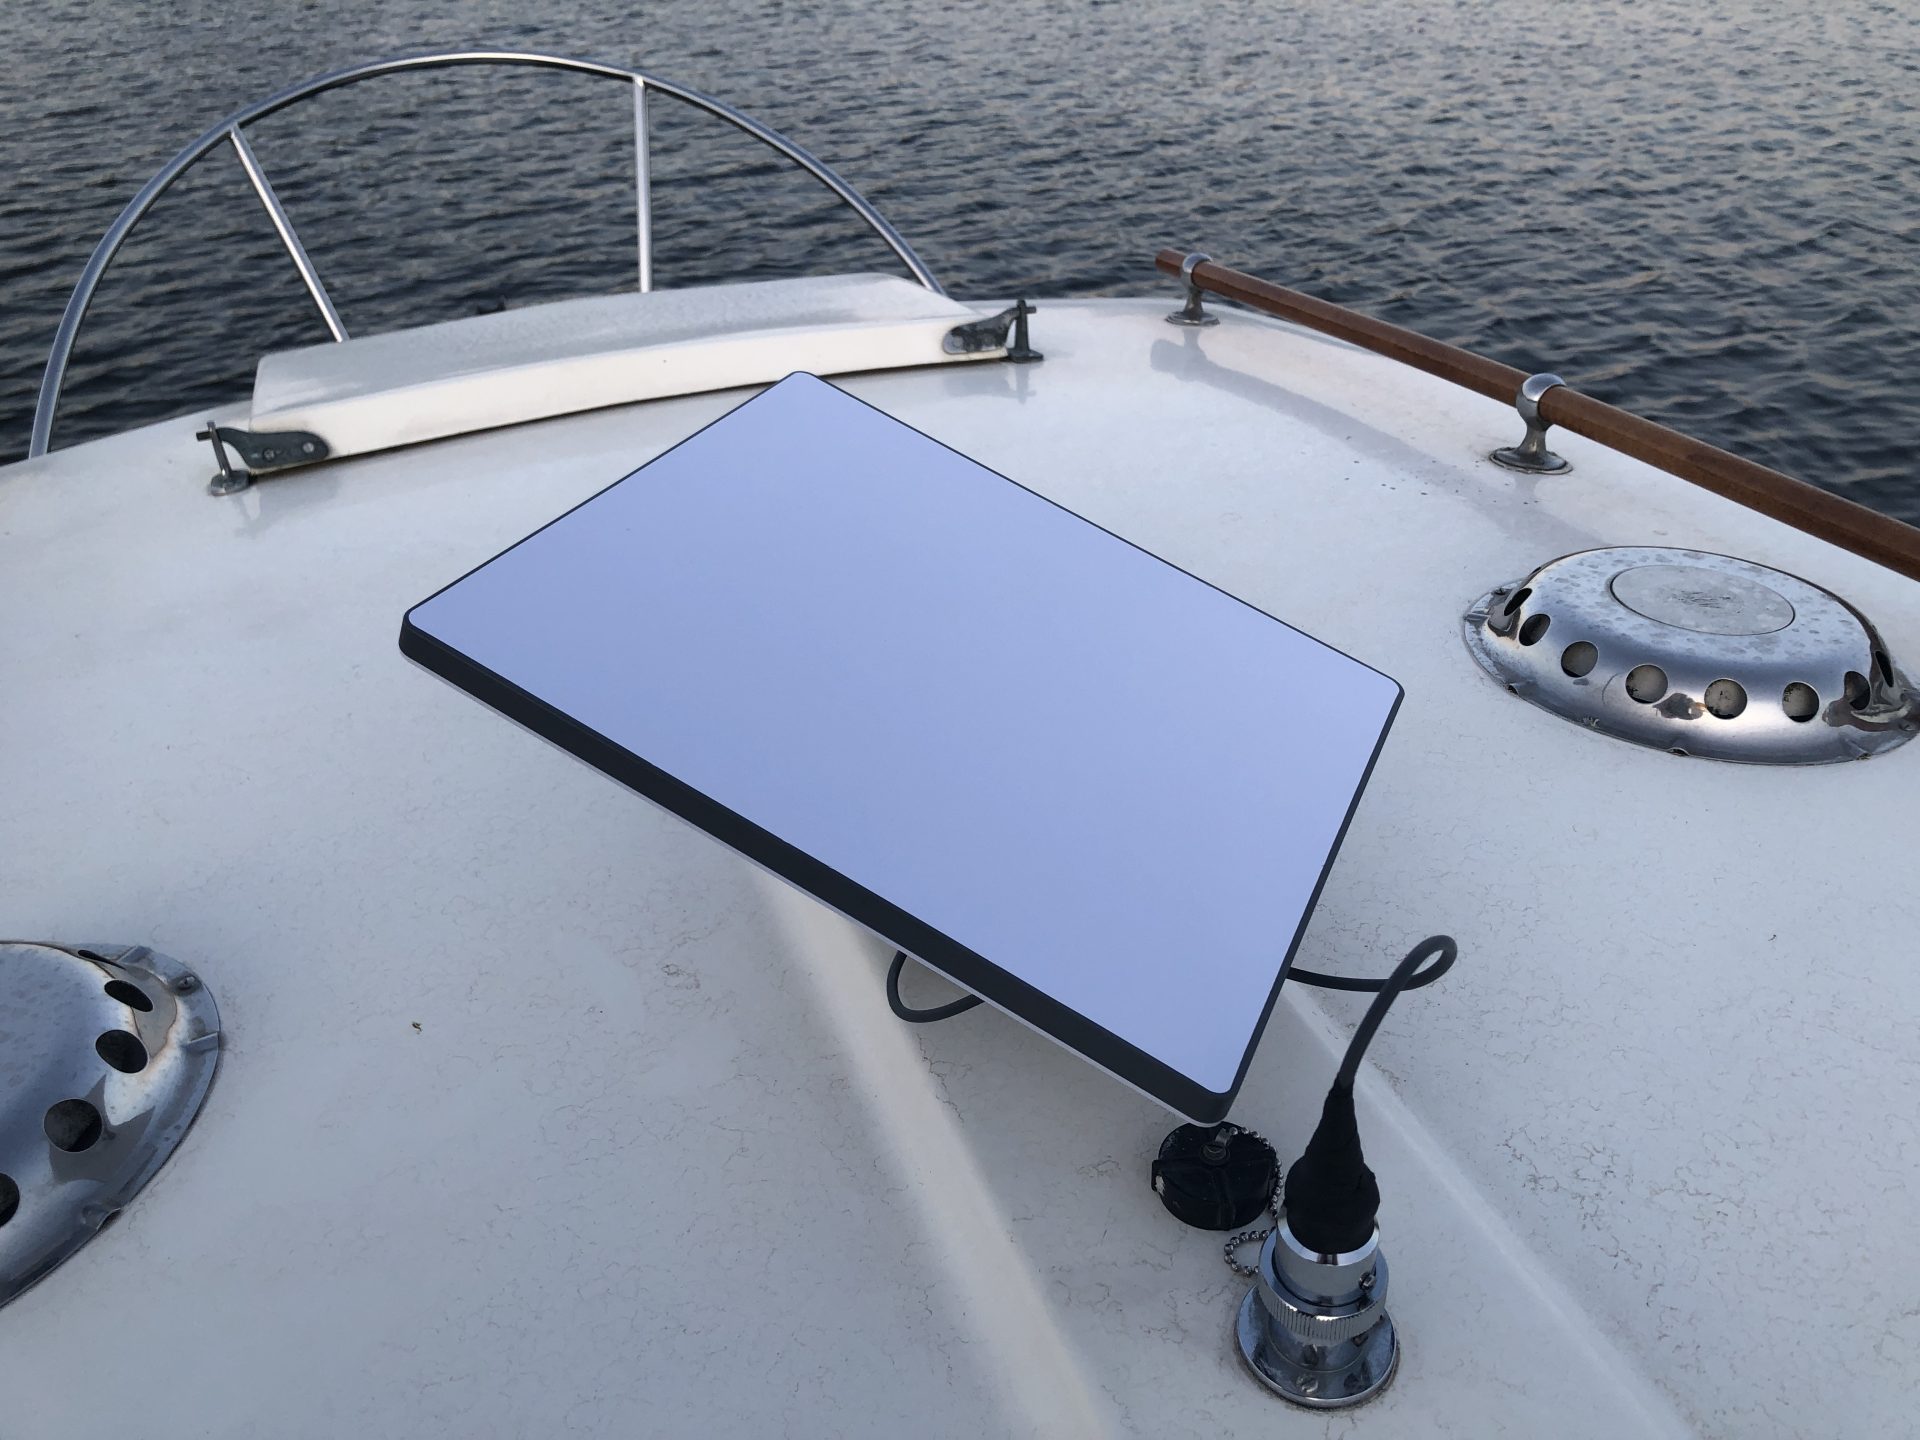
Finishing touches included adding the stainless steel ventilation louvres mounted in such a way as to allow a degree of air circulation.
I took the new floor panels and seat box to the boat to fit everything which went fairly smoothly and without too many scratches and also pre-wired the electrics ready to insert the fridge into the box properly.


 to allow convection")


 plinth flooring")


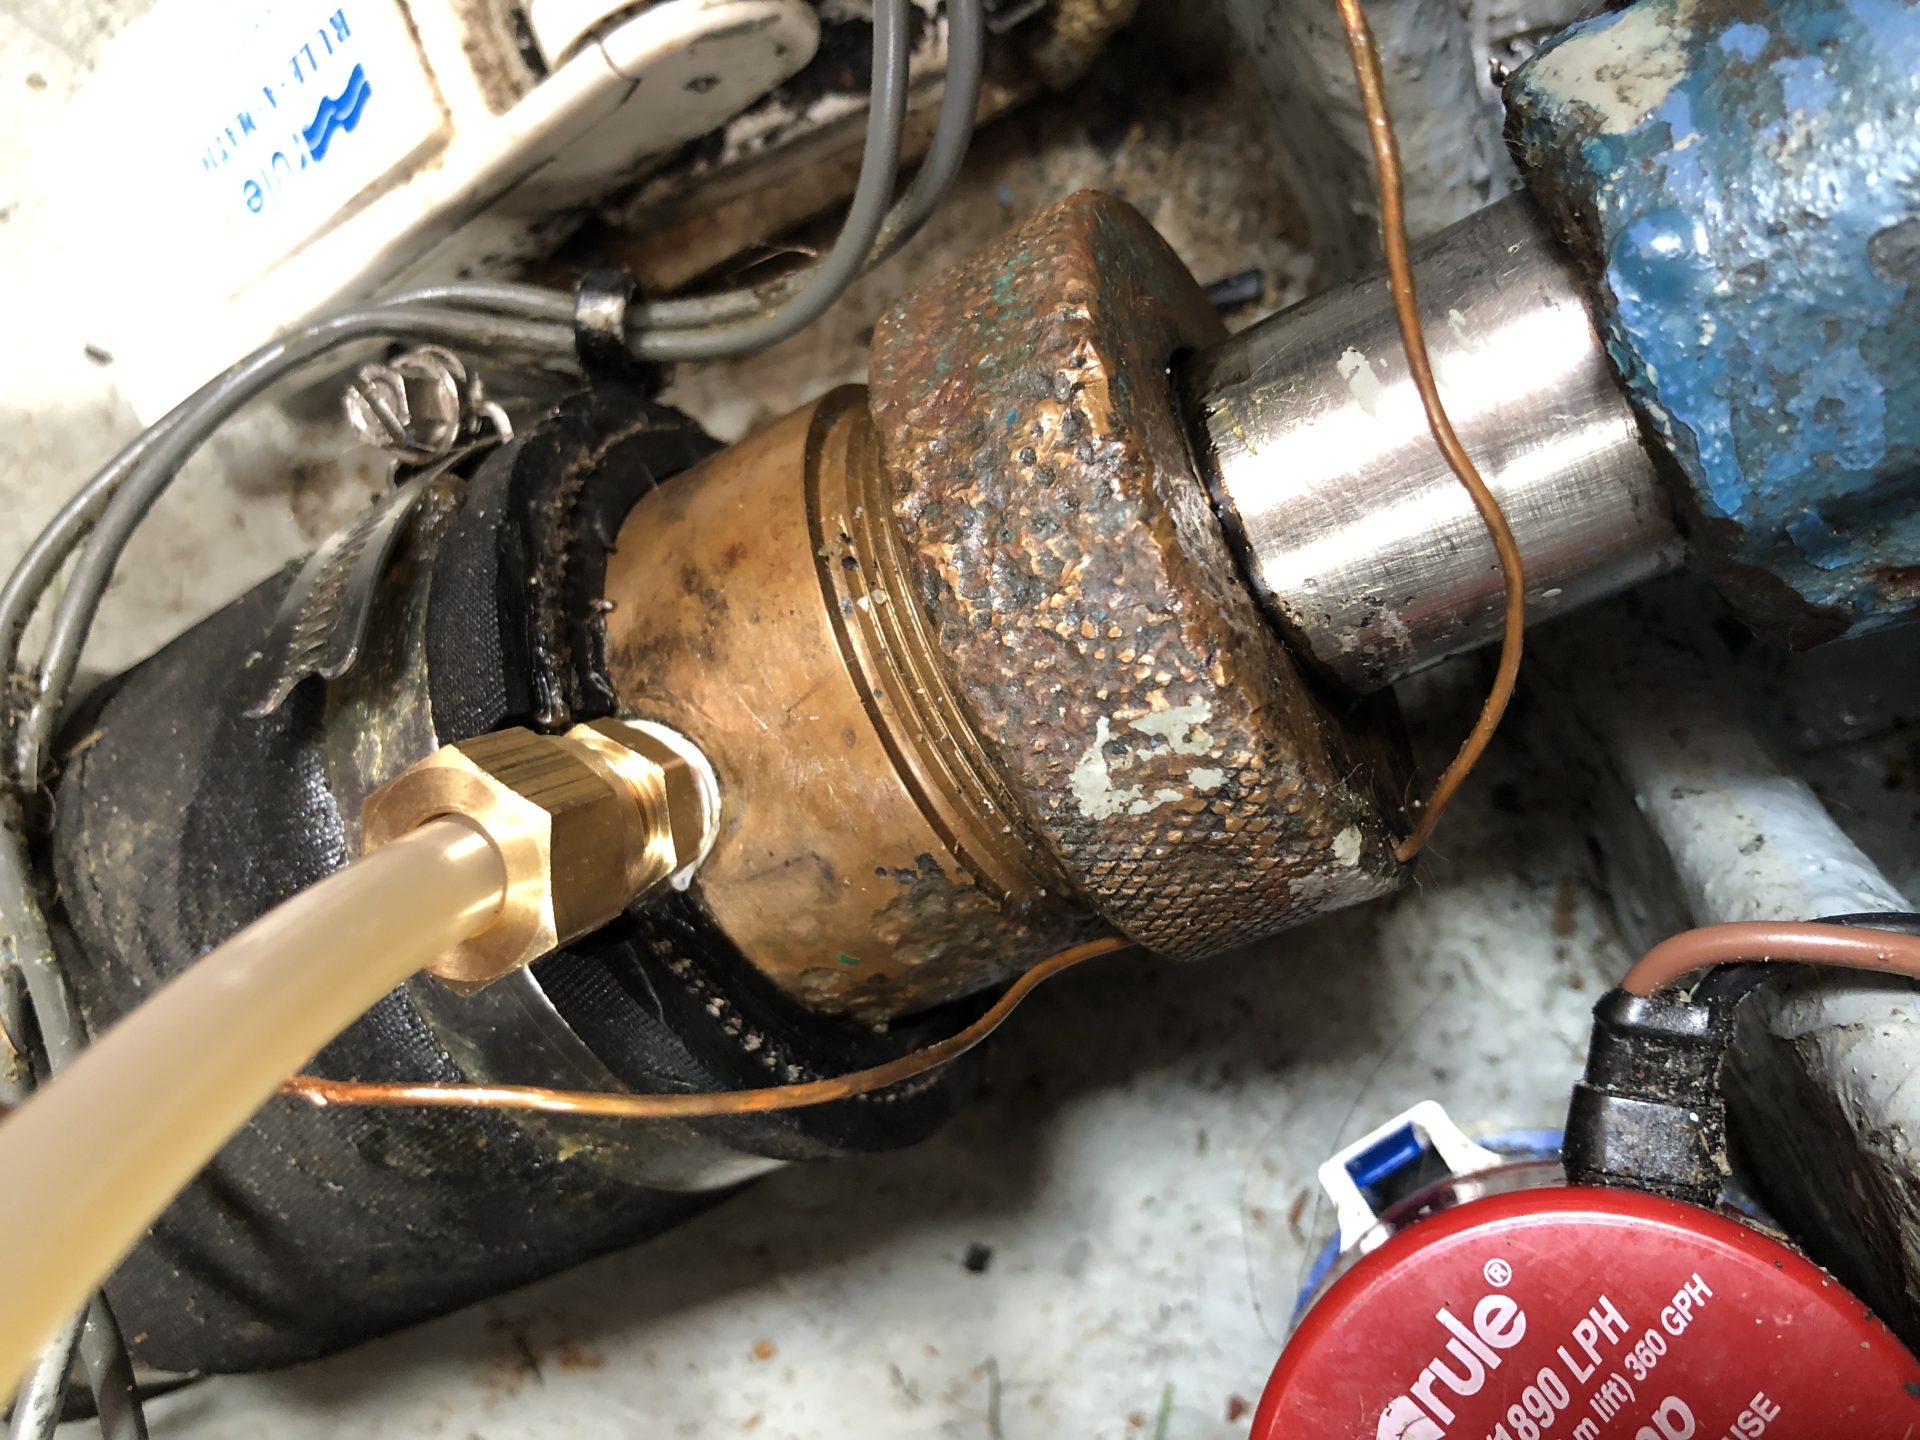
Although it was a bit awkward, the Isotherm fridge fitted in the box nicely and there wasn’t any drama to speak of. Wiring went smoothly taking a feed from the boat’s switch panel with a 15A fuse and 10AWG tinned cable being used to minimise voltage drop.
The fridge is exceptionally quiet by comparison to my previous thermo-electric coolbox and draws well under 2 amps per hour. I even managed to make some ice cubes to go in a drink before I left the boat.