by chris
Share
As mentioned in a previous post, aligning engine, flywheel and stubshaft to a 0.002″ run-out tolerance is at best highly frustrating and at worst, something that requires surgery.
The problem is that only a single dowel between the crankshaft flange and flywheel exists to assist alignment with only the bolt holes helping alignment with the stub shaft. Given that the bolt holes are relatively loose and the locating dowel is offset and none too precise, the chances of achieving alignment within tolerance the J-Type requires is incredibly slim.
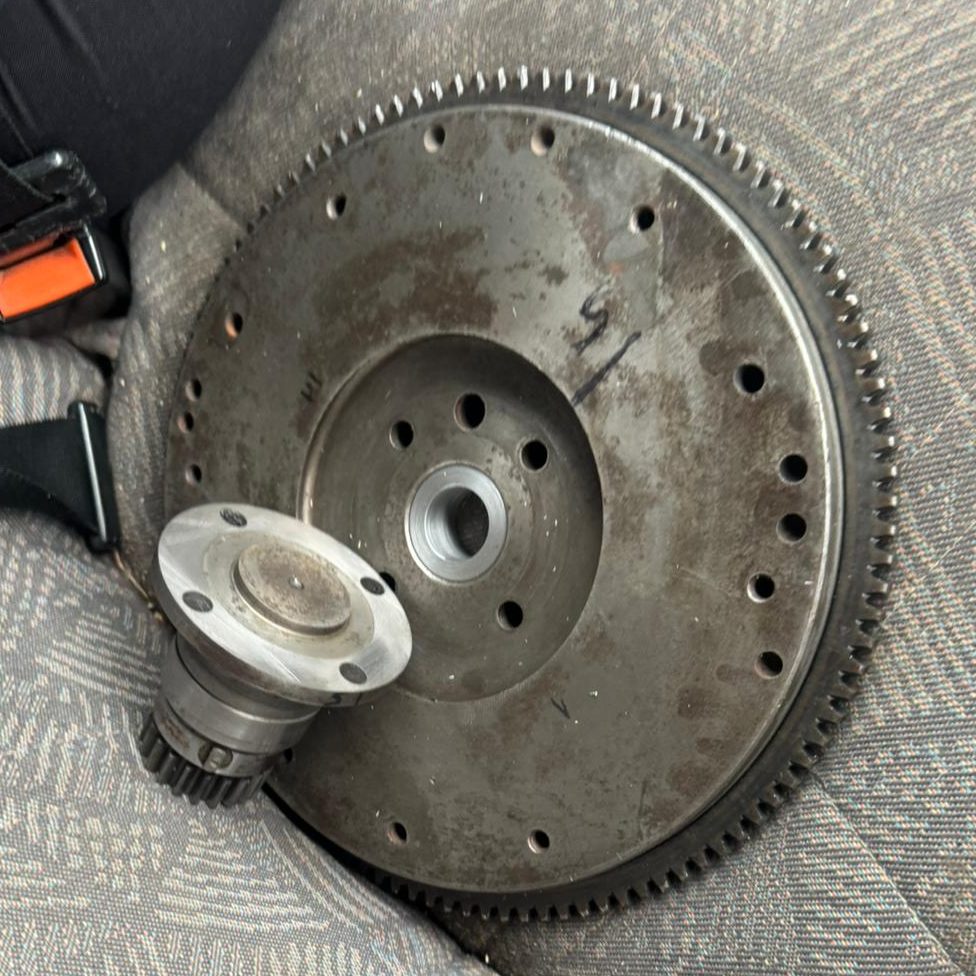
To this end, I sent the flywheel and stubshaft to a machine shop to be properly squared up and have a collar made and pressed into the hub of the flywheel to ensure concentricity or at the very least give me a good starting point for alignment.
Update 24th October
On attempting re-assembly, despite knowing all the parts were near perfectly aligned in the machine shop, there remained a 0.20 mm discrepancy in the run-out measured on the outermost bearing surface of the stub shaft. Given the metric tolerance is 0.05 mm, the alignment was still not good enough. We tried rotating the stub shaft fitting for every bolt position however the discrepancy remained. We also tried the age old hack of placing a sliver of paper behind the stub shaft flange ‘low side’ to act as a shim however this didn’t work either. At this stage, somewhat perplexed we checked the tolerance of the newly machined collar intended to align flywheel and crankshaft flange. Although it felt like a pretty good fit, we were able to fit a 0.08 mm feeler gauge into the gap. Considering the weight of the flywheel and stubshaft assembly forcing the alignment out to it’s potential extremity, this accounted for the alignment being out every time.
So it’s back to the machine shop to have another alignment collar made up with a diameter 0.08 mm bigger !
Update 1st November
Unfortunately I didn’t manage to get any pictures of the final solution as Martin, my mechanical wizard finished the job while I was away.
The collar which I had machined very slightly too small meaning that the whole flywheel and stubshaft assembly succumbed to gravity and meant the stub shaft run out was around 0.18mm which was too far out of tolerance for me. Having paused and considered the issue, it was far easier to ‘shim’ the alignment collar (which sits in the crankshaft pilot bearing hole) to near perfect centre using a blade of a feeler gauge as a donor. Thanks to some swift work with scissors, the assebly was put back together and this time I had a run out of 0.05mm – Just within tolerance and cause for celebration after days and days of alignment woes !
Thank you Martin, I know you didn’t really have the time to help me out.

