by chris
Share
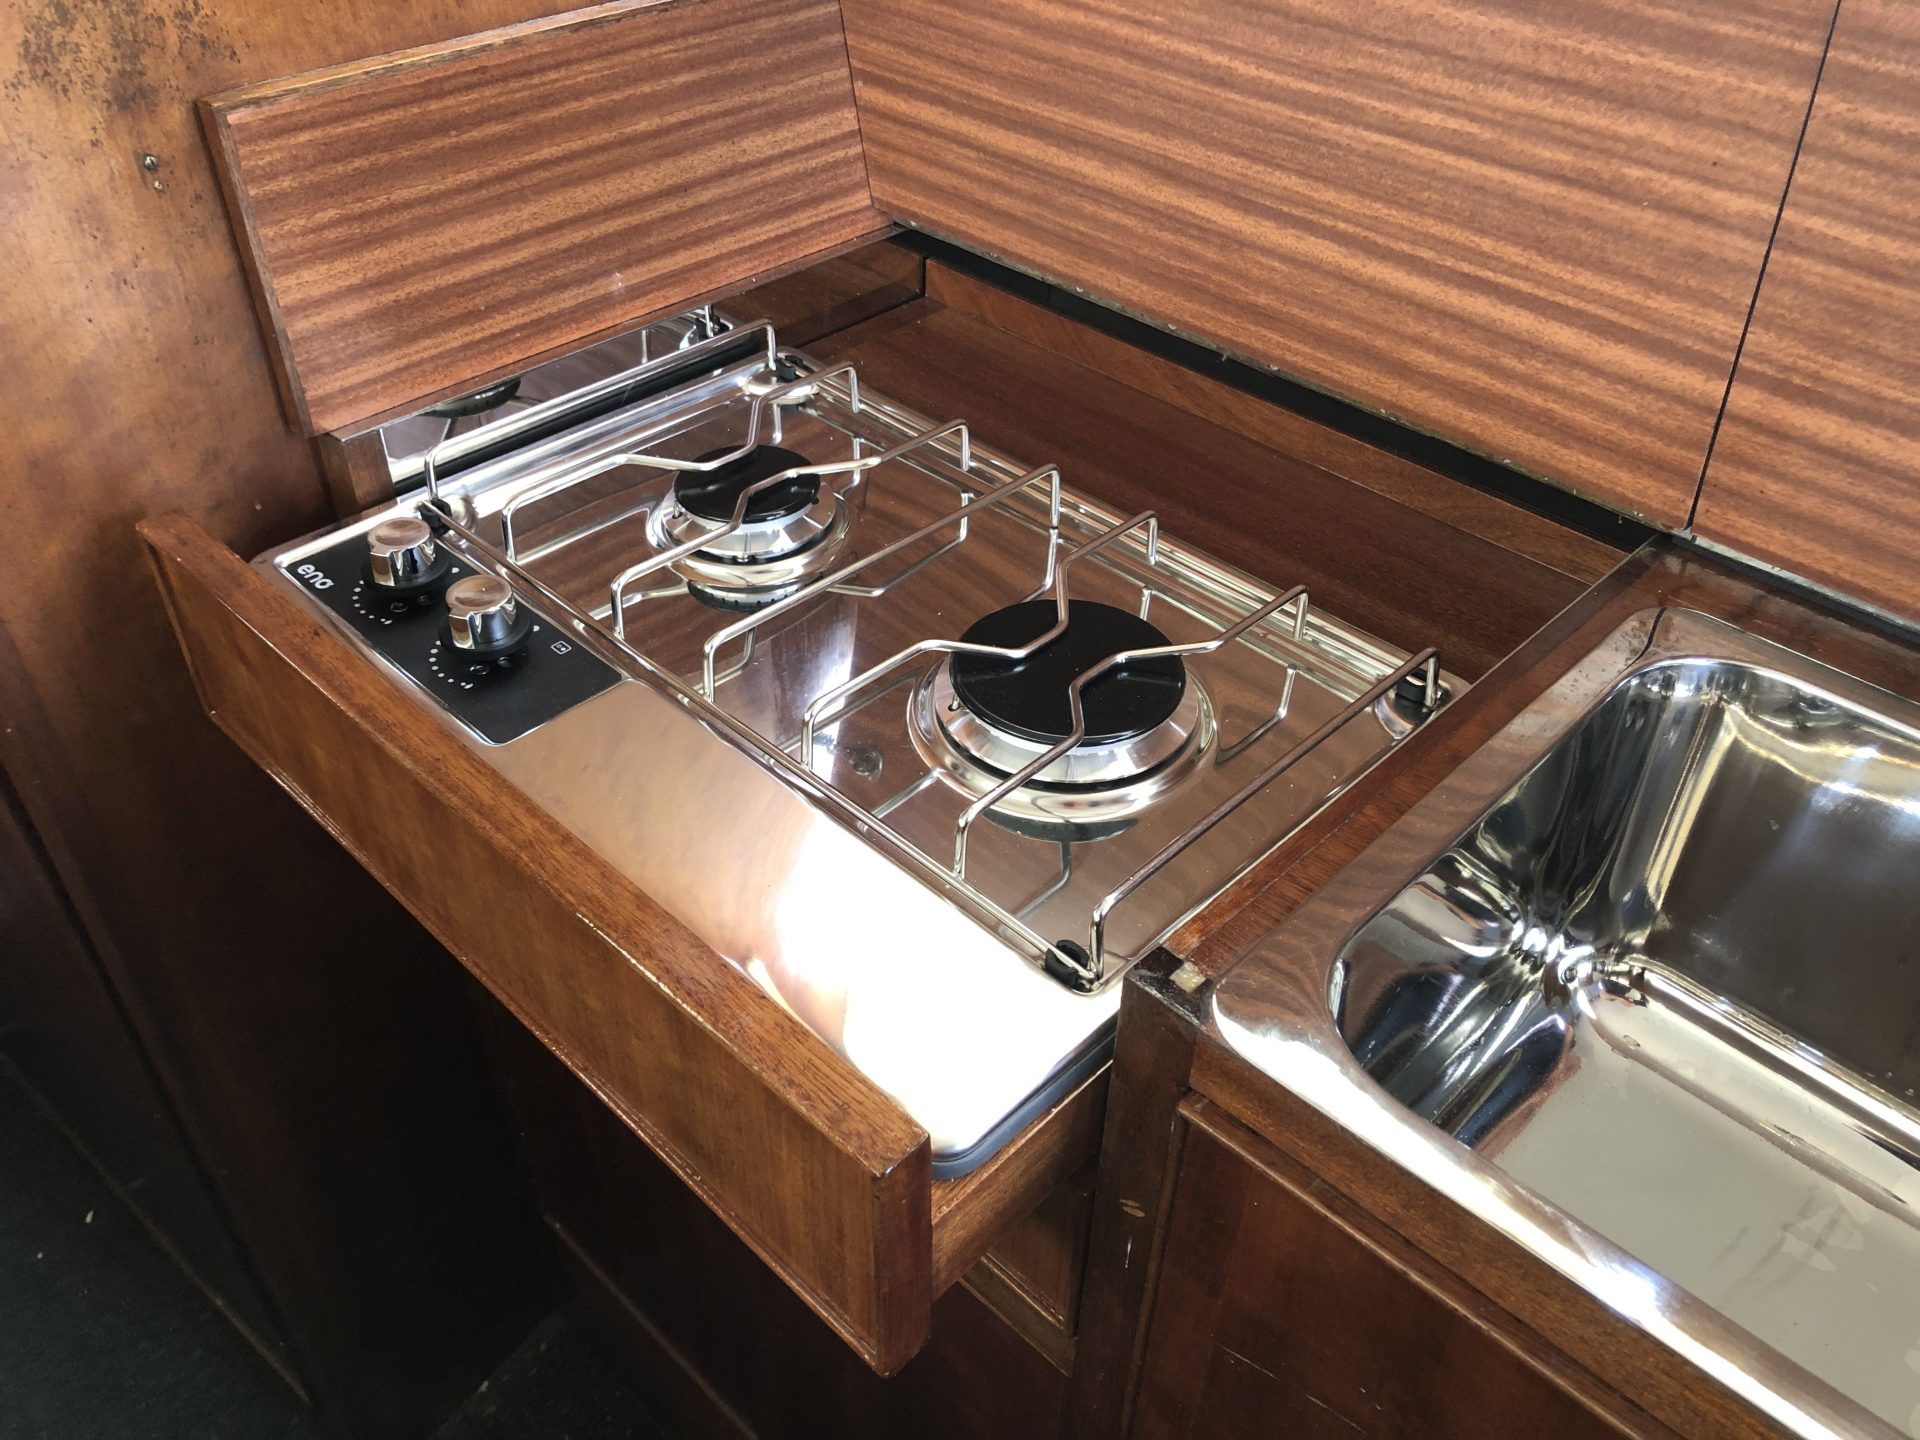
Having replaced the sink, the dis-assembly of the galley unit was such that it made sense to escalate the job into fitting a new cooker.
The problem with the old one is that it was recessed into the galley unit in an 'inspector gadget' manner in the 60's caravan style where everything needs to be hidden and folds out when it needs to be used. This is fine for the occasional kettle boiling or heating of a small saucepan of soup but the way I use the boat, cooking proper food for three people often using larger pans just wasn't working. In addition, the combination twin hob and grill was bolted down in such a way as to be impossible to clean around and the previous owner hadn't even fitted it in straight.
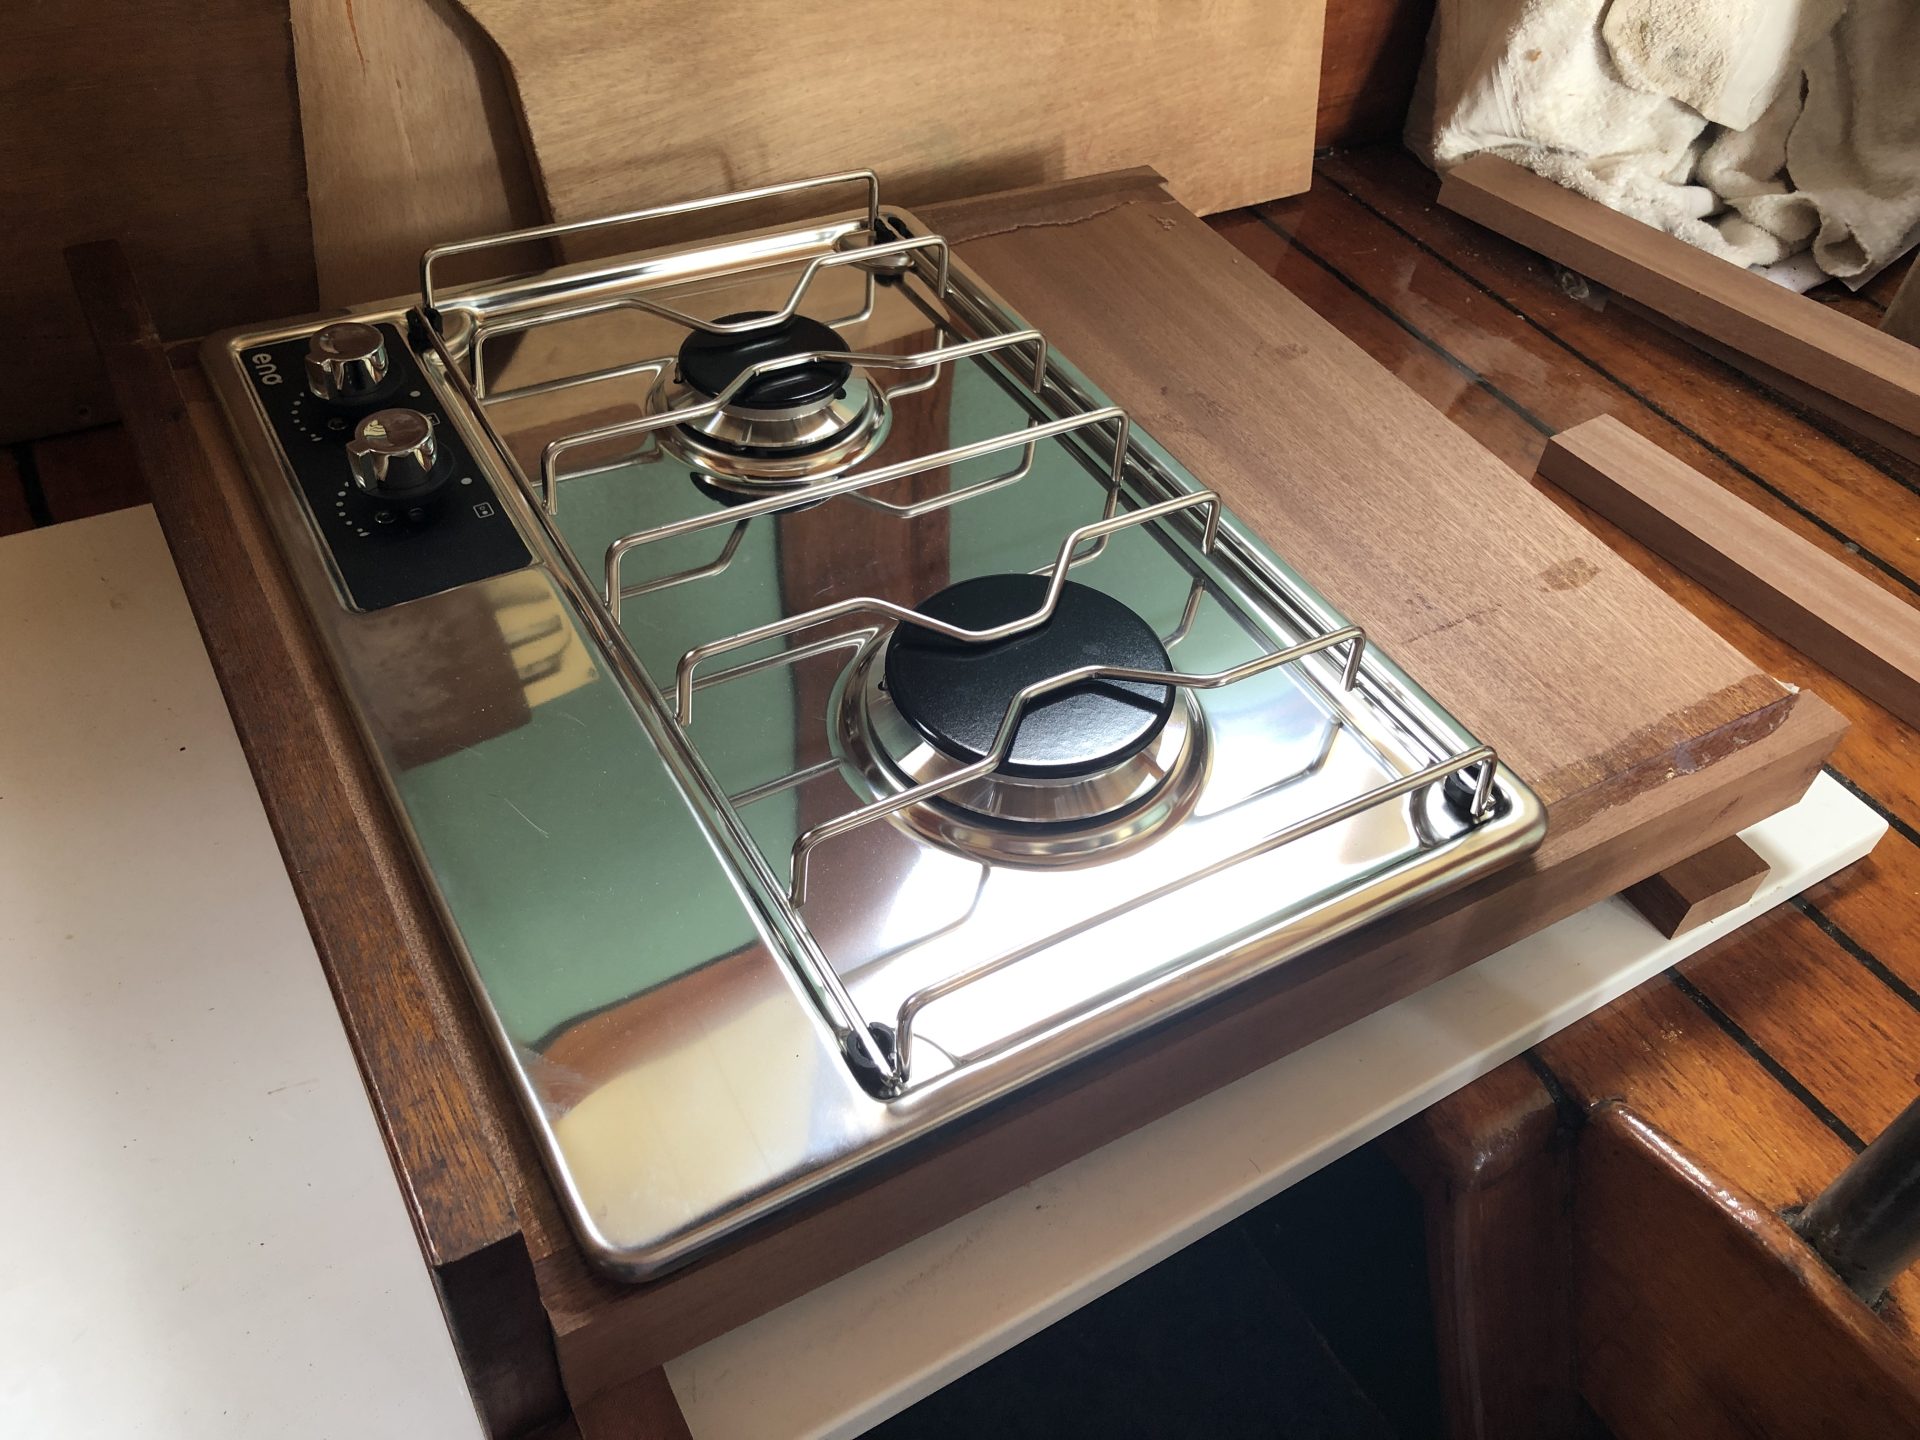
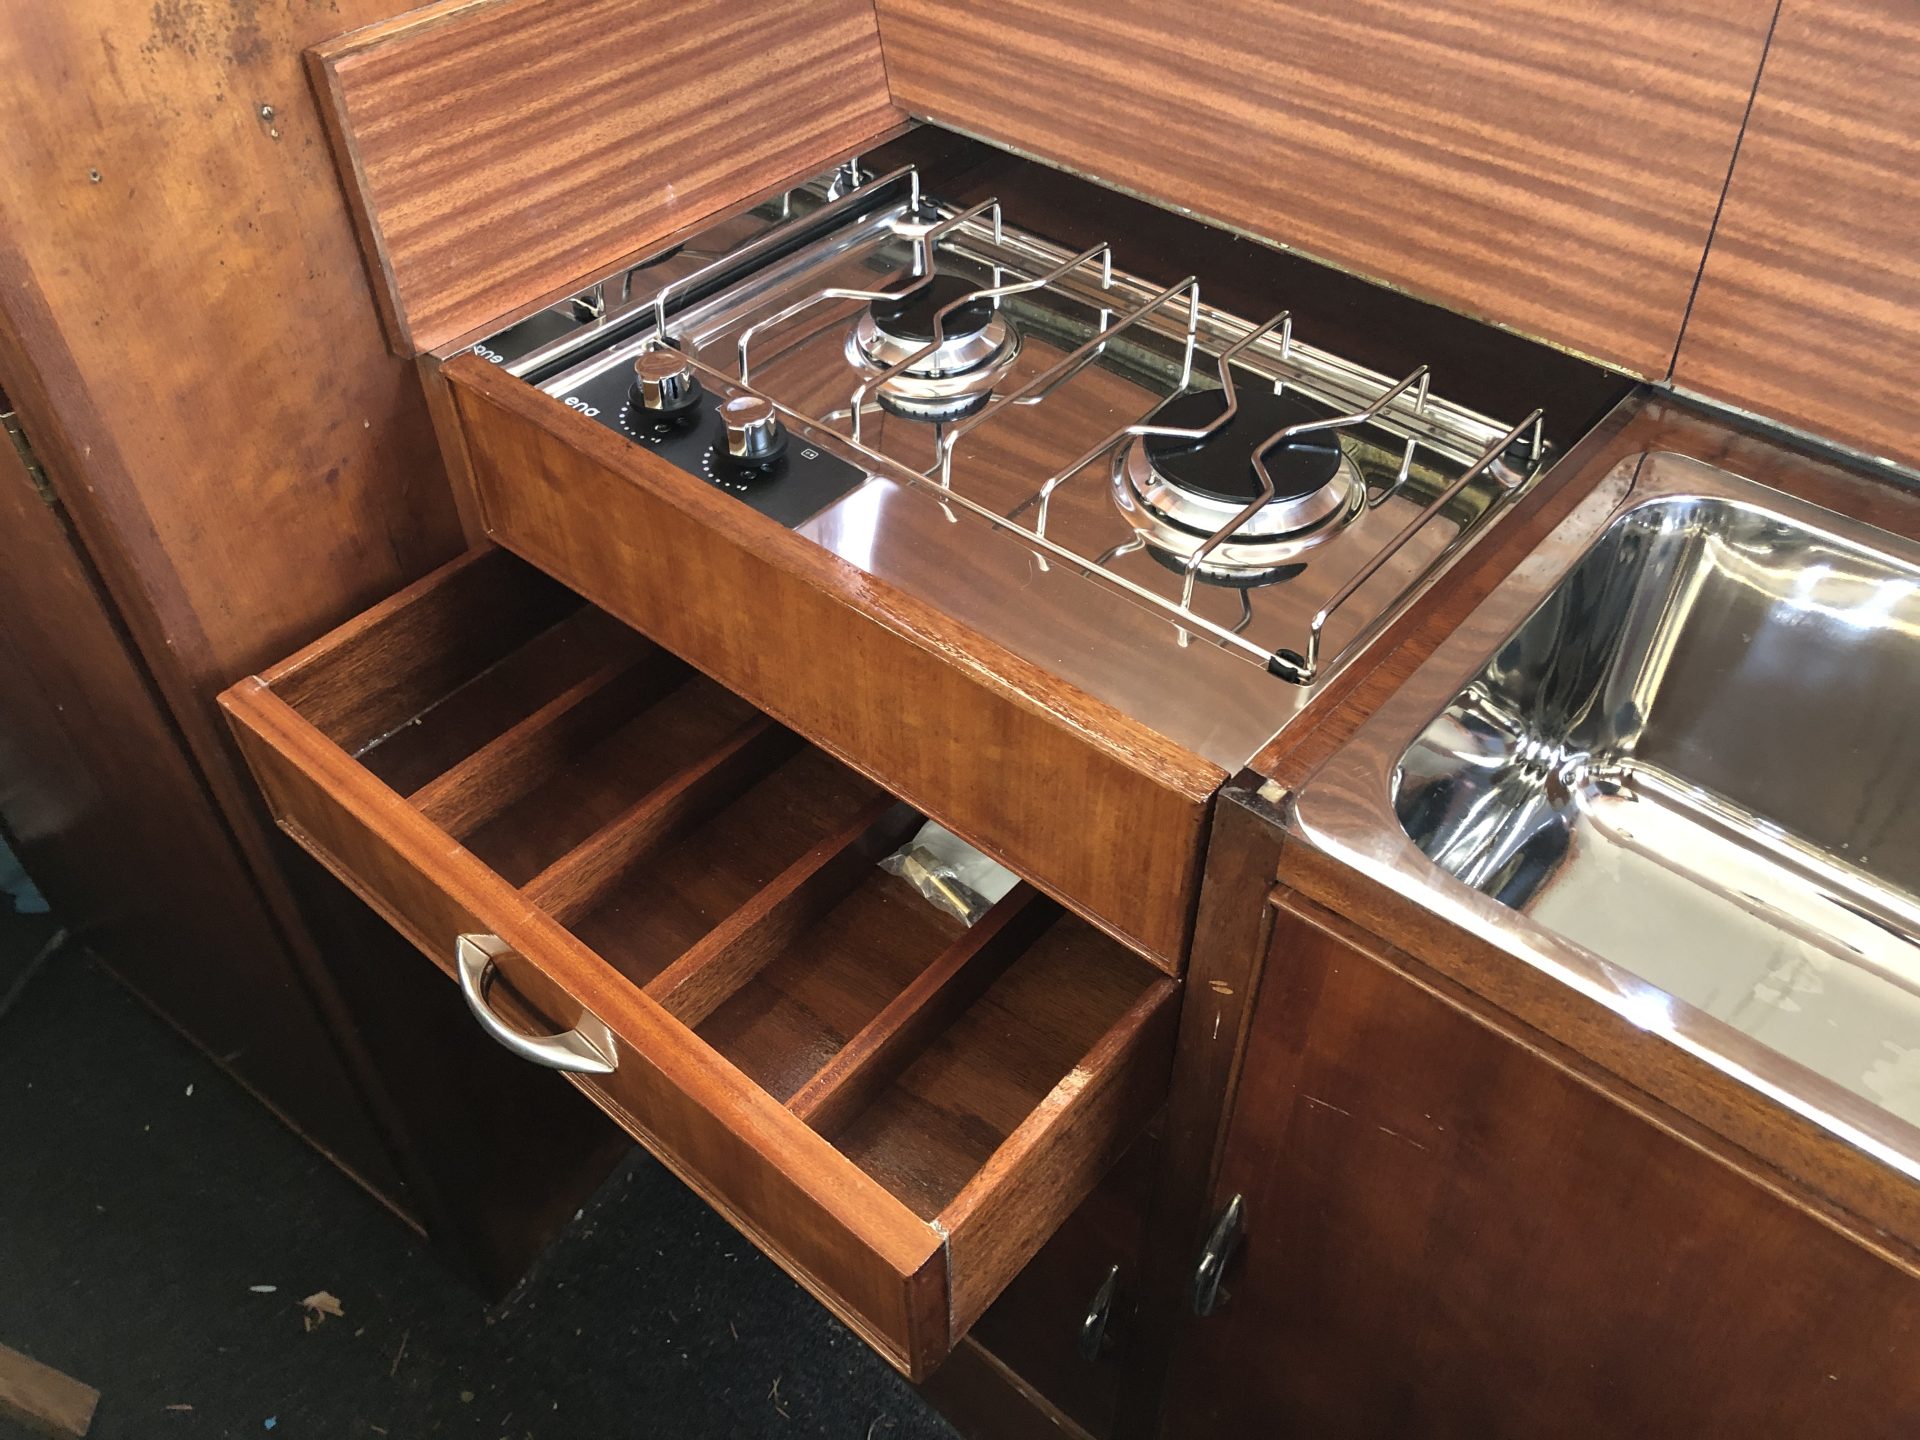
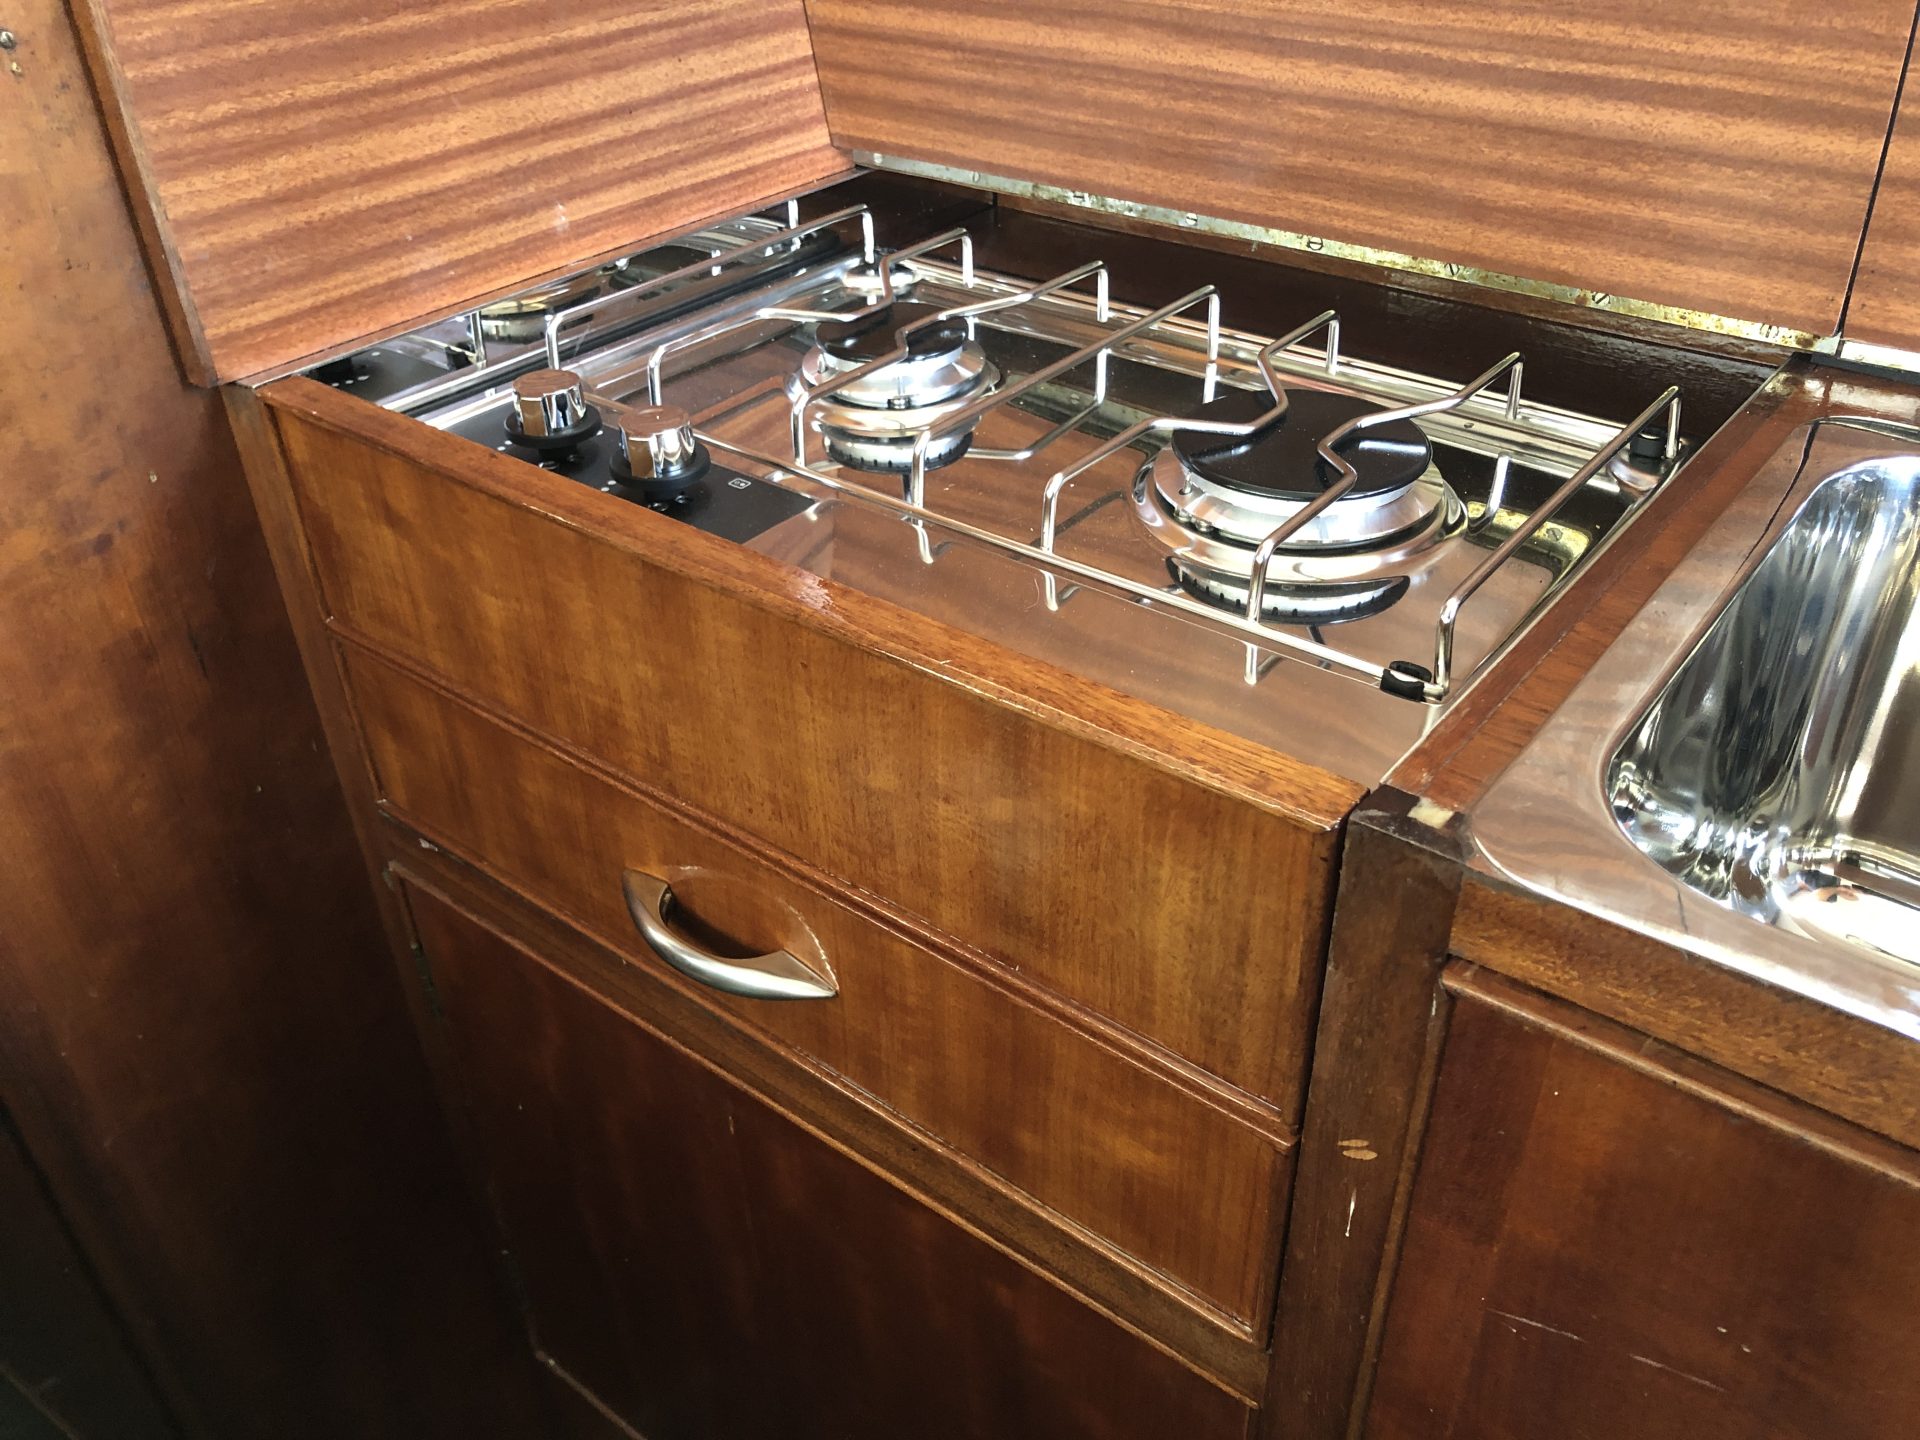
Modern wisdom is to not have the cooker burners too close to combustible materials such as worktop flaps and bulkheads and although lining vulnerable surfaces with metal is a good precaution, it was all a bit marginal for me. To this end I have decided to build a low-profile 2-burner stainless hob into a 'drawer' that pulls out and arrests to create some extra distance between the burners and galley worktop flap.
This has meant dispensing with the fold-out flap previously in front of the cooker but has opened other possibilities.
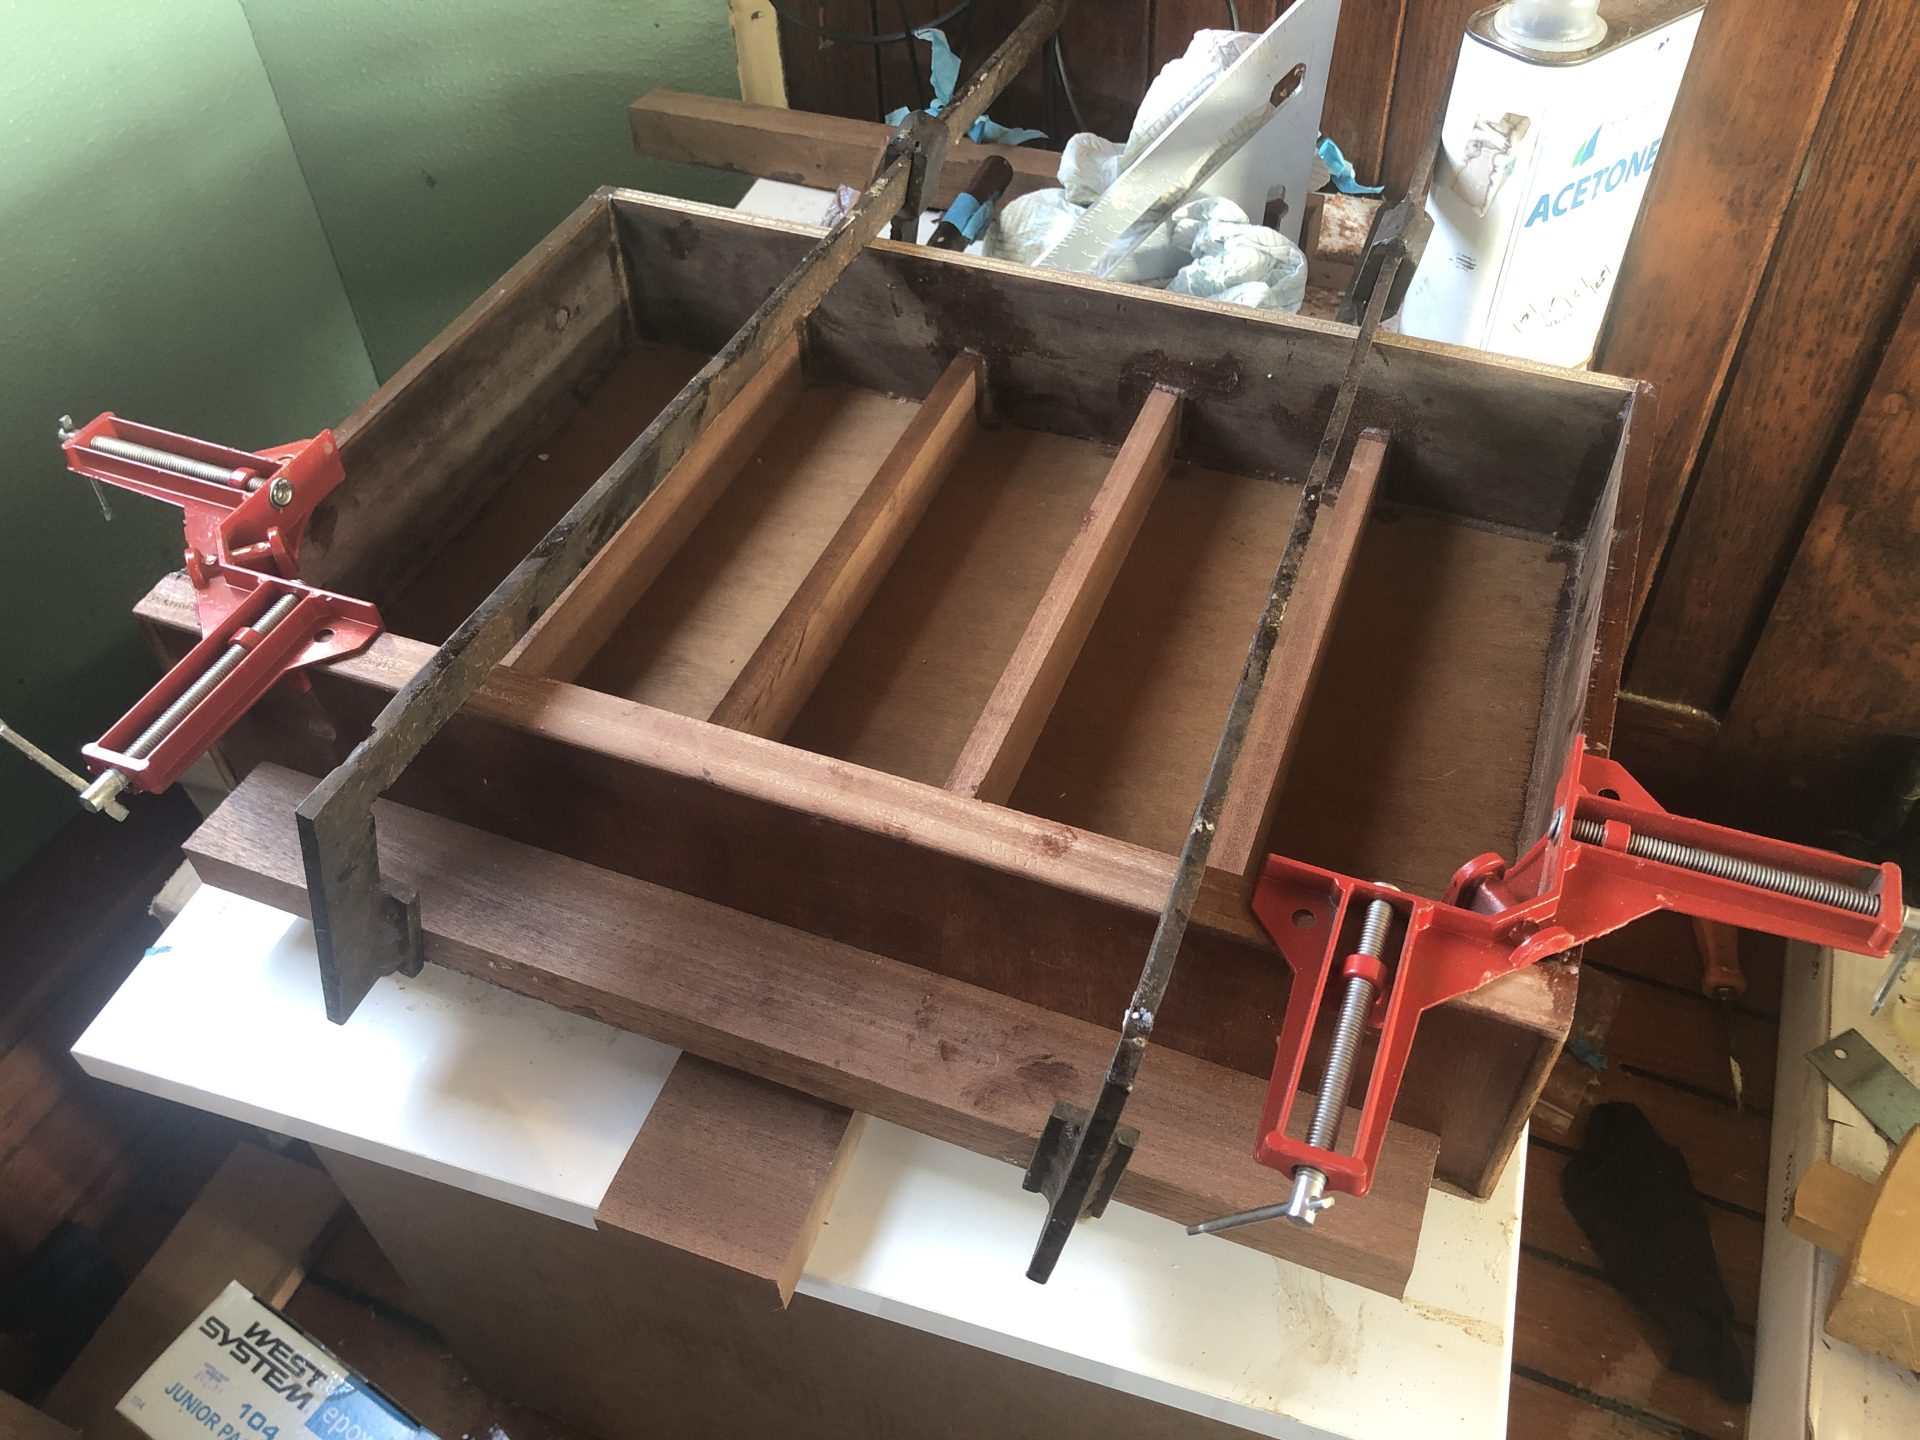
My intention has been to maintain the original look of the galley by retaining the melamine covered worktop flaps so the hob drawer had to fit underneath. This has allowed space for an additional cutlery draw underneath, something that was very much missing from the original galley layout.
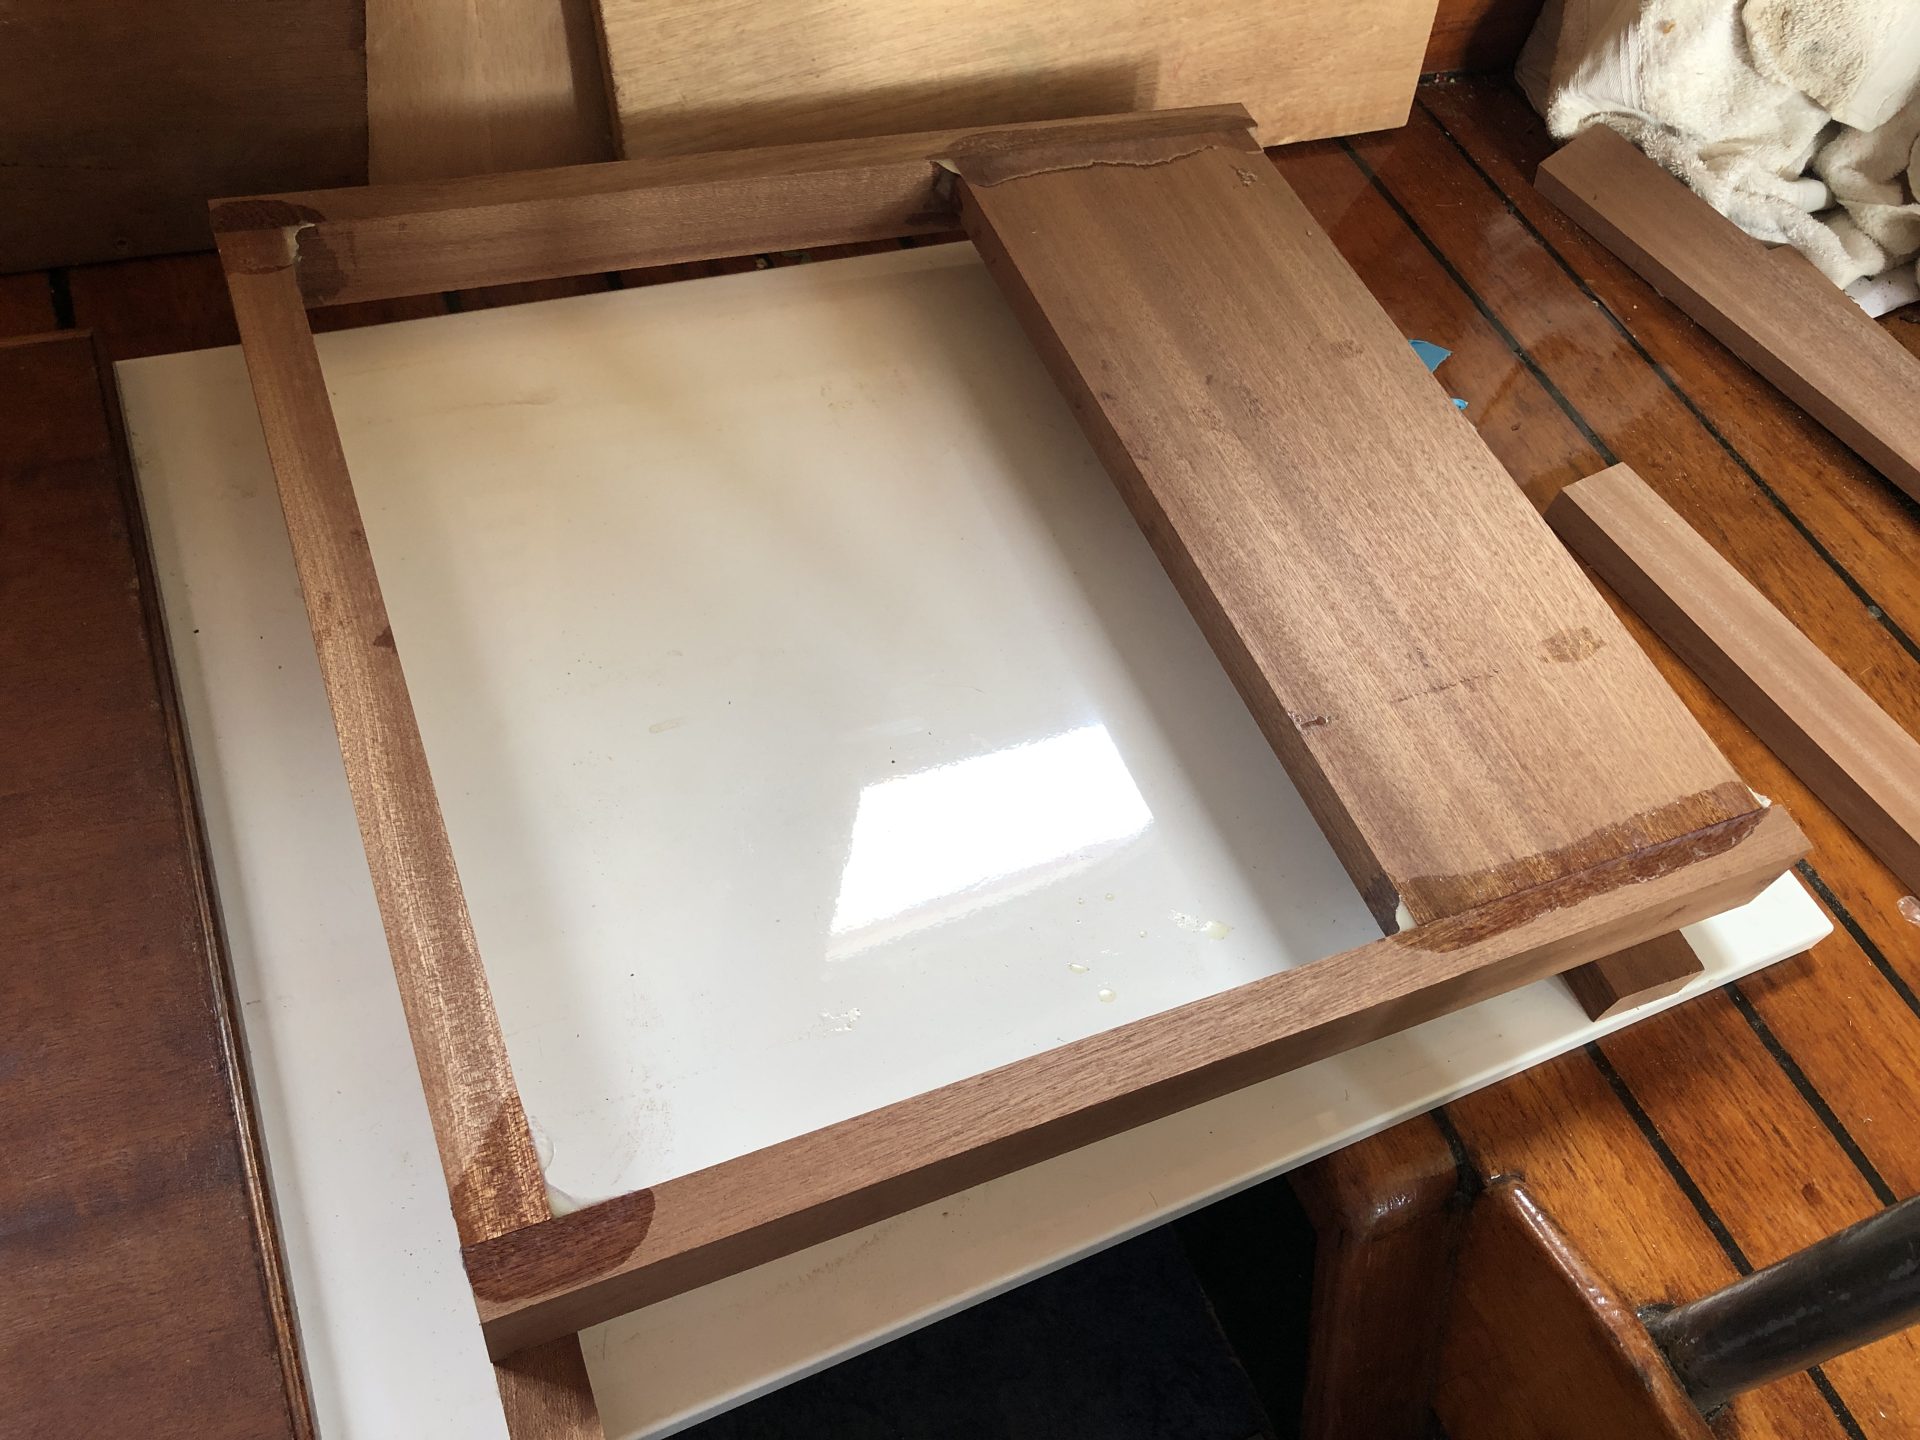
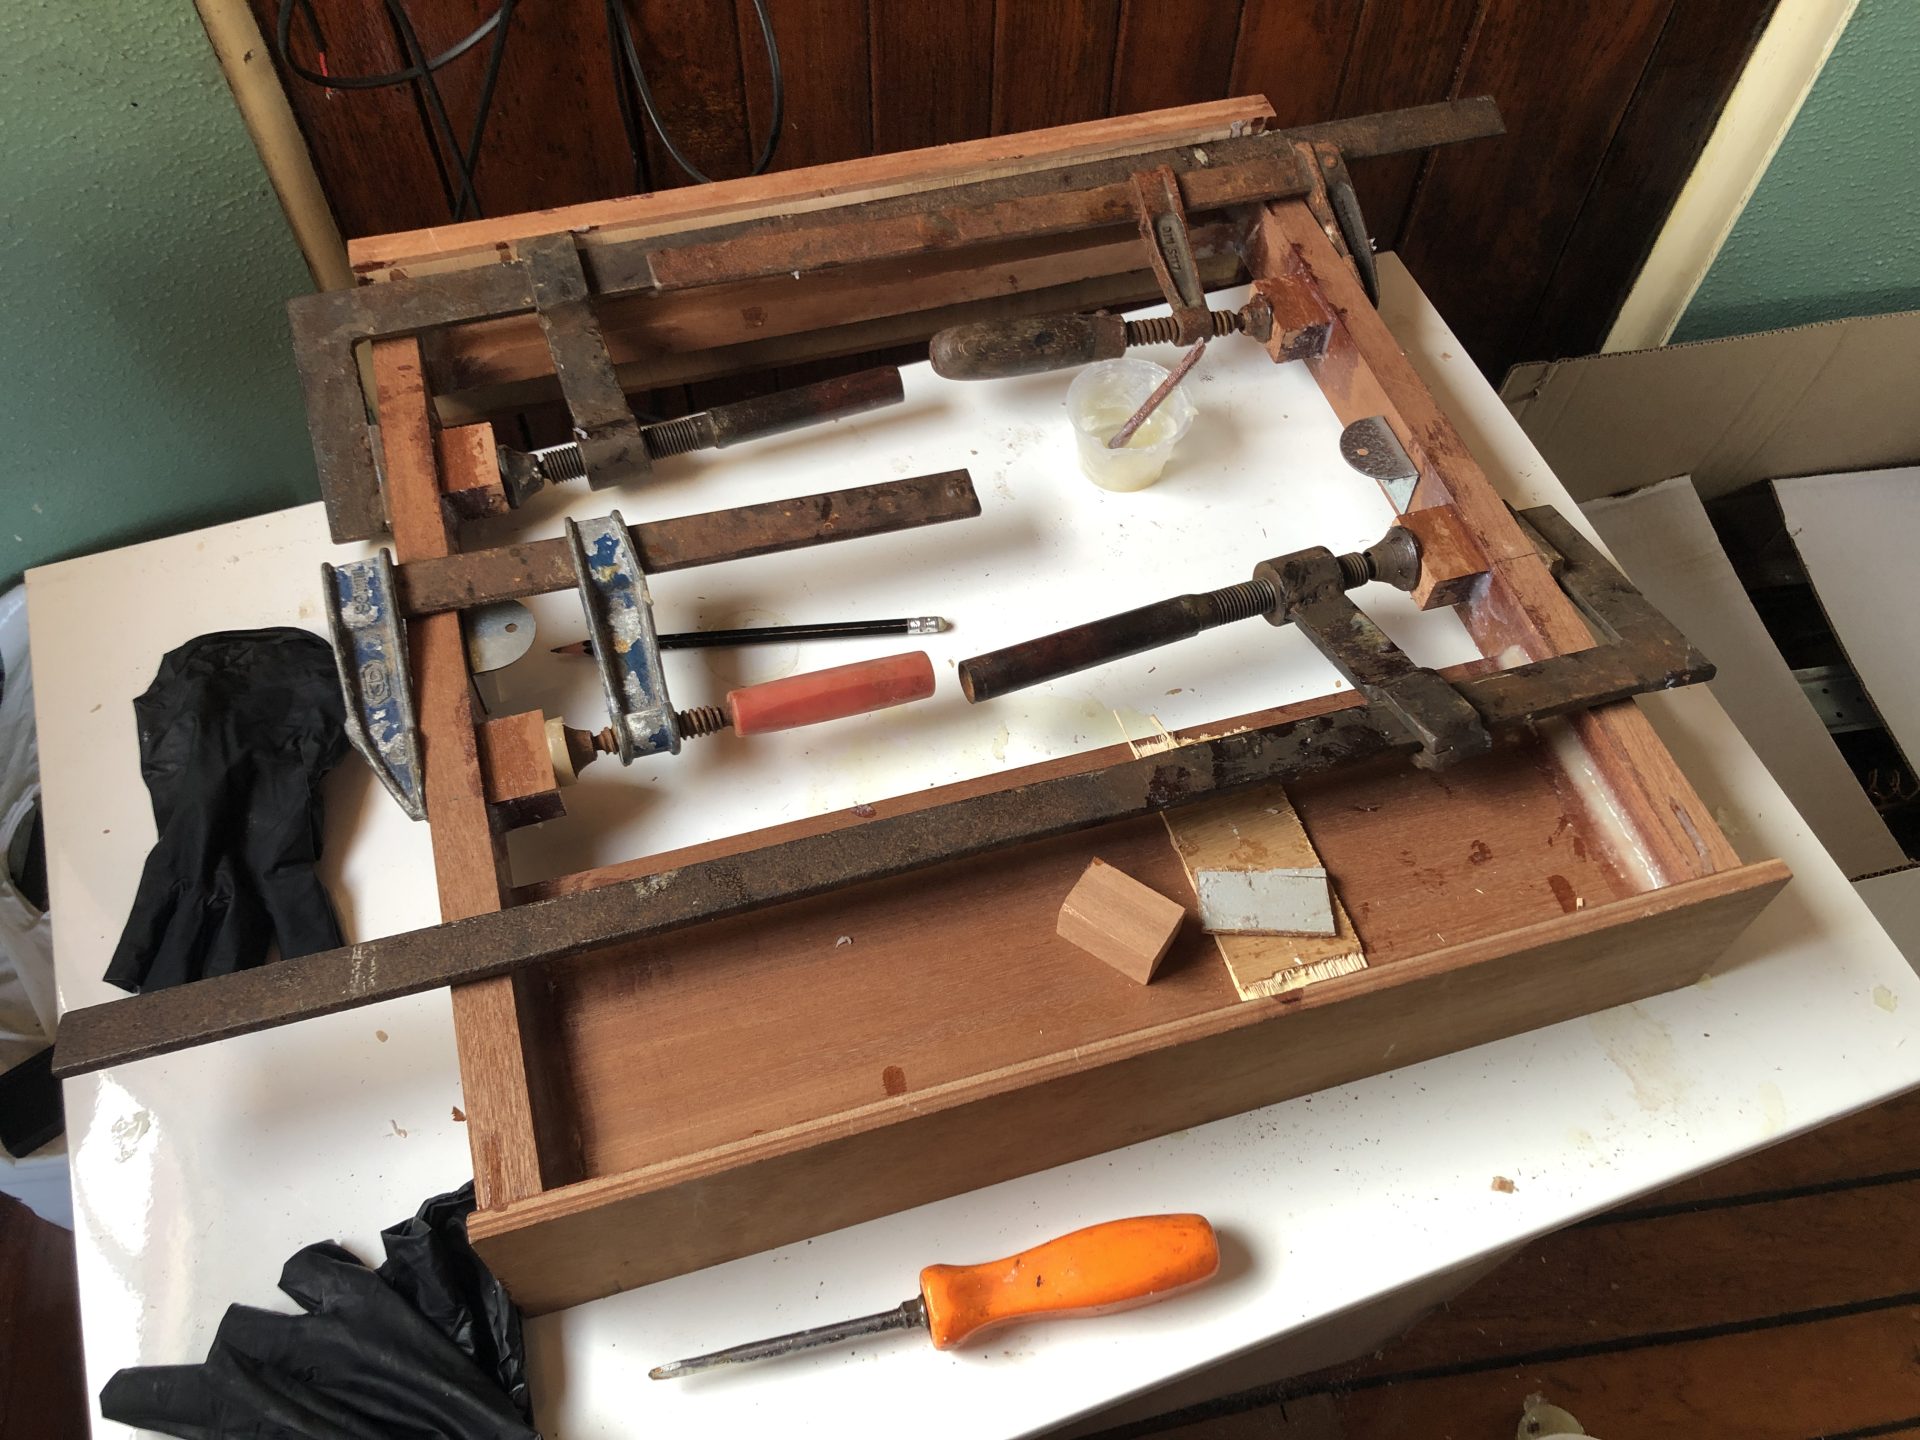
I have made the cooker and cutlery drawers using the original front cooker flap as raw material for the drawer fronts which has preserved the original veneer which I think is a nice touch. Having been very careful to make these drawers square, on offering them up to the boat, it turns out the galley unit joinery wasn't perfectly square. At this point I am having to create a thin tapered side panel to fit inside the wall of the cooker recess to get everything back in line.
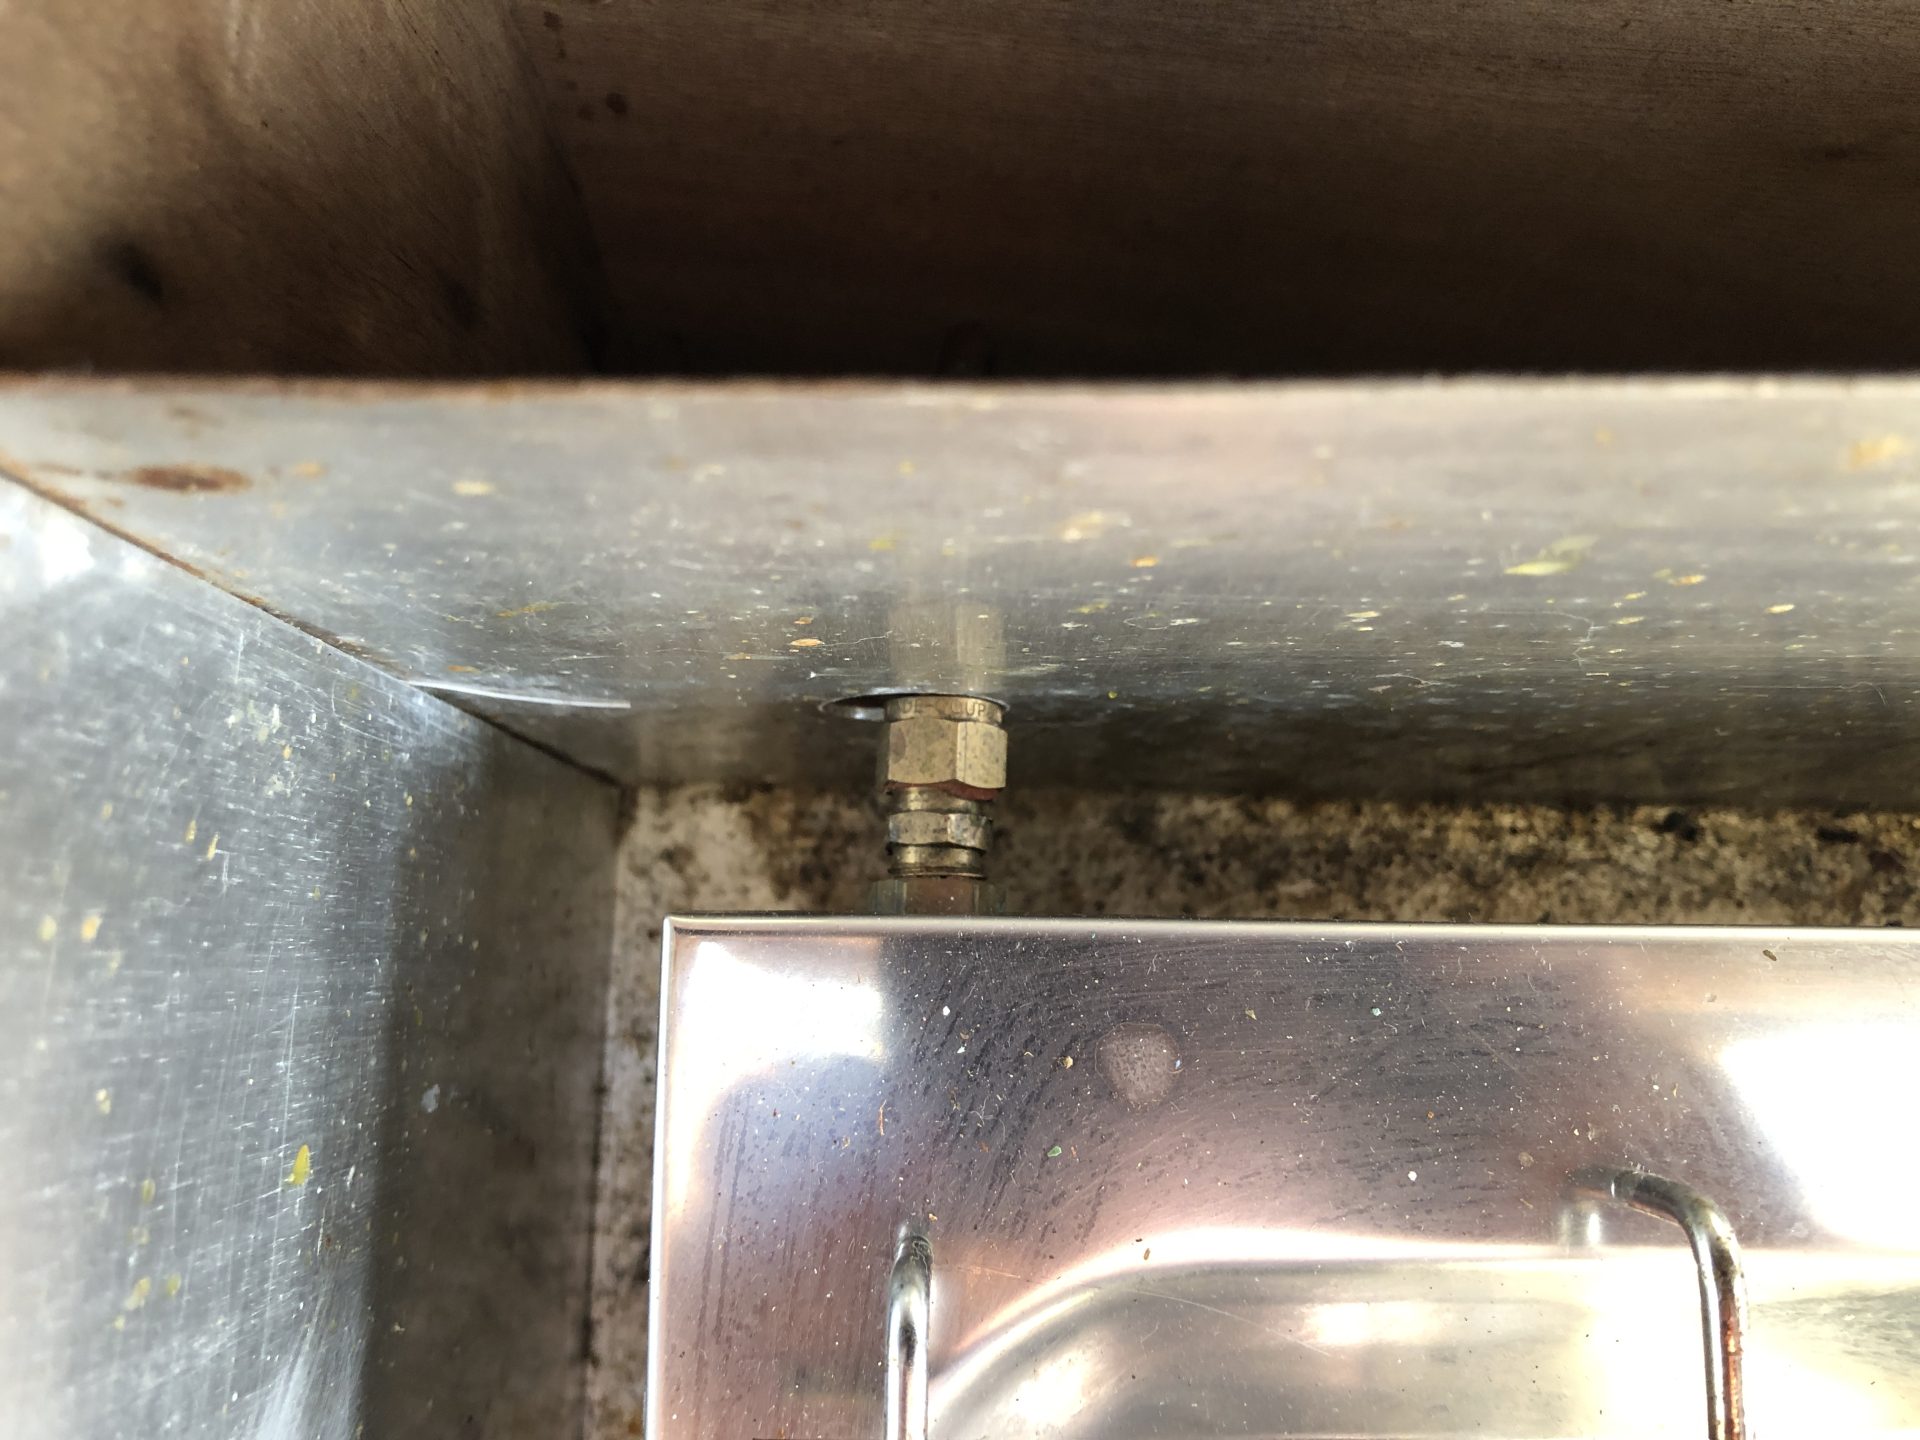
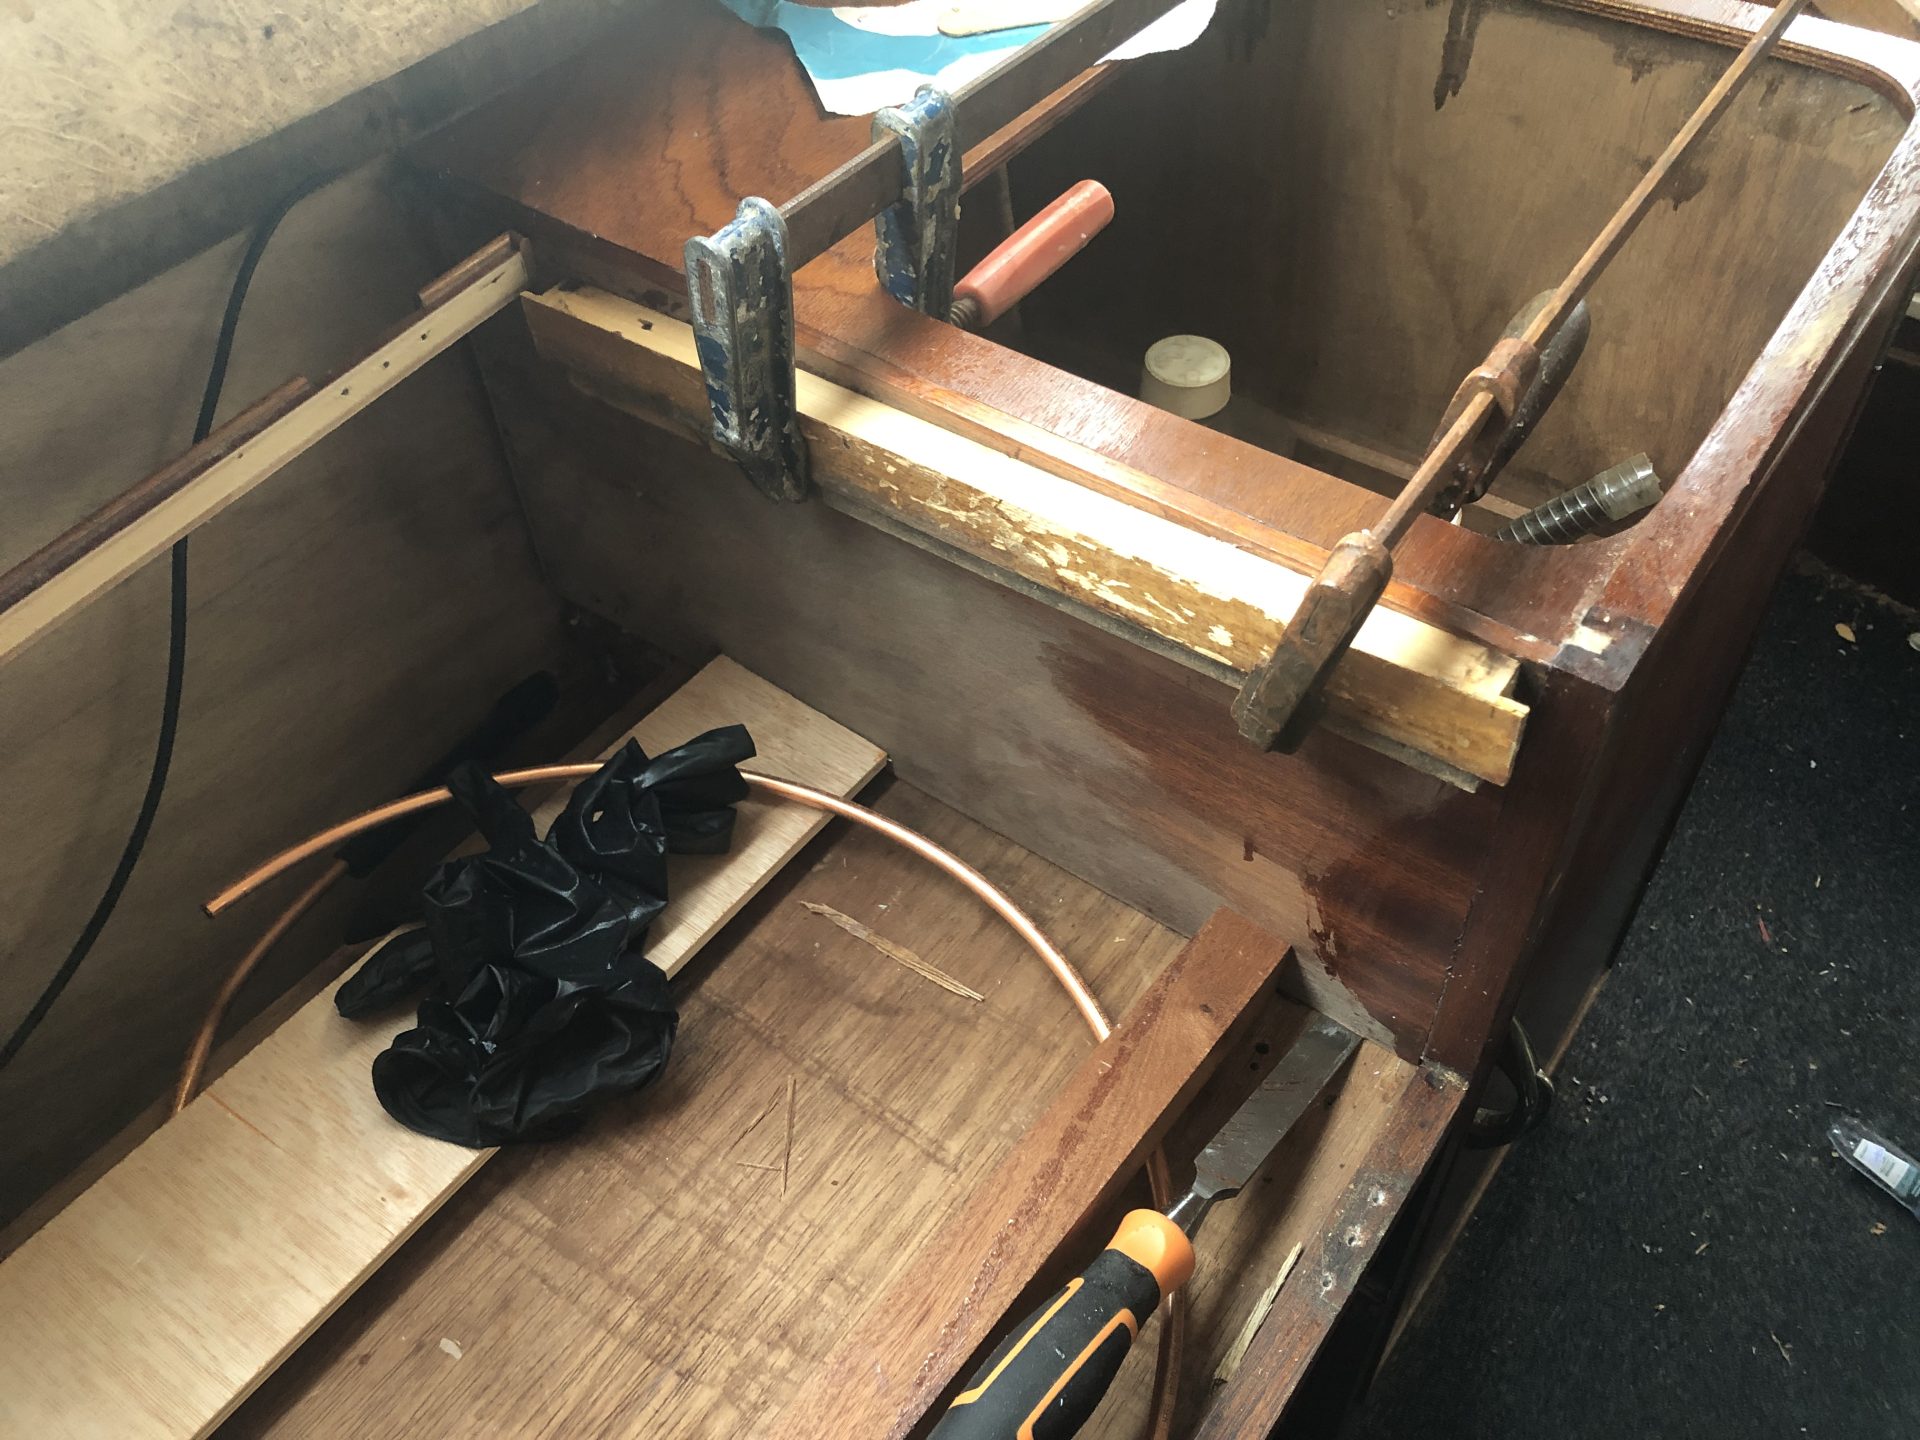
The old gas pipe was fitted back in the 60's when 1/4″ pipe was considered sufficient. With higher performance burners, upgrading the pipework to a minimum of 5/16″ is a good idea. This has meant pulling through new pipework which fortunately went through the old conduit tube with the help of lots of PTFE lubricant. Using the old pipe as a pull-through, I drilled tiny holes at the ends of both pipes and using a short loop stainless rigging wire made a relatively smooth taper between the two. This is essential to not become snagged. To replace the pipe/conduit would require removing the cockpit side and the galley unit. This would be a huge job. I would add that with any private gas installation it's ESSENTIAL to have it tested and signed off by a fully qualified professional gas fitter specialising in boats. Don't take this job lightly !
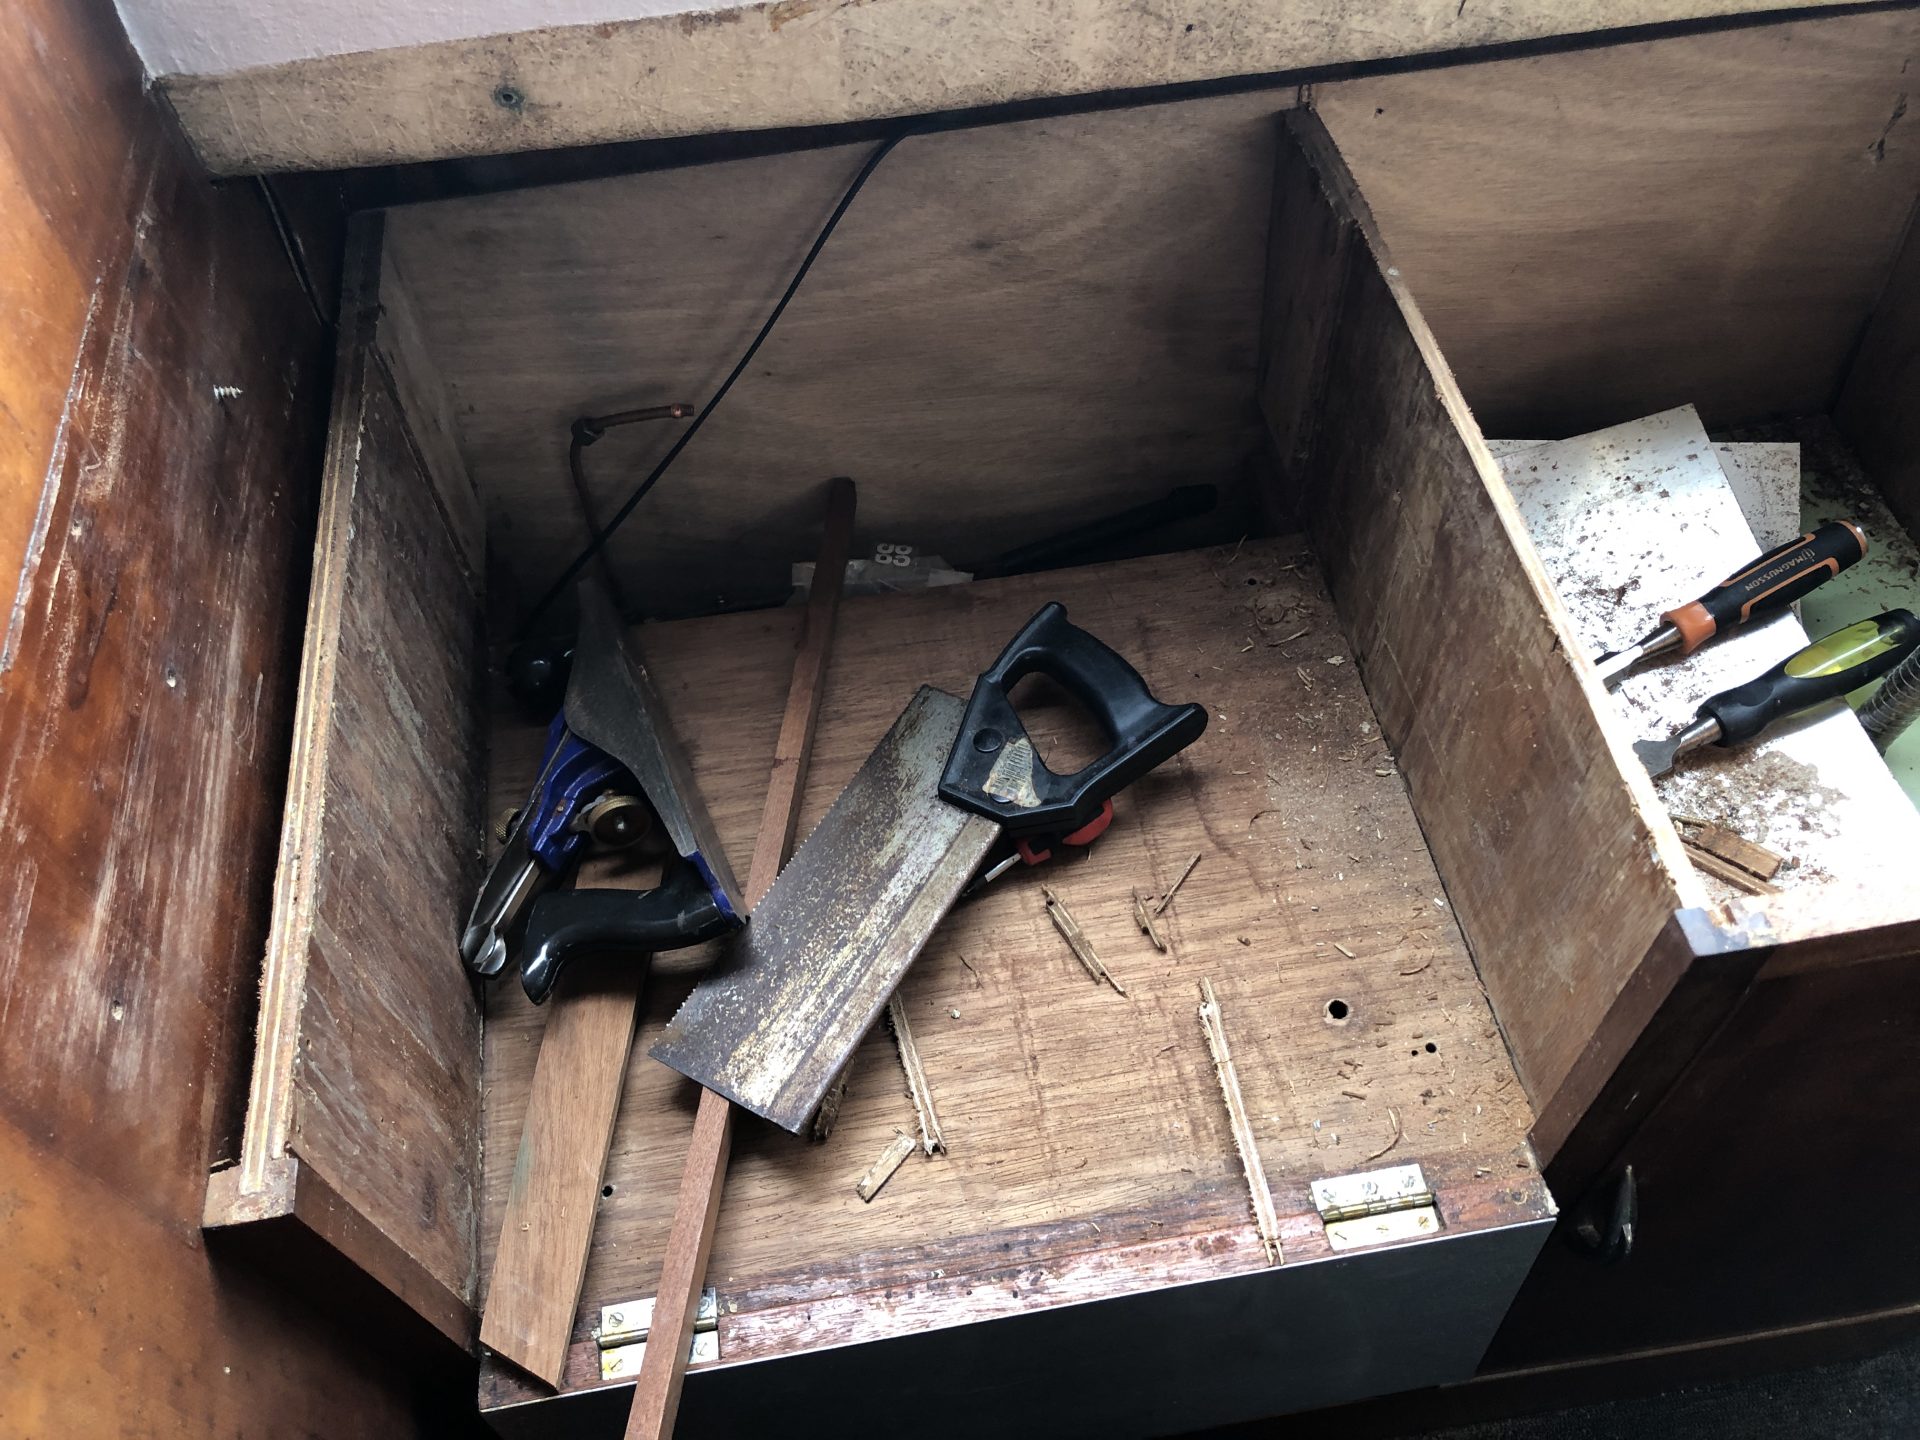
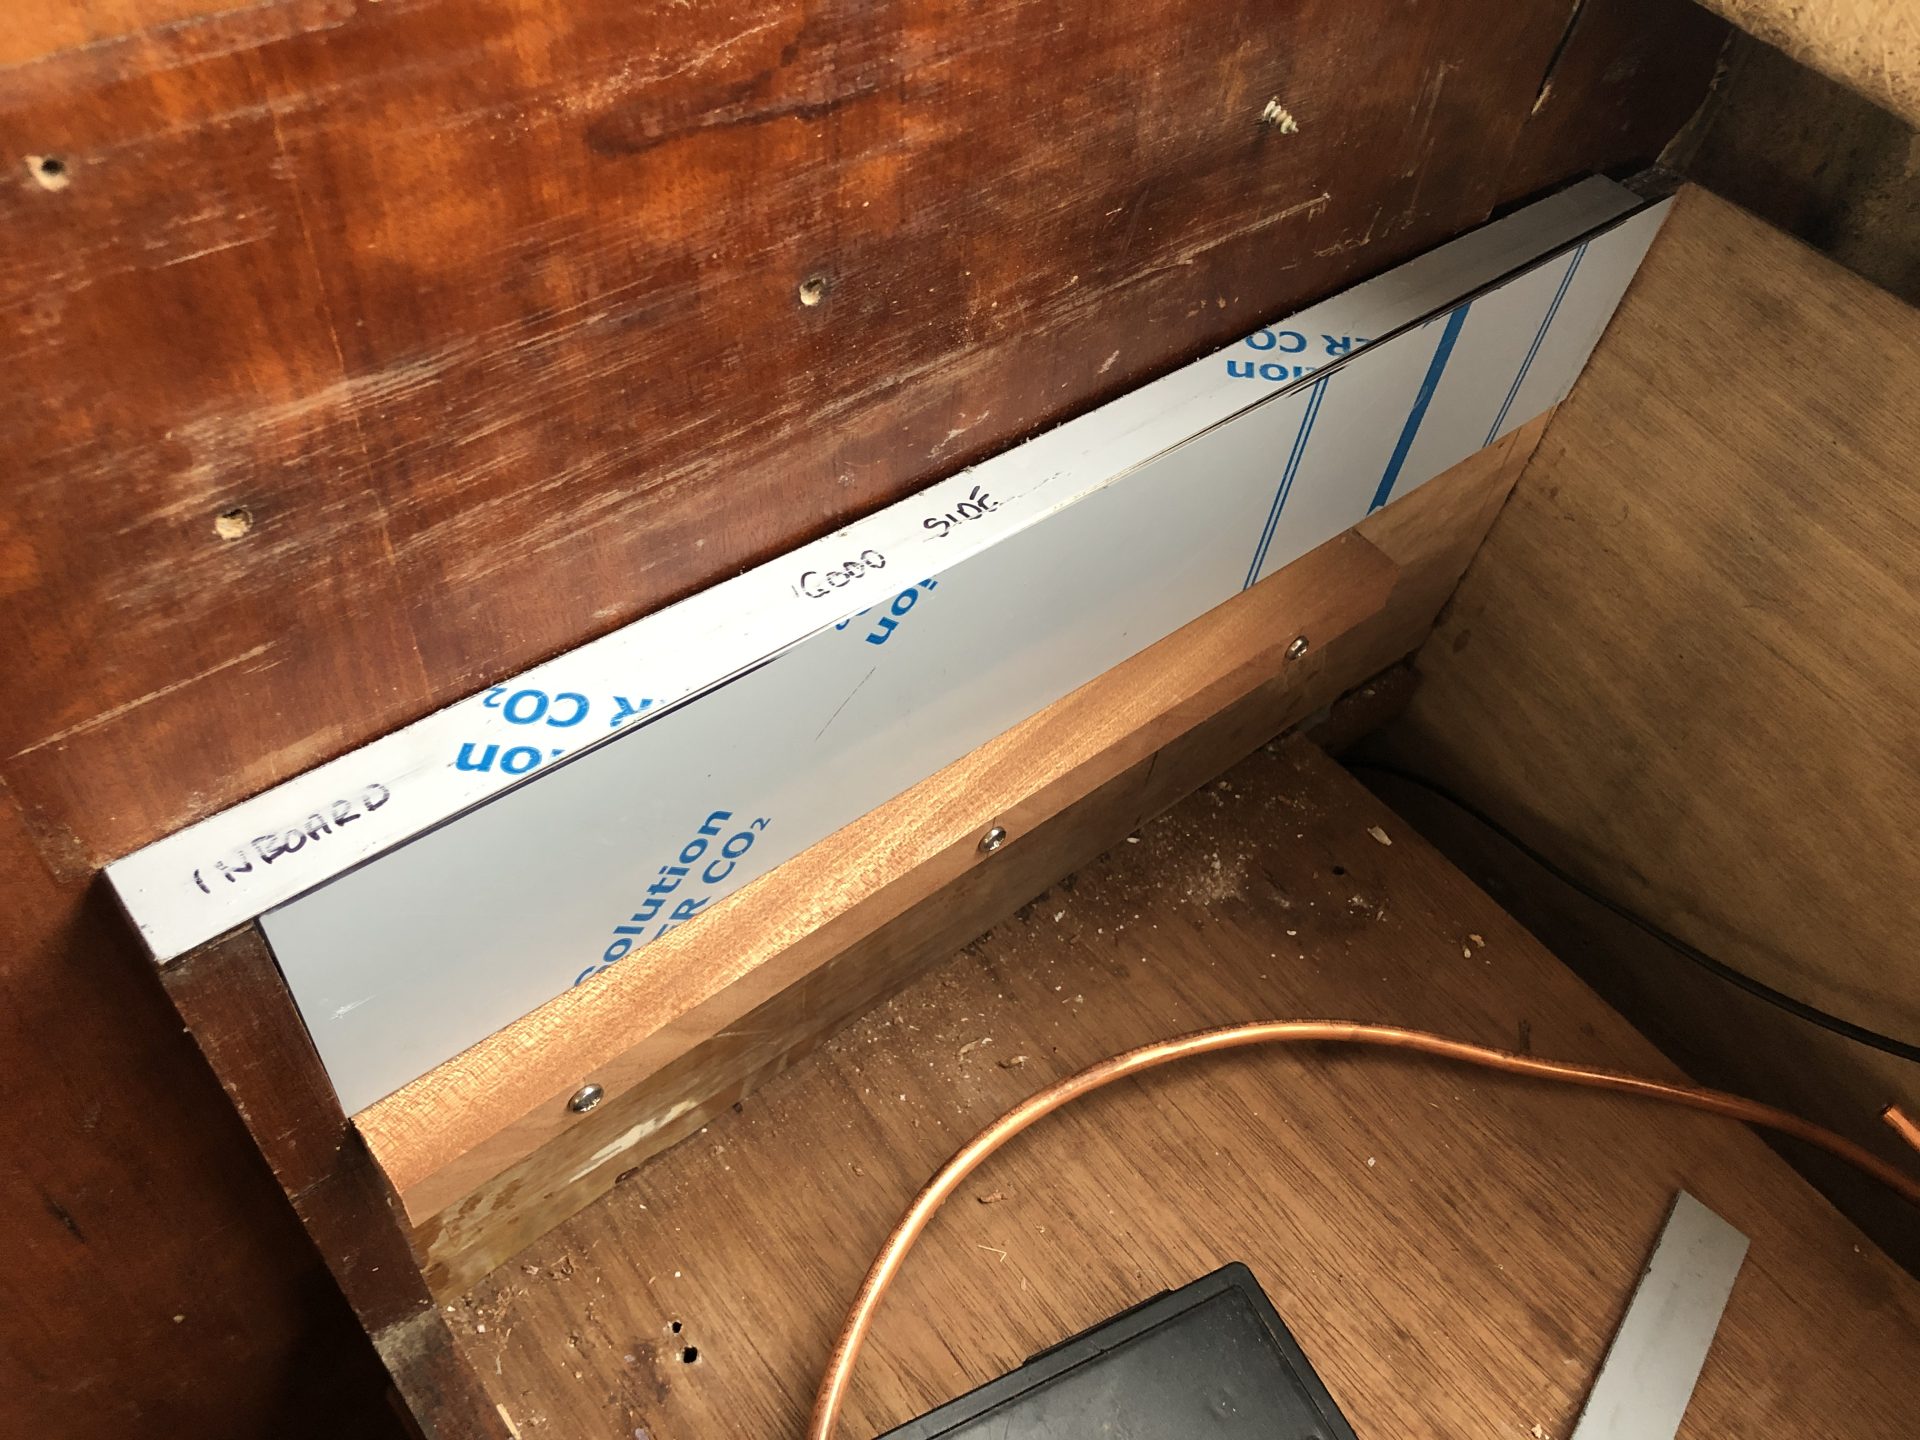
Having made the galley unit square, I fitted the drawer runners with three stainless self tappers to both sides of the cooker box the idea being that they will be easy to replace if they become worn. The visible sides of the compartment were lined with 1.2mm polished stainless steel sheet, roughened on the sides to be bonded with an angle grinder and mounted in place using CT1 construction adhesive. I'm hoping that the combination of flexibility and bonding strength will be appropriate as using screws to hold the sheet material wouldn't look very attractive but would always remain as a plan-B.
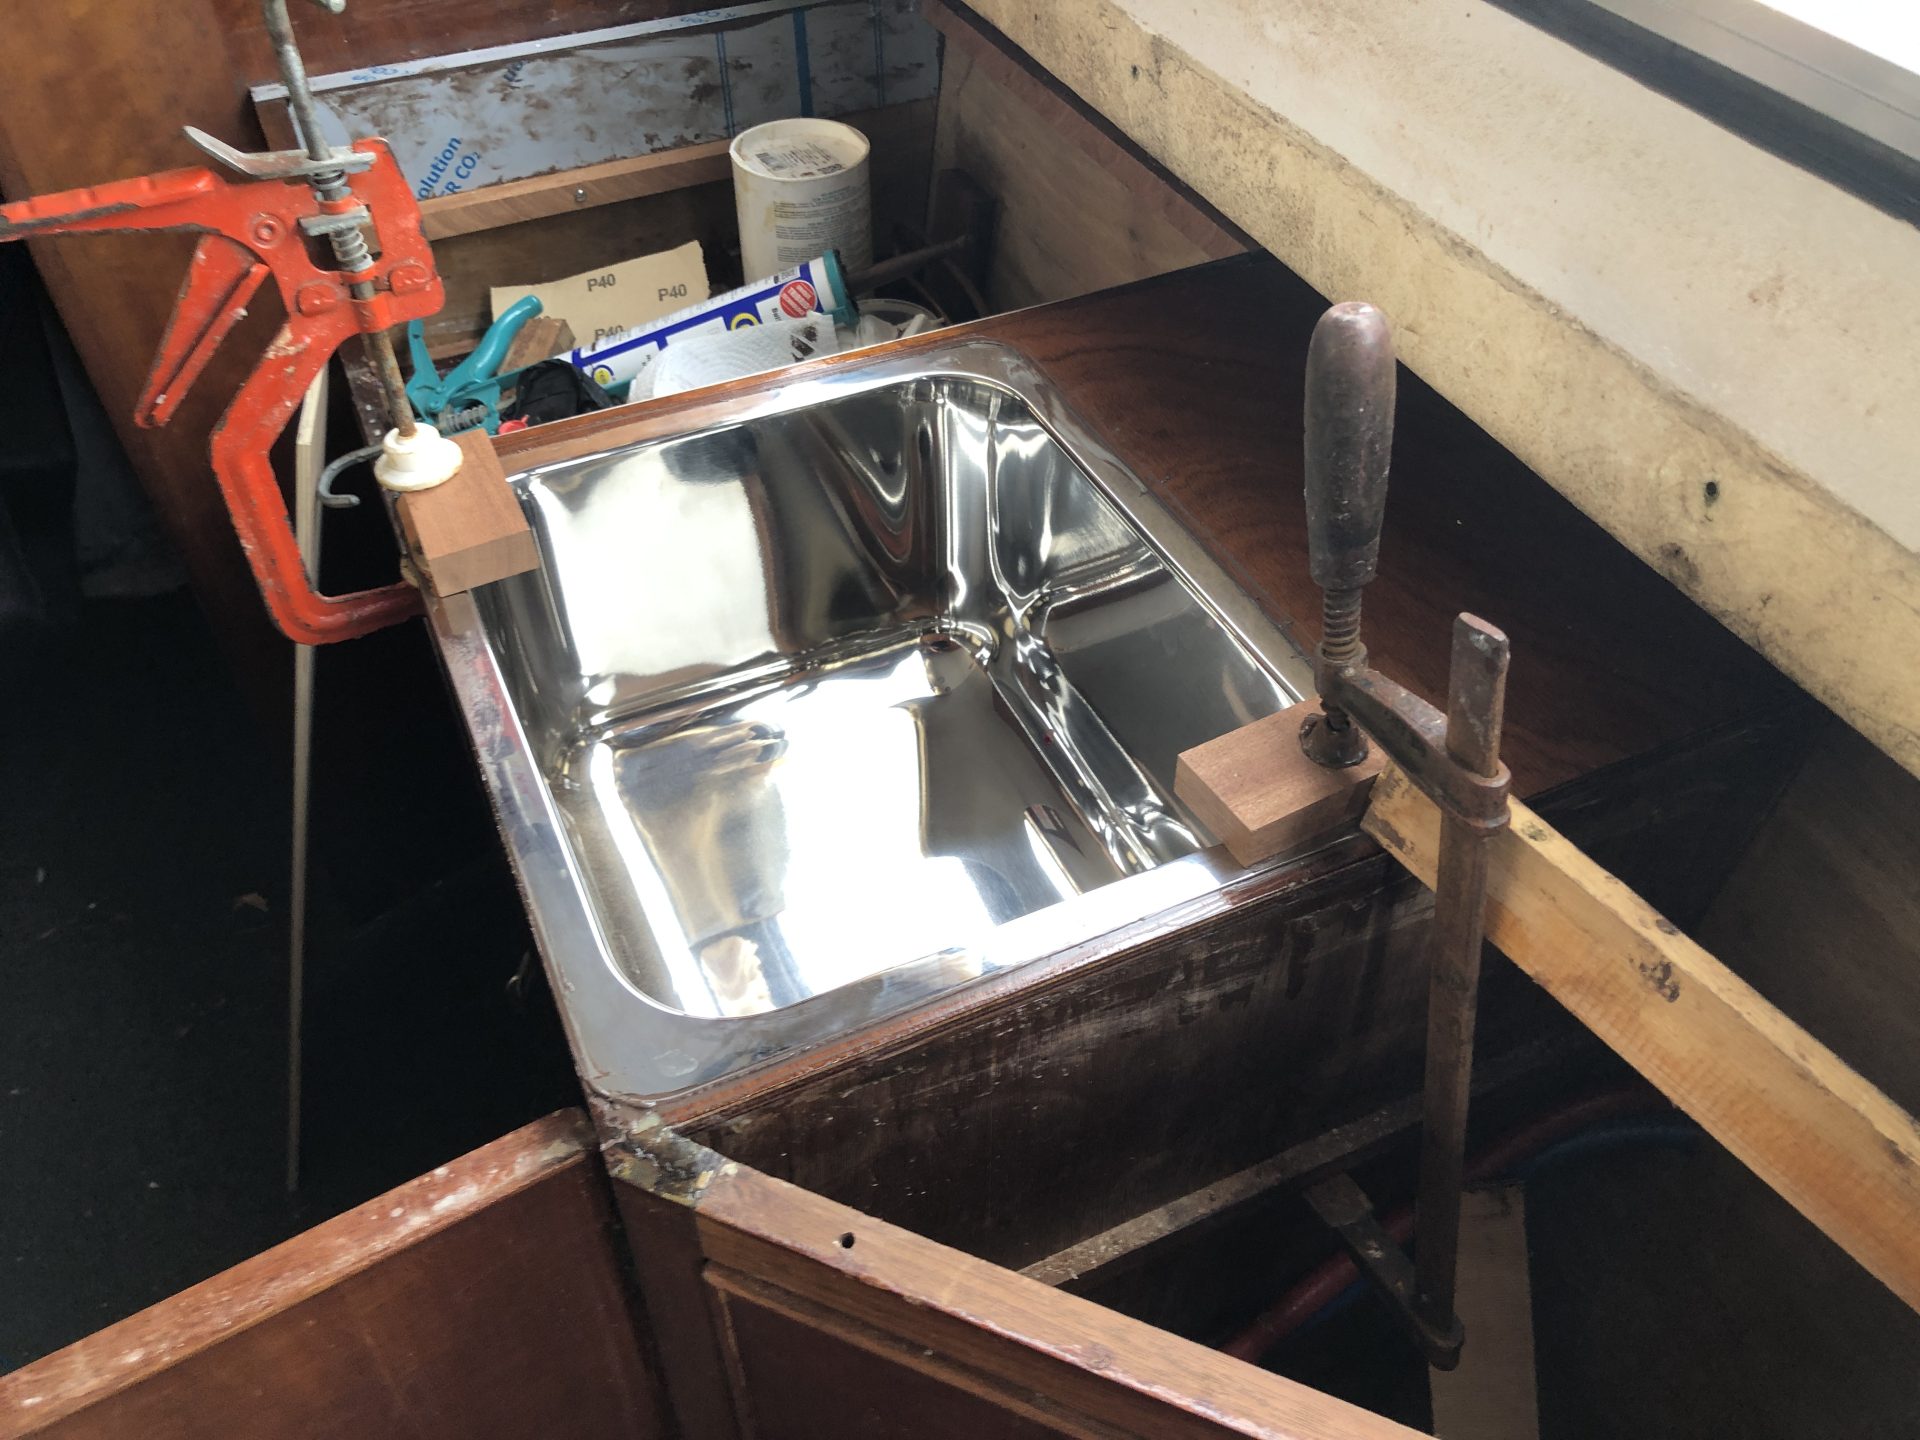
With the cutlery and cooker drawers made, varnished and fitting nicely, my attention was now on bonding the sink into place. This required similar preparation to the stainless side cheeks, roughing up bonding surfaces with an angle grinder, cleaning with acetone and then slathering a heavy bead of CT1 under the lip of the sink.
As it was rather critical for the sink to fit flush to allow the sink worktop flap to properly close, I clamped it down and weighted it to expel excess bonding sealant from the flange visible from the top and plenty underneath which I spread with a gloved finger to create a strong 'fillet'. Again, I'm hoping this proves durable.
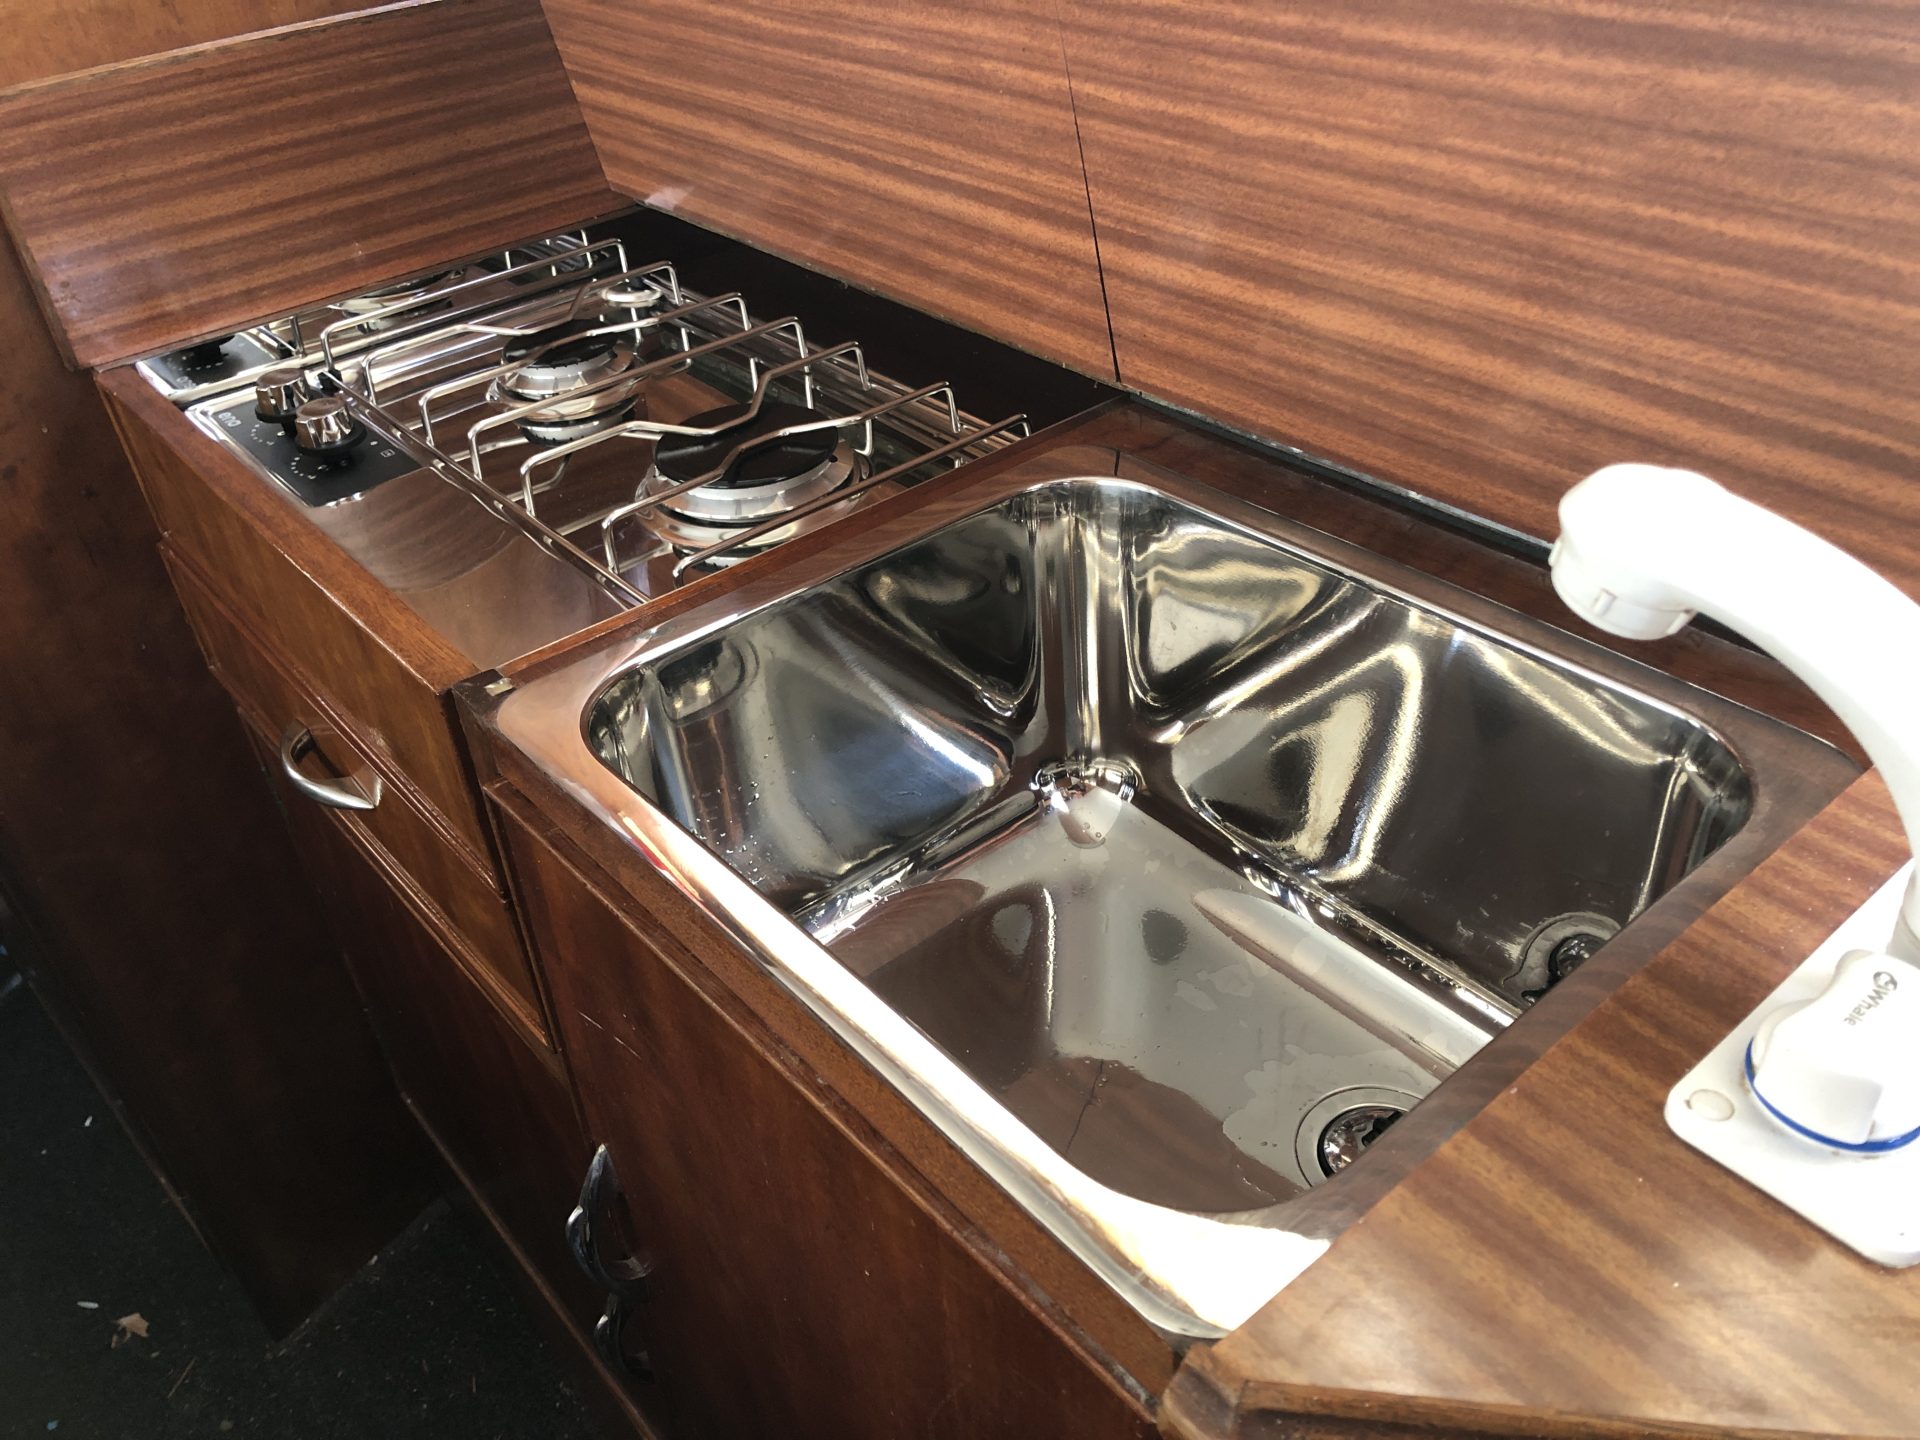
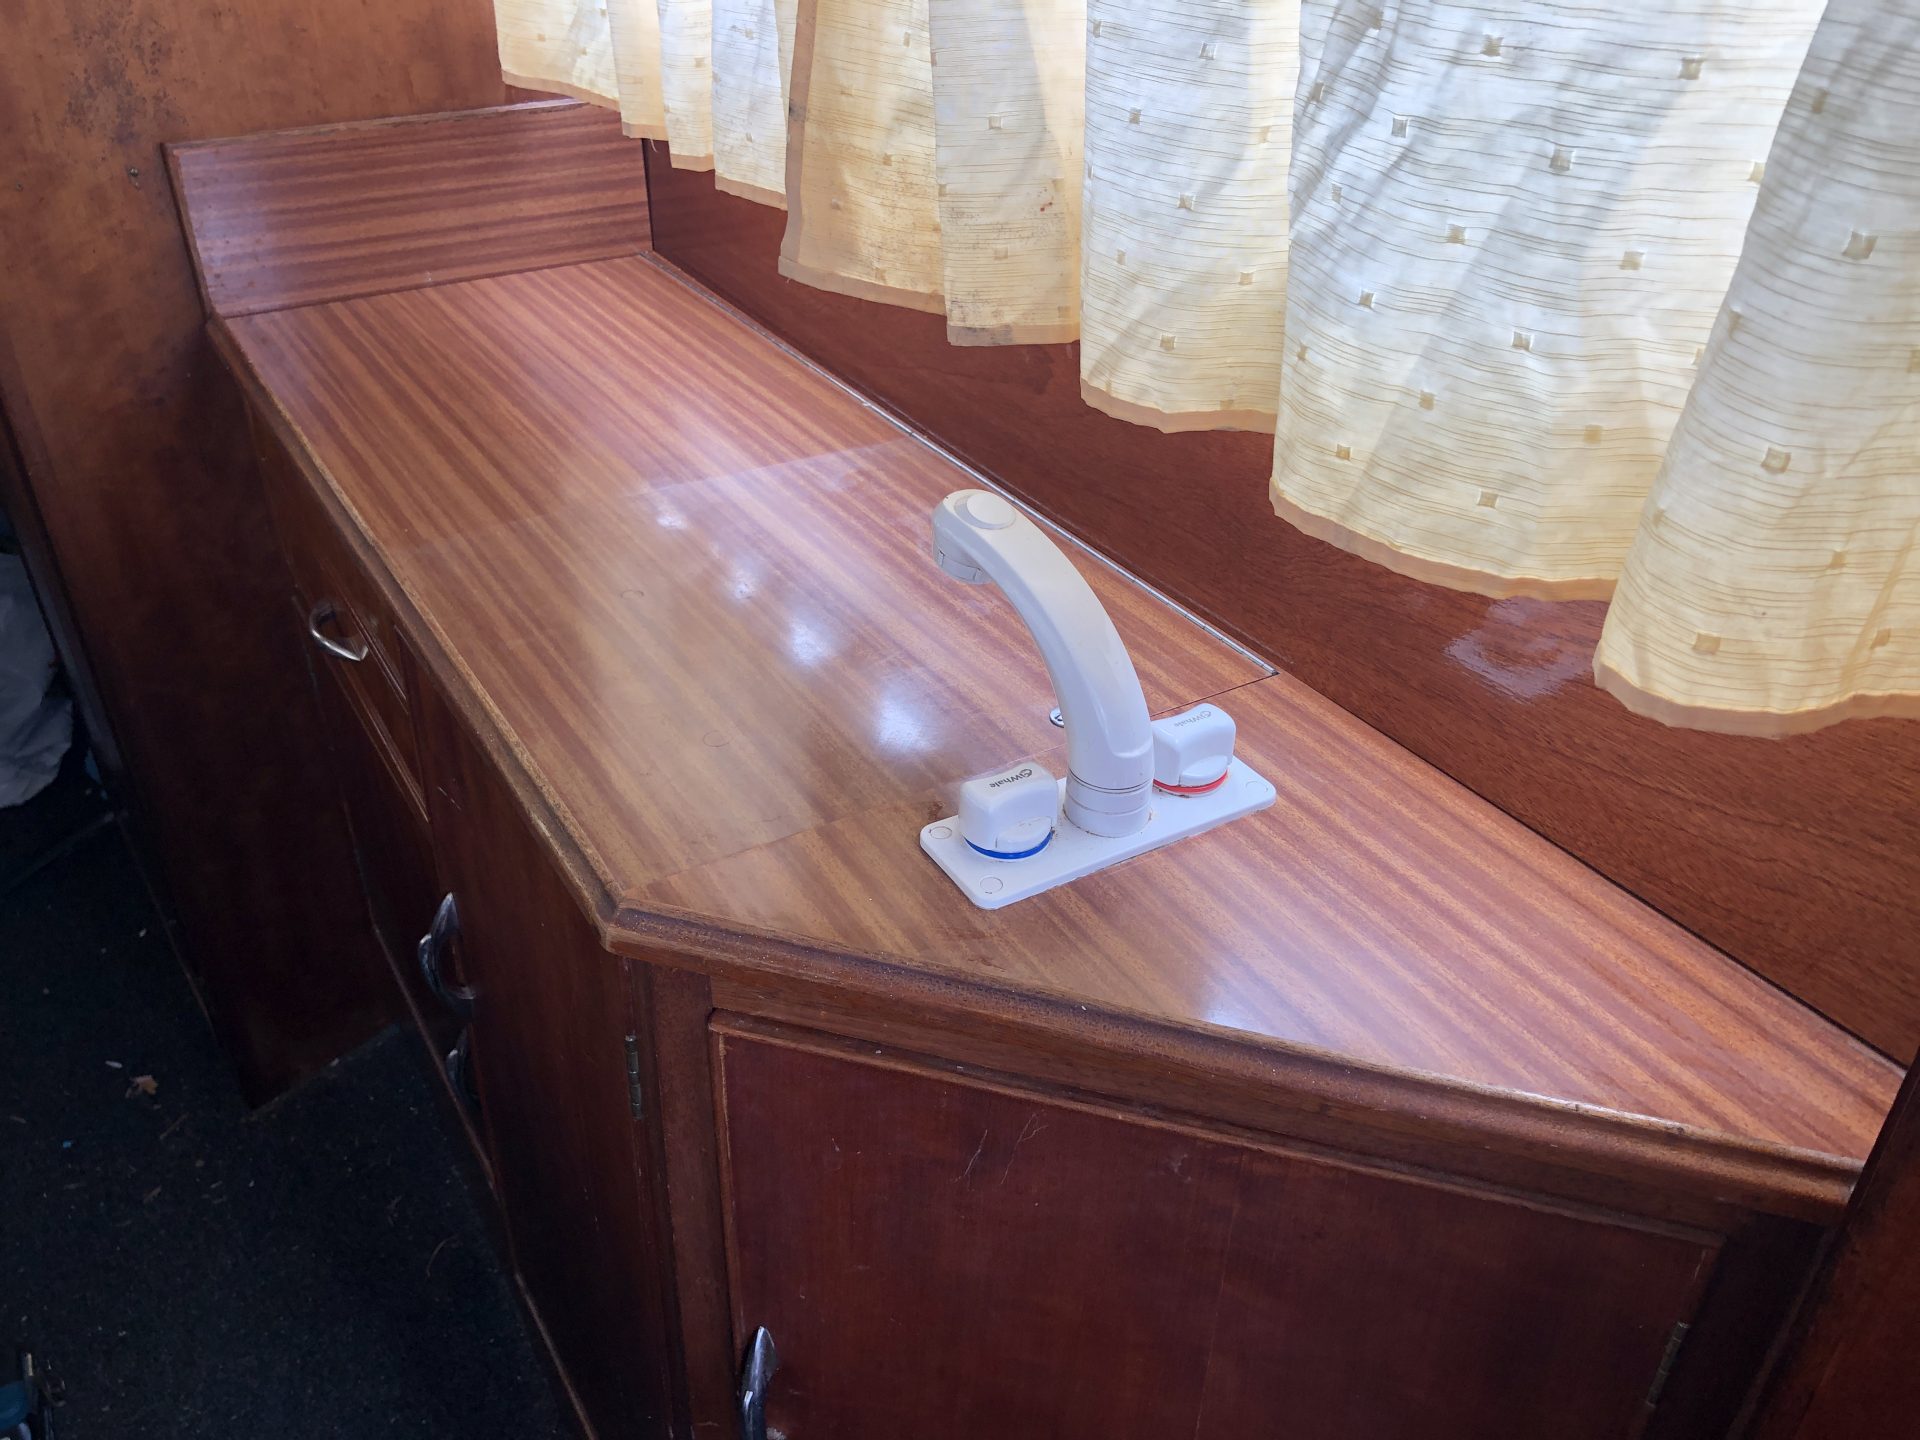
Re-fitting the worktop threatened to be a challenge as much had been modified since removal and there was a good chance it wouldn't sit flush, particularly as I used thin self-adhesive foam strip sealant to seal between the worktop and sink mounting surface. Fortunately this came together well without too much deflection allowing the re-made splashback to sit square.
The splashback (the vertical panel between worktop and side of the boat) was in a sorry state even before removal with previous owners having drilled random holes for all manner of purposes in the past. It's fate was sealed when having to pry it from it's worktop mounting batten and cabin side as it disintegrated.
Finding good quality sapele or mahogany faced ply at this length without huge wastage or breaking the bank made me opt for the best marine ply I could find which I then veneered with iron-on mahogany veneer. I thought this was going to be a little hit or miss but it went surprisingly well having closely followed the instructions.
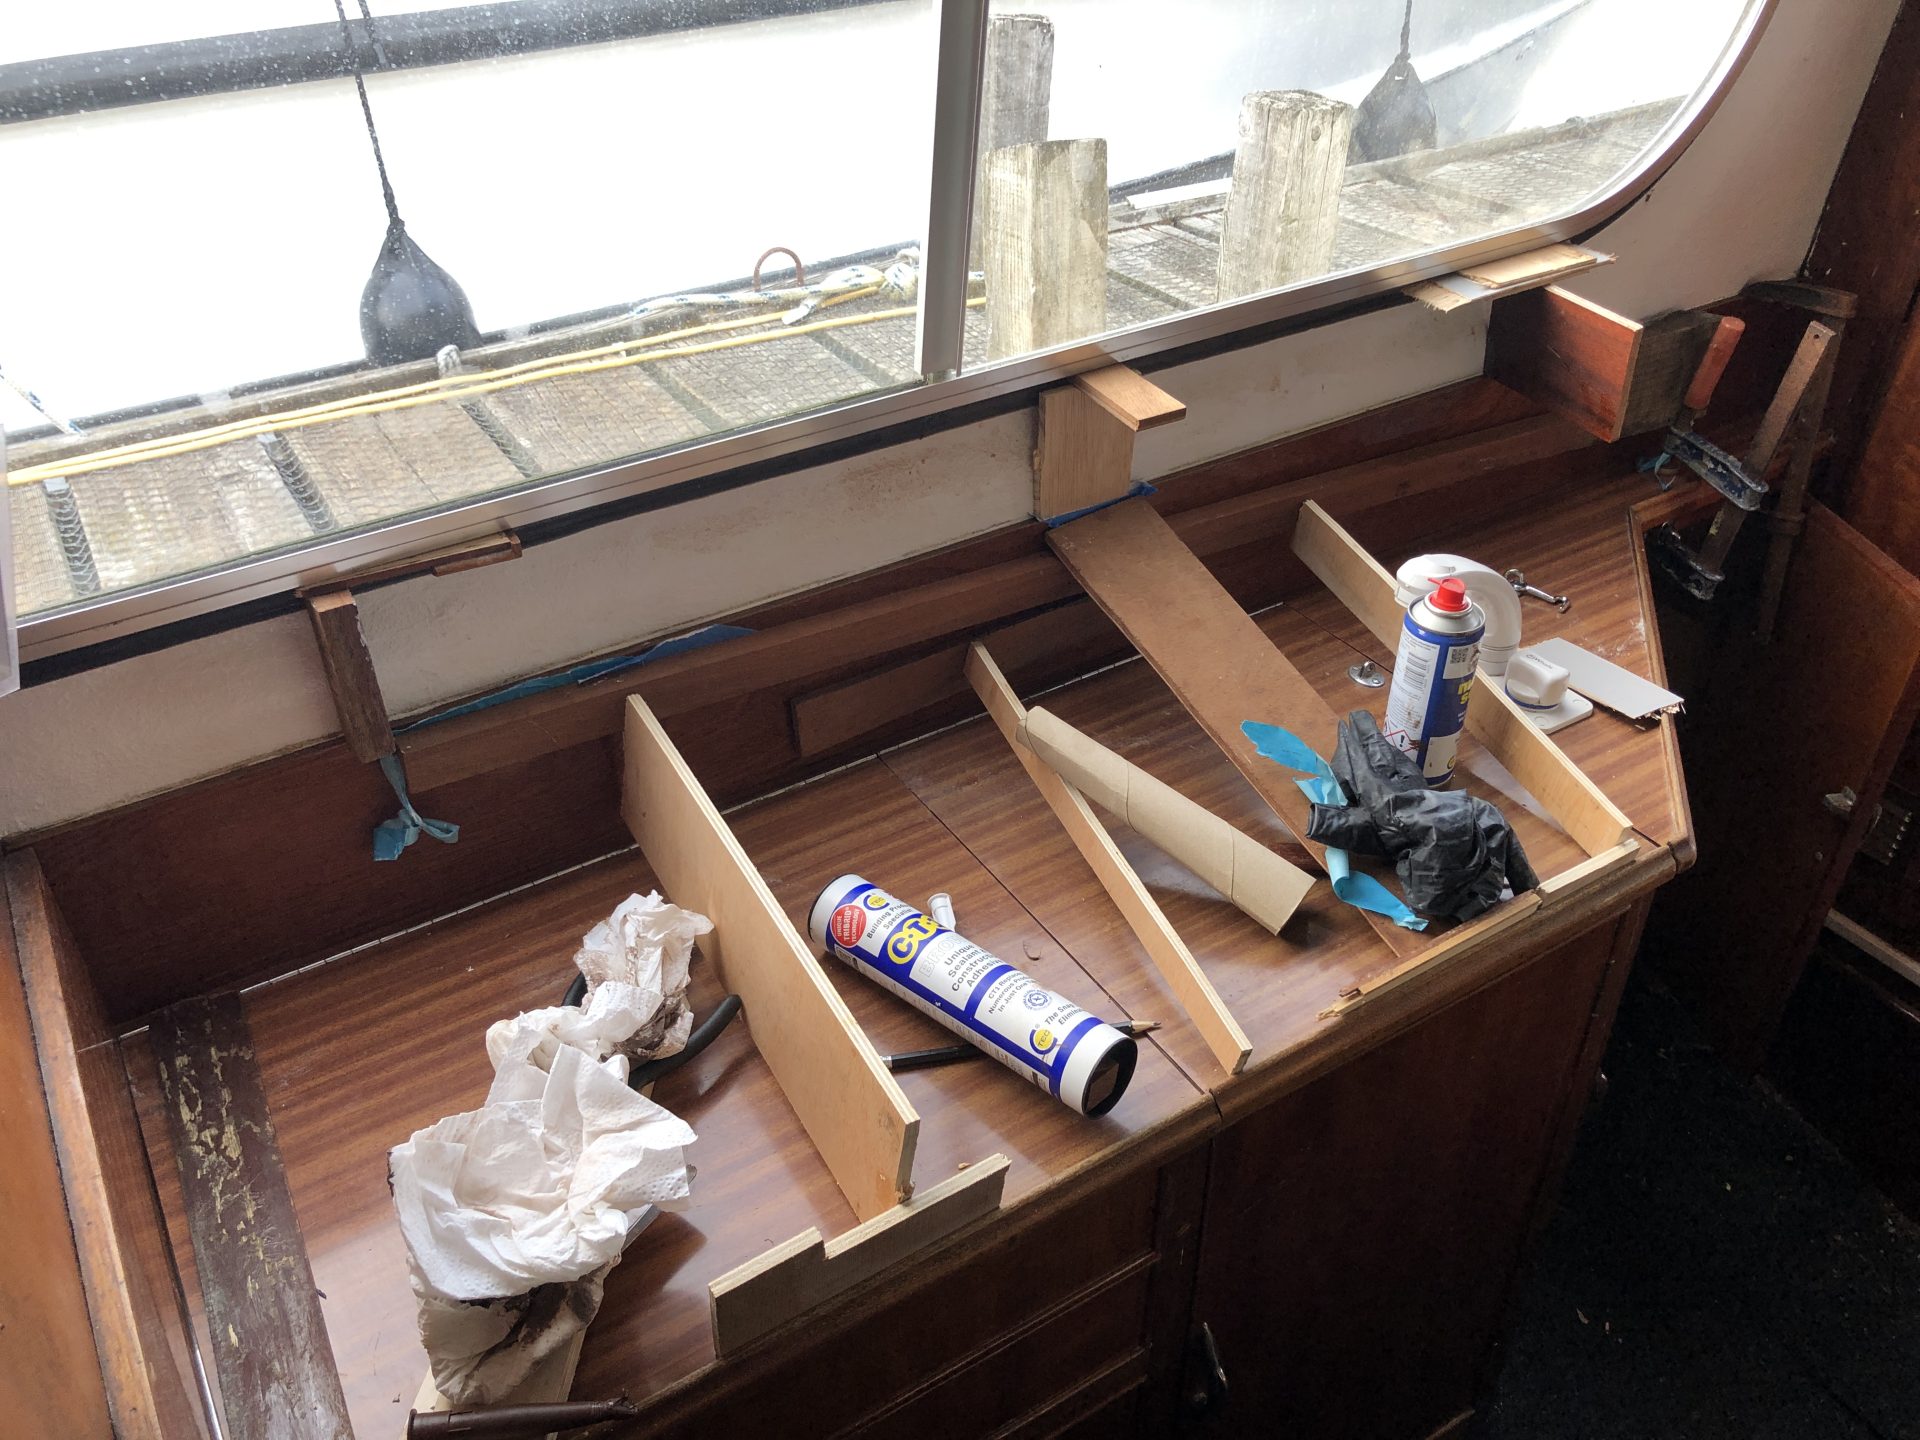
Fixing the splashback panel with CT1 has proven to be a messy business despite precautions. Wedging the panel in place whilst allowing the construction sealant to cure was a pretty dynamic process and required lots of wood and ply offcuts to be handy. I would highly recommend having a can of the CT1 Multisolve to hand in order to facilitate clean-up BEFORE it cures.
I used CT1 as it promises to be strong but flexible. There is no question the galley unit moves and the whole boat contorts when lifted. Ultimately this join may never endure the boat's movements but bonding with epoxy could create hard spots and be the cause of more serious structural cracking. We shall see how it holds.
With this done i'll fix the flap retaining fastenings and latches to complete the job.
Now that I look at it, the horrible leaky plastic whale tap looks very out of place and due for replacing with something more elegant in chrome. But that's another job for another day !
For those contemplating something similar, here are the links to the items used:
THE SINK – https://penguineng.com/li352920-c-r-p-marine-stainless-single-undermount-sink-polished-35x29x20cm-right-corner-hole/
WASTE FITTINGS FOR SINK – https://penguineng.com/wast20st-waste-20mm-straight-studs-pi1435-pg1420/?searchid=23679&search_query=WAST20ST+Waste+20Mm+Straight+%26+Studs
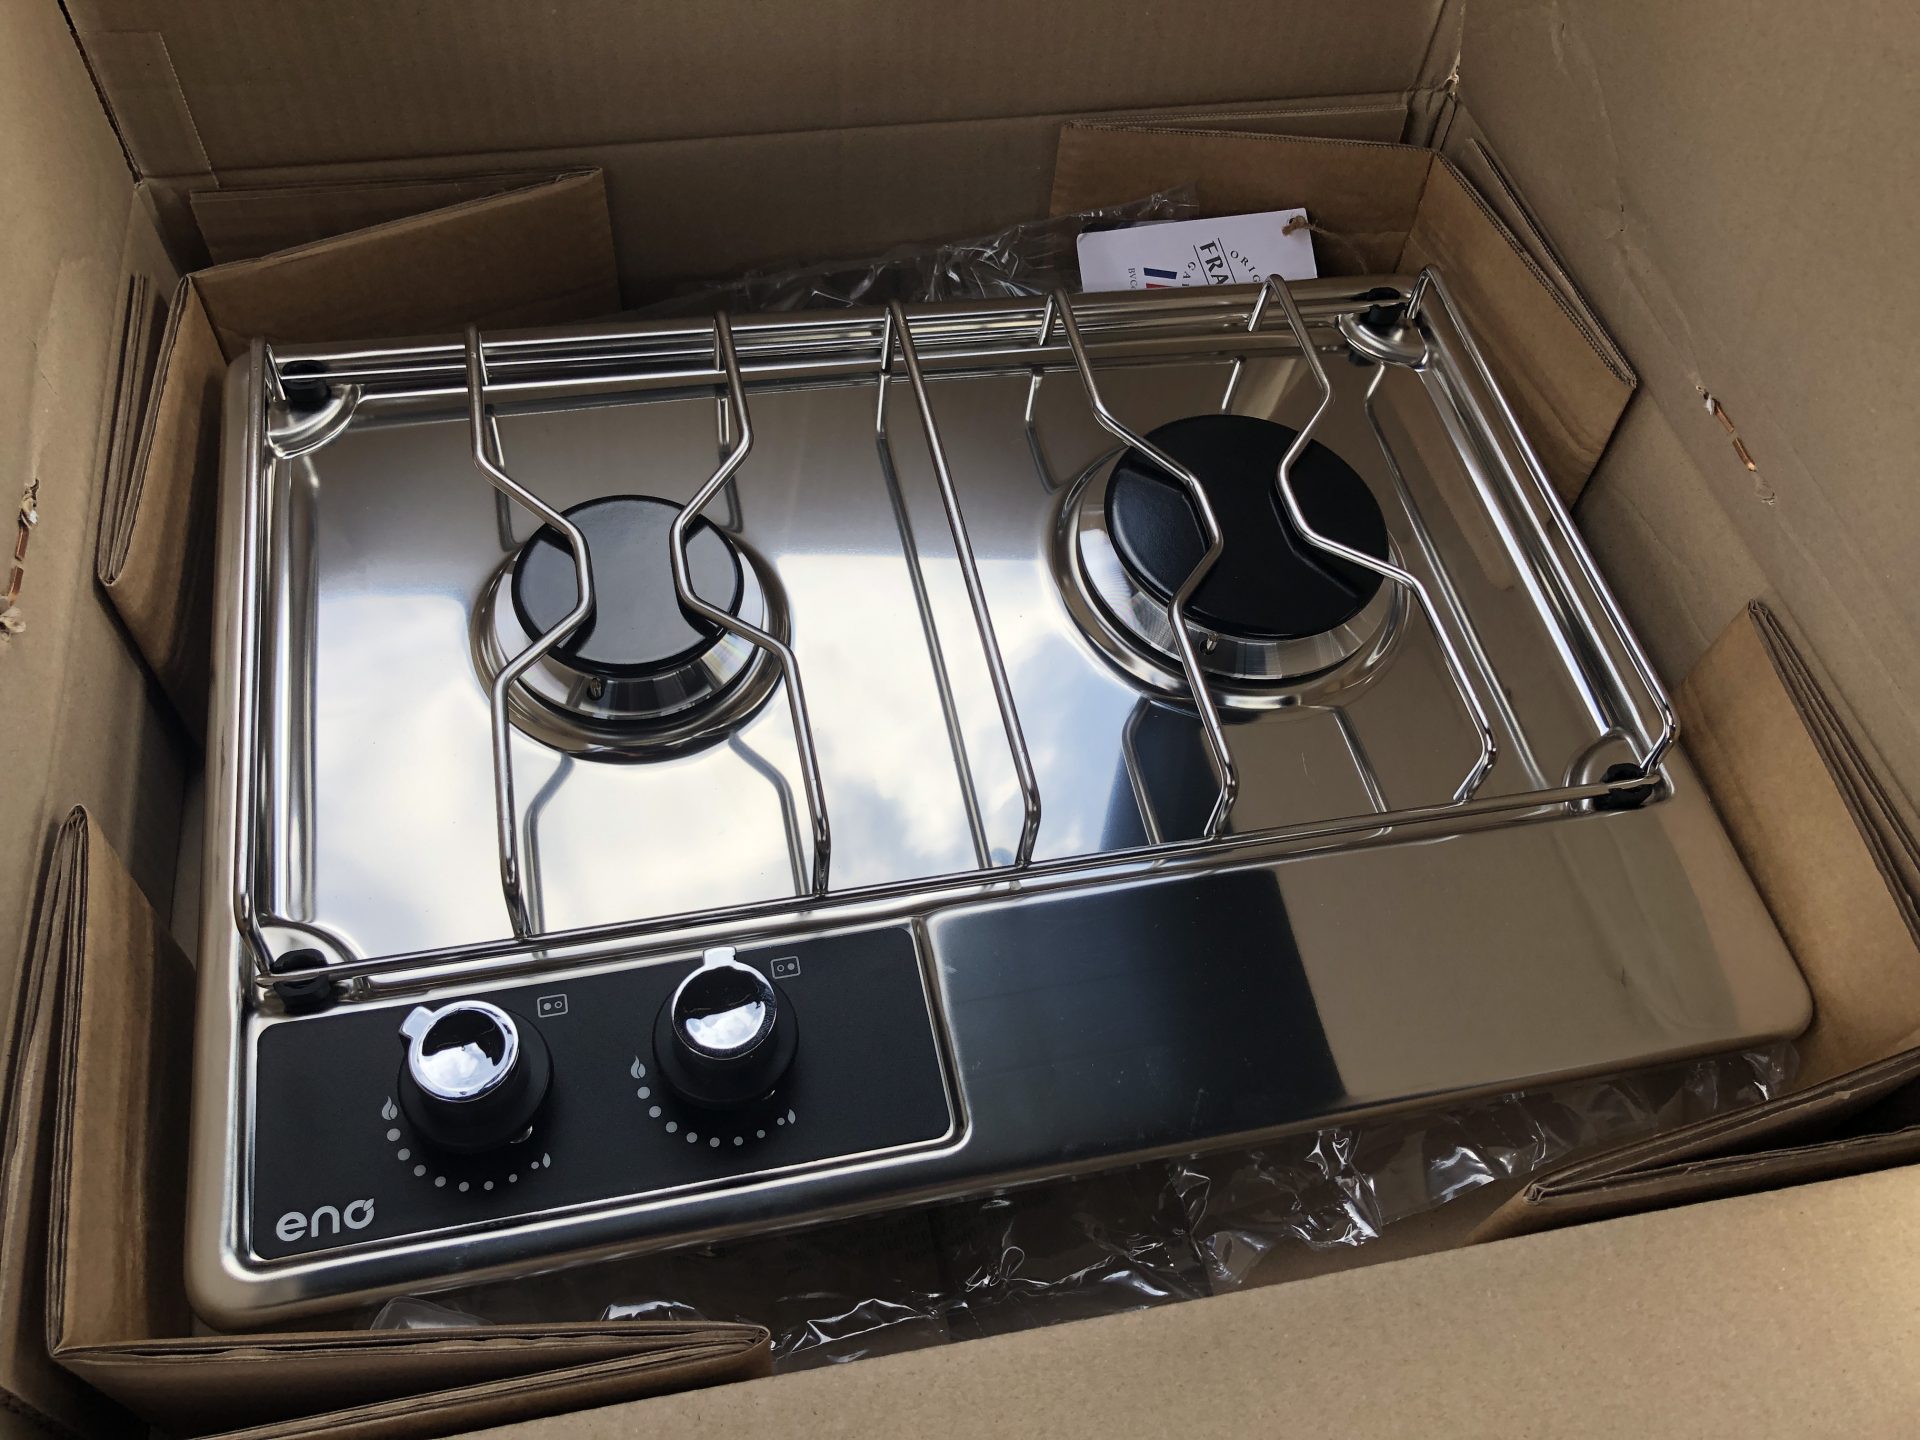
E432340 Eno Master 2 burner built-in gas hob (UK Distributor) https://penguineng.com/e432340-eno-master-2-burner-built-in-gas-hob-ignition-marine-motorhome/
I bought mine from a German distributor that had stock) https://www.toplicht.com/cabin-comfort/cooker-oven-barbecue/gas-ovens-cookers/gas-cooker-eno-2-flame
Stainless sheet material https://www.ebay.co.uk/itm/155079097594
Epoxy https://eu.westsystem.com/product-categories/the-105-epoxy-system/
CT1 construction sealant https://www.ct1.com/products/ct1/


