by chris
Share
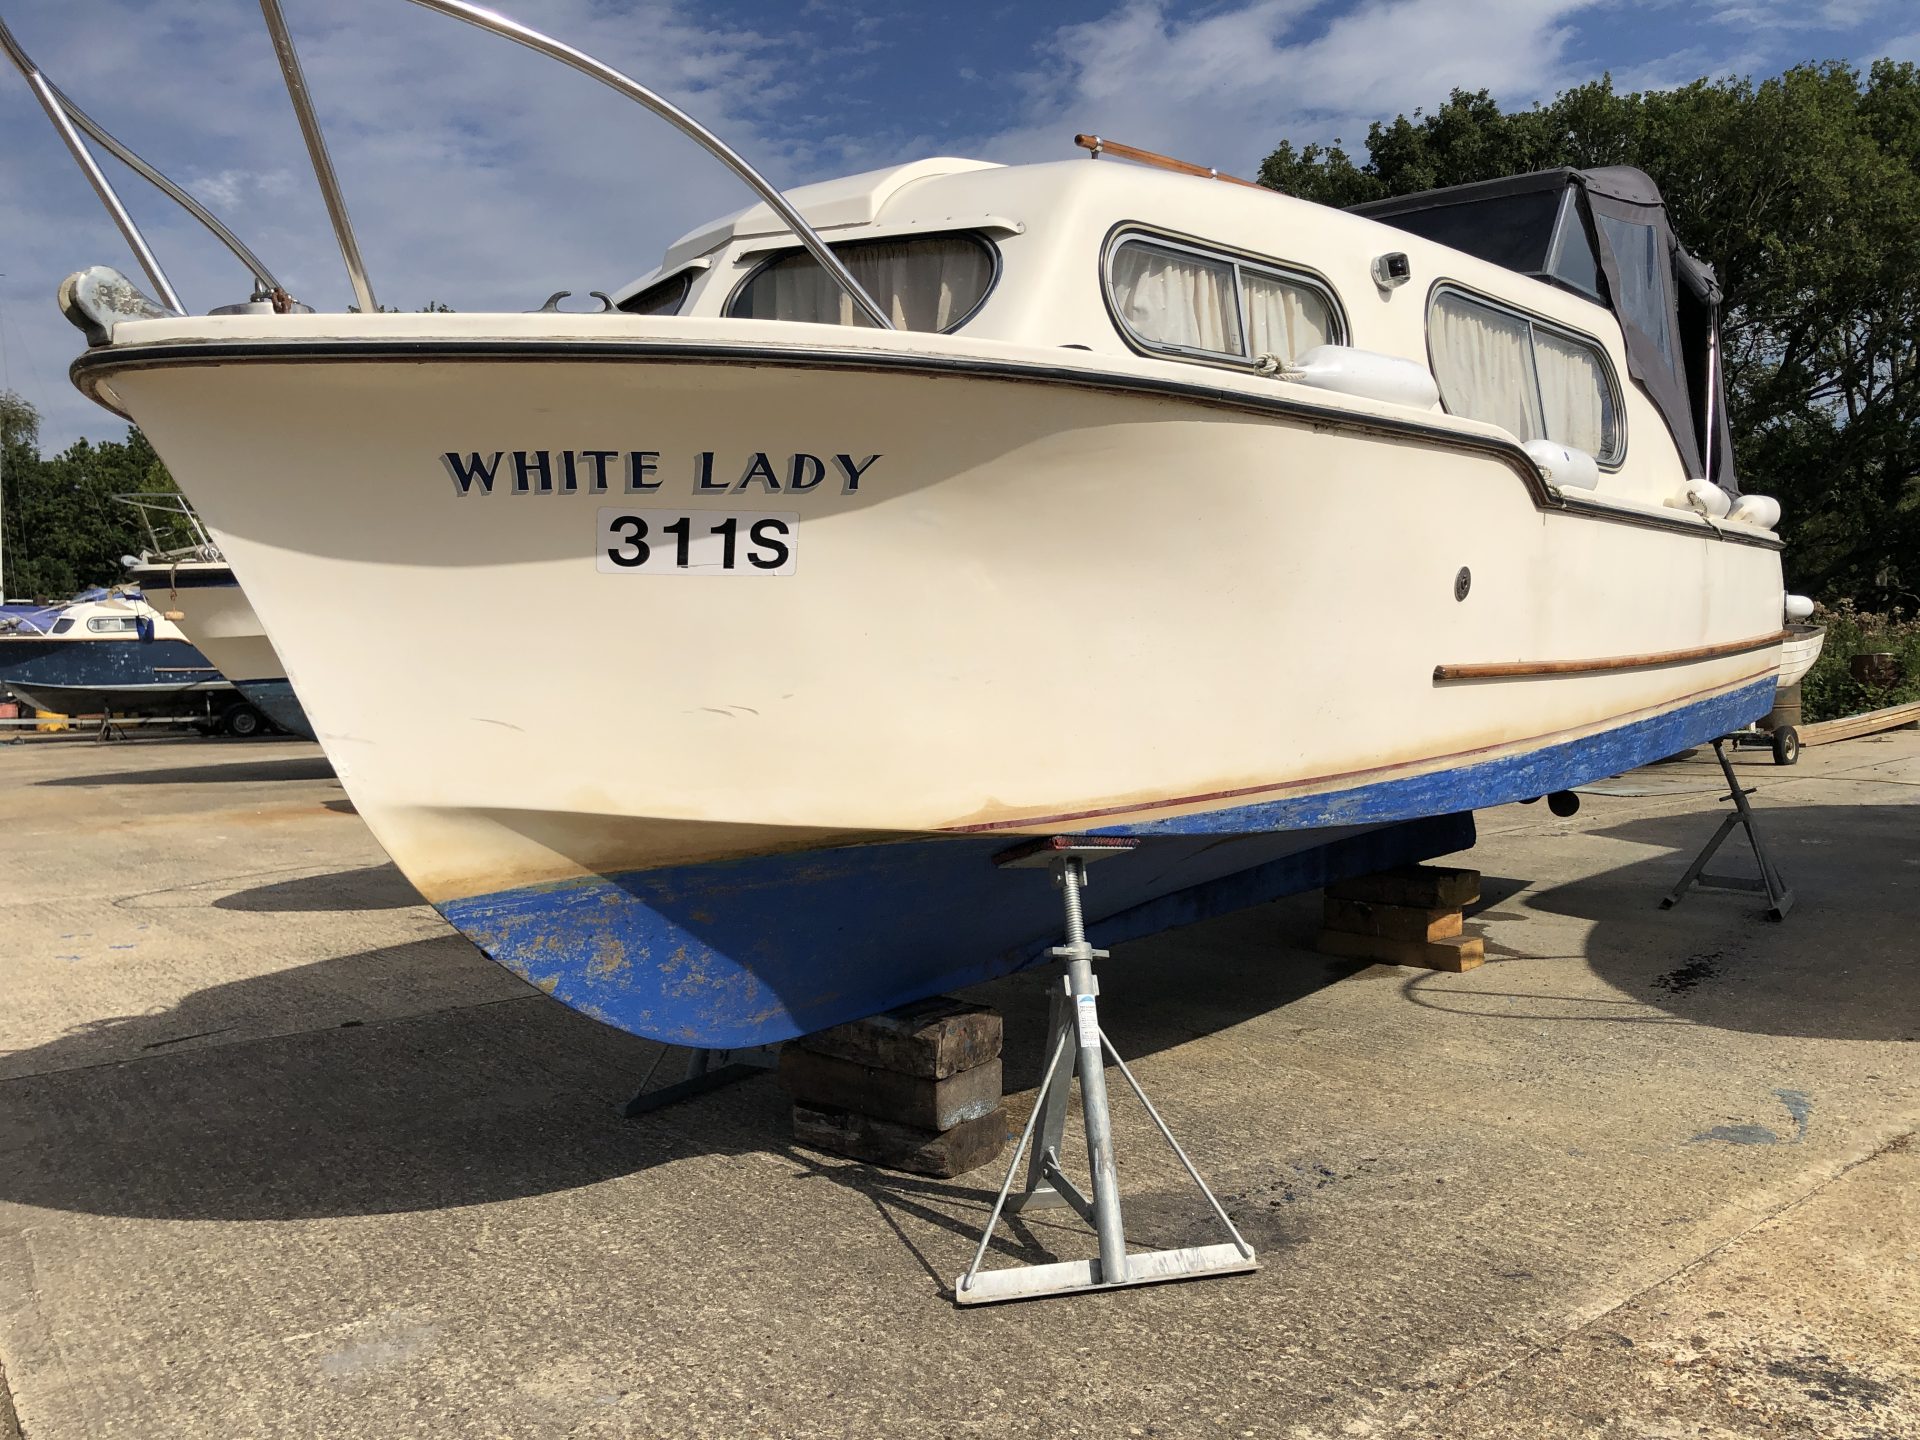
Lift, scrub and antifoul at Wayford Marine
Last time I had ‘Lady’ out of the water was on a modified trailer in the car park where the boat was moored to facilitate extensive osmosis repairs. Since then, the moorings provider has contracted to a ‘recommended’ boatyard which do not allow owners to work on their own boats and the use of the car park for boat maintenance has been forbidden on insurance grounds.
Given that I’m not incompetent, finding somewhere to lift, scrub, hardstand and splash whilst allowing me to conduct the work at a standard I find acceptable was not easy.
Having made many enquiries across the Broads, only two yards in the north seemed prepared to offer the DIY service and I opted for Wayford Marine.
This is an old school yard, with hoist, hardstanding and essential facilities at what I consider a fair price.

Lifting and assesment
Last time I lifted the boat on a trailer to give her a quick pressure wash and antifoul over a weekend ended up being two months out of the water and hard graft grinding out osmosis blisters, filling with epoxy and then eventually antifouling having lost a big part of the season. With this in mind, I wasn’t sure what to expect two years later and my fingers were truly crossed that things were going to go smoothly.
On lifting, inspection revealed that the osmosis treatment was sound. The Hempel Broads antifoul performed poorly in my opinion and would relegate the product to one that cheap boatyards apply to make the boat look good in the face of customers but is actually near useless. To this end I conducted a little more research and concluded that Seajet Shogun (eroding antifouling) had a suitably good reputation to give a go.
It’s normal to have a yellow stained waterline on a boat both in fresh and salt water. This is due to gelcoat actually being porous and is usually caused by pollutants and minerals in the water – like iron, algae, diesel residue, or bacteria. This ‘yellow’ is normally easily cleaned with oxalic acid which is present in hull cleaners and products like Y10. In my case, a crust of hard limescale had formed and Y10 simply wasn’t touching it.
Mark at Wayford Marine advised using ‘Brick and Patio Cleaner’ to remove the waterline yellow and scale. I thought my chandlery supplied yachting products like Y10 would do a decent job, but they failed miserably. The brick cleaner (which is simply a much higher concentration of oxalic acid) worked a treat with the help of careful agitation with a Scotchbrite pad. Thanks for the tip !


 in slings being pressure washed")
 in slings being pressure washed")

")

Getting stuck in
As I didn’t want this job to escalate I set straight to it, making the most of good weather while it lasted. I set four days aside in total and religiously adhered to the schedule as I’d taken time off work to do it and also wanted to be ready for the Salhouse Freeman Meet. Using an appropriate breathing mask and clothing, using an orbital sander with 60 grit paper, I sanded the entire bottom of the hull to remove any biological residue or dried algae which might prevent the antifoul from adhering properly. I was expecting to have to patch prime with underwater primer, but this wasn’t necessary.
I then moved to the waterline, using Sika Brick and Patio cleaner wiped on, left to work for a few minutes and agitated with a Scotch pad. The scale did take some hard scrubbing which matted the gelcoat but as I was going back over the hull sides with an oxidation remover using a mechanical buffer, I knew this wasn’t going to be a problem.
With the waterline clean and the hull sides wiped down with brick cleaner I then used my orbital polisher with foam pad at it’s slowest speed to remove the oxidation from the hull.
The hull oxidation was particularly noticeable when washing the boat in the water with cloudy white run-off around the boat when sponging down in the weeks before.
I used Meguiar’s Oxidation Remover for this, having used it successfully for years. It’s good stuff, but does clog the foam pad and does take some getting used to. Don’t use too much, or too little. It sounds obvious but it’s not an easy balance to strike.
I then followed this up by using my favourite polish/sealer, Starbrite Marine Polish with PTEF. I’ve found this to be the most durable non-ceramic wax/polymer sealers. Applying this also with a fresh foam pad and buffing the hazed dust that’s left behind, the hull looked in good shape.
This gave me an opportunity to add a maintenance coat of varnish the lower hull wooden rubbing strakes using 320 grit paper to take the shine off and provide a good key for an un-thinned coat of Epifanes Clear varnish.
The next day I removed the old 1 ¼” zinc shaft anode which had frankly done bugger all. Norfolk marine didn’t have any aluminium anodes available at the time so fitted zinc as it was likely to be better than nothing but really wasn’t.
I have just discovered Boulters Chandlery in Hoveton and it’s nothing short of excellent. The even had head gasket kits for a pre-crossflow Watermota on the shelf. It’s a chandlery clearly stocked and run by people with real and practical boating and engineering experience and represents possibly the last of the true chandleries I’ve come across in many years.
Boulters came to my rescue with an aluminium anode off the shelf. Whilst tidying up the stern gear I noticed a minor birds nest of fishing line tangled between the P-bracket bearing and prop. Fortunately this hadn’t been drawn up into the bearing which could have destroyed it.
I purchase some prop cleaner as I thought it might save some time and effort, but it didn’t. Another product to add to the box of failed boat chemicals although it did fizz encouragingly at the time. Ultimately a wire brush on a cordless reversible drill did a tidy job (reversing the brush stops it shooting off when catching the corners of the prop blades at a certain angle.
It’s actually dawned on me that a strategically placed shaft anode is a great way of preventing your prop crashing into the rudder if you shaft gearbox coupling comes adrift.
It was now time to mask up for the first of two coats of antifouling. I tend to do this really carefully to prevent waterline creep over the years !
I used black antifoul to compliment the new canopy which is a slate grey rather than the common blue. It’s probably not the case nowadays, but there was a time that dark antifoulings often had more active ingredients as their colour was masked in the paint. Light antifouling had to have less active ingredient as it was visible over time such as going greenish. Each coat would take a full 2.5l tin.
The masking tape was removed almost immediately after painting as overnight moisture can make the tape bond to the hull in most tenacious ways that will invoke language not appreciated in civilised society.
The following day, adhering to the overcoating time instructions, the same process was followed for the second coat of antifoul. Once the second coat had gone off, I was able to very carefully move the boat props having borrowed a fifth prop to act as an intermediary. Having moved all the props I was then able to paint the small pad areas with a further two coats of antifoul and then using whatever remained to use up on the waterline and particularly the transom area.
I now had a little time to kill and had noticed Boulters had some individual self adhesive letters available for the boat registration numbers. Those on White Lady were printed black on a white rectangle of vinyl and wouldn’t have looked great to start with, let alone dog-eared over a decade later. They weren’t straight either.
Fortunately the registration number labels came away from the hull quite easily, leaving minimal sticky residue and what there was could easily be cleaned with acetone. Over the years, UV had penetrated the labels and left a slight yellow shadow of the lettering. This wouldn’t clean or bleach off with acid, acetone or cutting compound. It’s not terribly noticeable and will undoubtedly bleach out naturally. Either way, the new letters are going over the top and that’s that.
Working out the spacing of the individual letters (kerning), I made up a template on my saloon table with masking tape to keep the lettering consistent. With a bit of lateral thinking it was possible to transfer the letters to the hull properly centered and aligned with the boat name having previously cleaned the hull surface with acetone. After the letters were firmly applied, the area was re-polished with Starbrite Marine Polish.
The job was done and was just a matter of waiting to be re-launched.


Nearly missed this peril
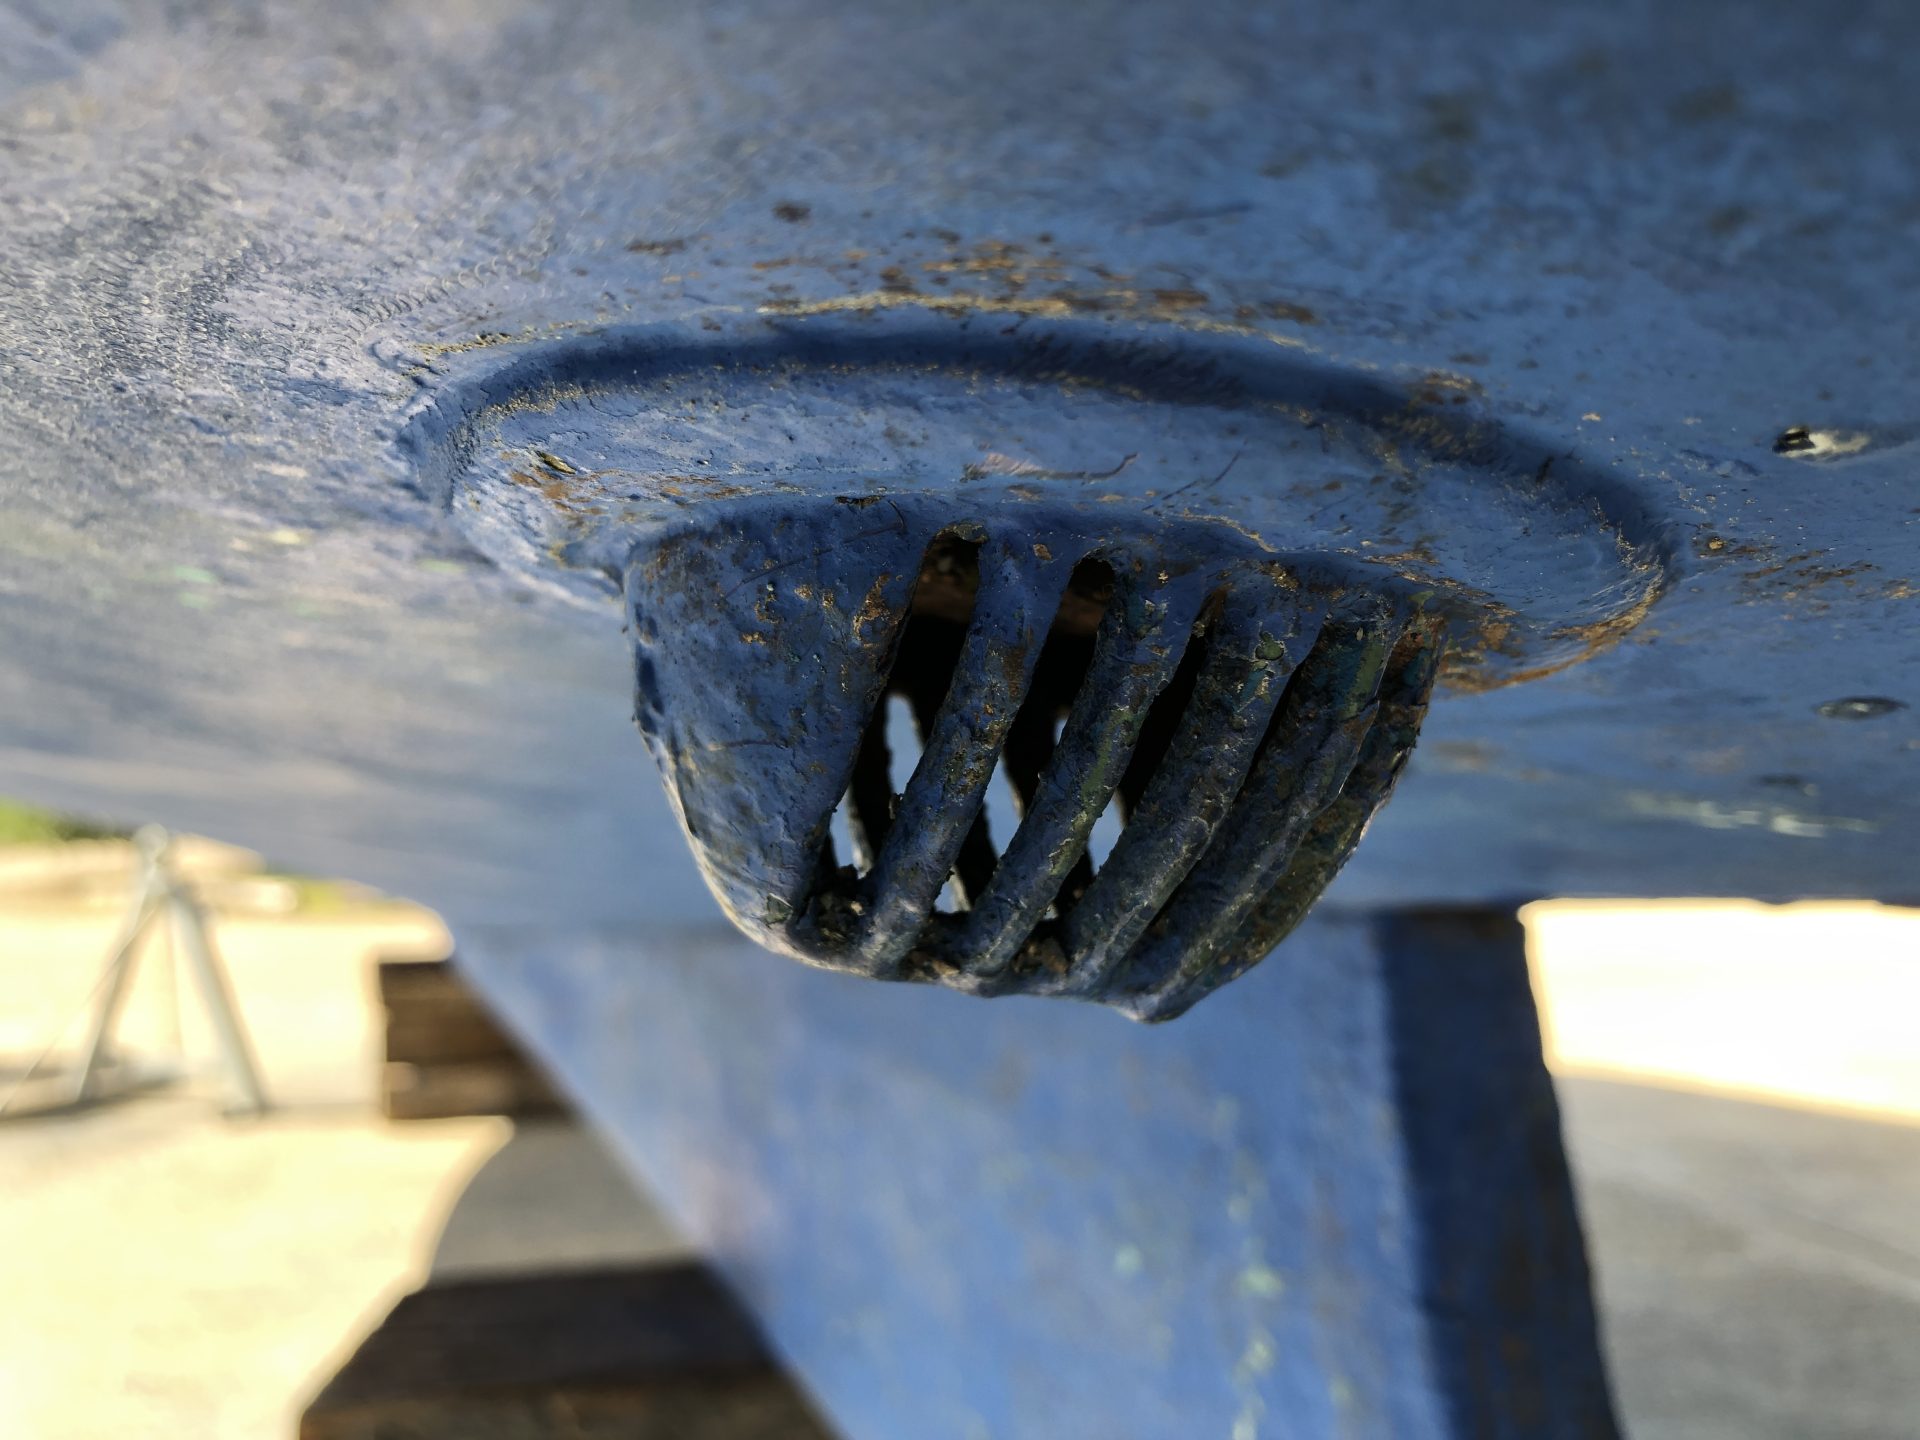
Whilst cleaning up my sterngear, I thought I’d give the raw water inlet strainer a little wire brush just to prevent paint buildup which would restrict water flow. It’s something I only considered as I wasn’t under much time pressure. Under closer inspection, the inside of the strainer was populated by perhaps ten small freshwater mussels which had grown up in captivity and had clearly dodged the previous antifouling. These molluscs had nearly completely blocked the waterflow and there would have been no way to clear them out when afloat, even trying to poke them out though the strainer inside the boat (which would have been a wet experience).
I managed to break the shells and macerate whatever was left using a small allen key between the vanes from under the boat. Wire may have been sufficient but would probably have bent before breaking the shells. Definitely one to be careful of.
Due to logistics, I had to stay on the boat for three nights in the boatyard. Wayford Marine yardsmen were exceptionally careful and diligent when it came to boat movements. The props were in excellent condition and the hardstanding was level and concrete. When I booked the hoist, I did request a ladder and electrical access. Portable boatyard steps with a handrail and platform at the top were made available and really did make a big difference getting on and off the boat. Being easy to move was incredibly convenient rather than lashing some dodgy stepladder to the side of the boat. Mark the yard owner kindly provided a suitably long electrical extension lead and also very kindly offered the use of his workshop’s brick cleaner which saved me several hours of tracking some down for myself.
Yard movements would generally commence around 8:00 and things would settle down around 18:00. I avoided making noise any later than this although I imagine it’s accepted this is a working yard.
Water was available from a nearby tap but I would certainly recommend tasking the yard to pressure wash the bottom rather than do it yourself as their washer is likely more powerful than most domestic ones and you would most likely need to clean up after yourself if doing it on the hardstanding, even if you had a long enough water hose.
The toilet and shower facilitates are ‘agricultural’. Let’s face it, this isn’t a holiday let and I was here to get some dirty work done.
I felt it was important to leave the hardstanding as I found it and made sure all the empty tins, used masking tape, cardboard sheets to lay on etc. were all binned.
What probably helped my positive experience is to go prepared and to avoid stupid or unnecessary questions as I imagine fools are not suffered gladly. The hardstanding is a facility intended for those that can do it themselves.
Groceries were available from either Wroxham (10 minute drive) or Stalham Tescos (5 minute drive) – I mostly went with Tescos as I’m never really sure whether I have to pay to park if going to Roys in Wroxham/Hoveton.
Chandlery supplies are available with ease on weekdays from Boulter’s in Hoveton (only 10 mins drive). Norfolk Marine are also useful at a pinch, but they are expensive and service doesn’t come with a smile.
Prices breakdown
£456 for a lift, hull pressure wash, 4 days hardstanding, electricity and re-launch.
£200 for 2 tins Seajet Shogun Eroding Antifouling (5l in total)
£30’ish for roller trays, roller frame and roller refills, cheap brushes, masking tape
£21 for Megiars Oxidation remover (used less than ¼ of a bottle)
£25 for small bottle of Starbrite Marine Polish with PTEF (used less than ¼ bottle)
£12 for buffing pads
£25 for 1¼” Aluminium shaft anode
£12 for self adhesive registration numbers
Total £781