by chris
Share
The Stripping
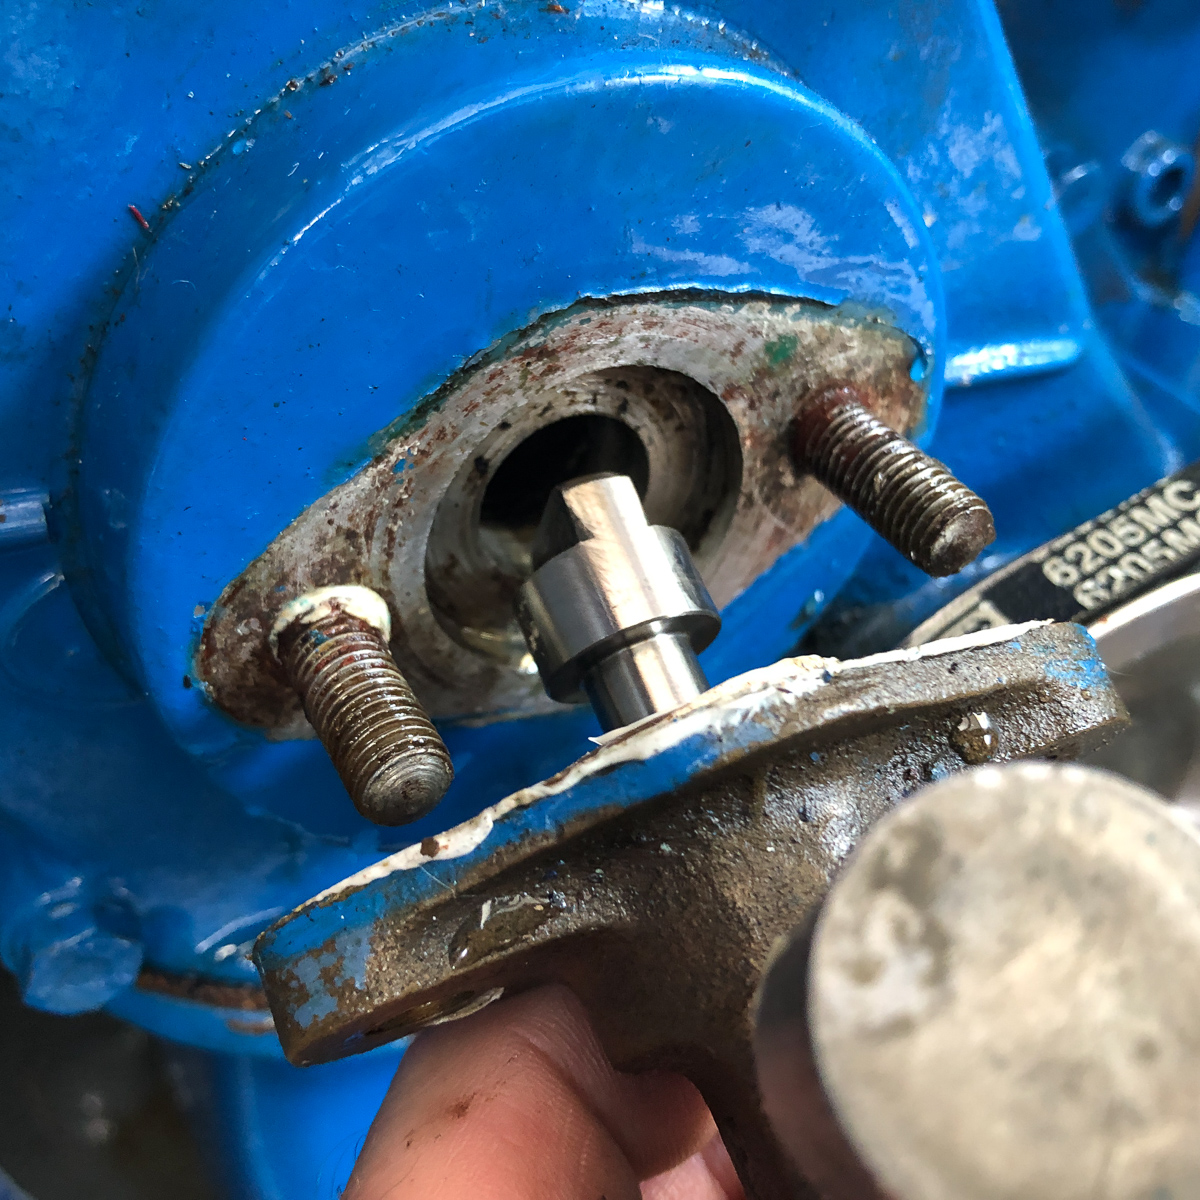
Having spent most of the winter refurbishing the engine on ‘White Lady’, some of the more cosmetic work has become a priority as the season gets going.
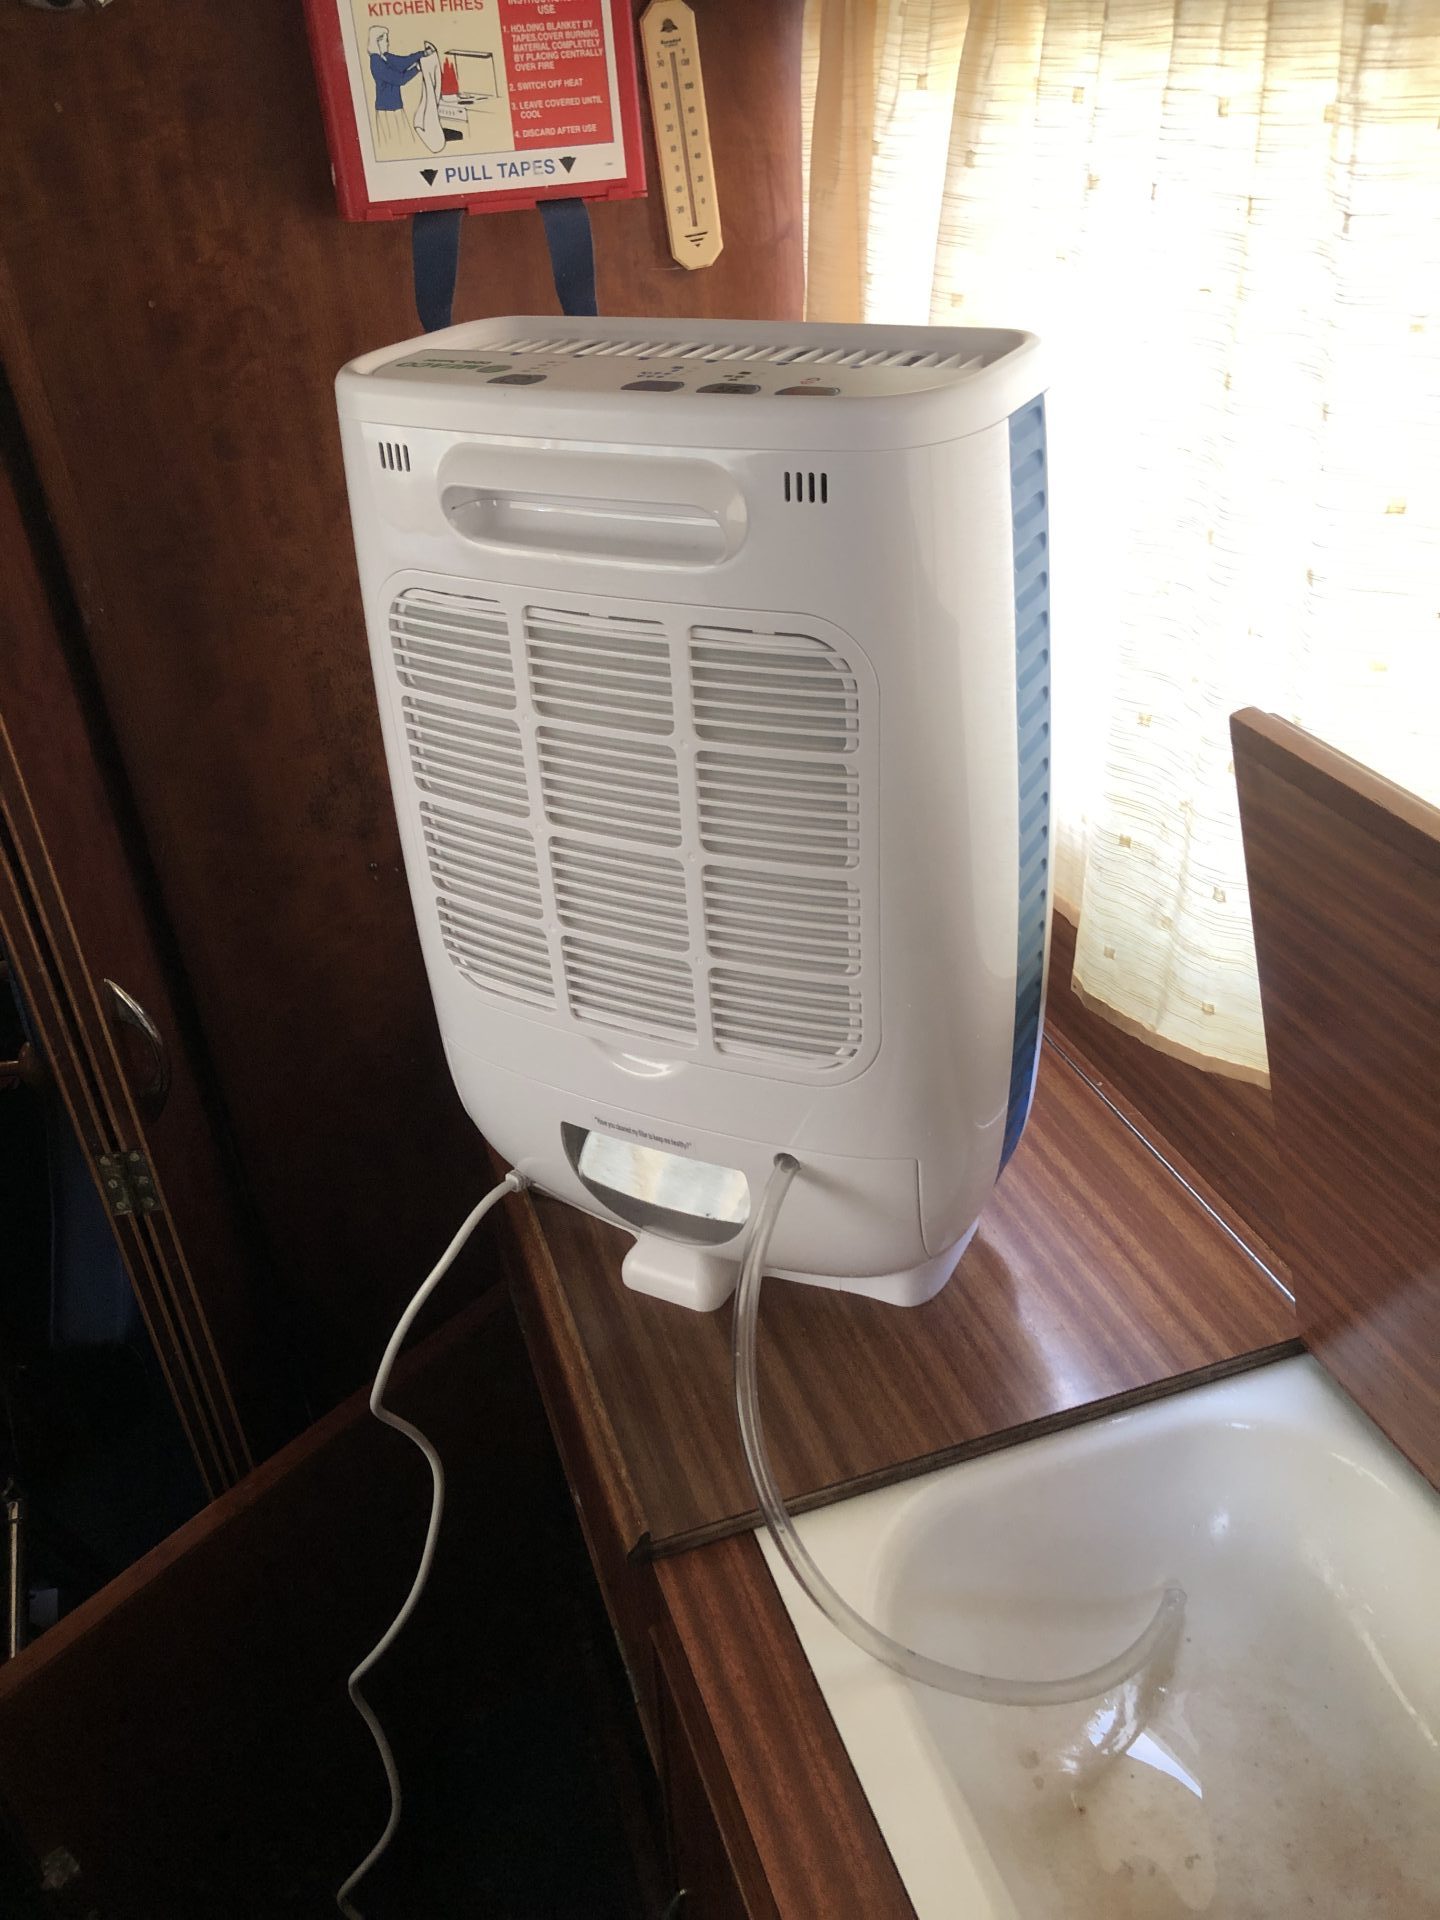
Winter wasn’t kind to the headlining I inherited. Without running a dehumidifier, the poorly painted headlining took on some pretty horrible mildew and although a spirited scrub with mildew remover was effective at bringing things back to white, a bigger problem became apparent with paint flaking and the interior of the boat suffering white dandruff whenever I returned to it.
Clearly the old paint had to be removed and knowing this would be a horrible task, I did a fair bit of research into products which would make life easier. Tools like angle grinders and sanders were quickly eliminated due to dust and the high risk of marking the flow-coated texture of the original.
At this point I did seriously consider the pros and cons of using a carpet solution such as Veltrim. Many Freeman owners consider it a great upgrade and it certainly looks nice if done well. It’s also highly successful at preventing condensation, but here’s the rub… Cleaning it strikes me as being a bit of a nightmare, particularly when spider and mosquito warfare has been waged courtesy of a rolled up magazine. Then there’s potential for dampness and mould around windows which might not be as watertight as one would like. Finally, I still have horrors of linings falling down on salty boats, in particular Westerly Yachts, where the foam backing of the vinyl used breaks down. The result id drooping linings which simply can’t be glued back into place. Of course 4-way carpet is a different product but the thought of it falling down at some time in the future gives me an evo-stick hangover just thinking about it.
So I decided to go with paint which I could easily wipe down and keep clean. This also has a bearing on preparation. As the prepared surface will be visible through the paint.


")


Clearly a GRP-safe paint stripper was the way to go. I’ve always found CT-1 products to be effective so initially tried out their ‘safe’ aerosol paint stripper called Peel Tec. There’s no doubt the product works and that you can get it on your hands without immediate chemical burns. At around £13 per can, I found myself going through 5 cans to strip the forecabin, so it felt like a bit of a commitment.
Peel-tec certainly worked, but it was messy by the nature of getting overspray (which messed up my varnished bulkeads) which would need thorough masking. As the headlining was originally a flow-coat over raw fibreglass, the surface is not smooth, so Peel Tec required a couple of applications along with a fair bit of scrubbing with a wire brush. In fact I had to scrub so hard that the glass strands of the layup started to appear through the flowcoat and I had to use a dust mask so as not to inhale the glass dust. I’d say it was a 5 out of 10 but the biggest problem is that although the fumes are nothing like the old Nitromors days, they sneak up on you and the day after stripping the forecabin I was completely floored by what felt like the worst hangover I’ve had in years ! In fact it lasted two days and motivated me to try another product that promised less mess and less fumes (hidden or otherwise).
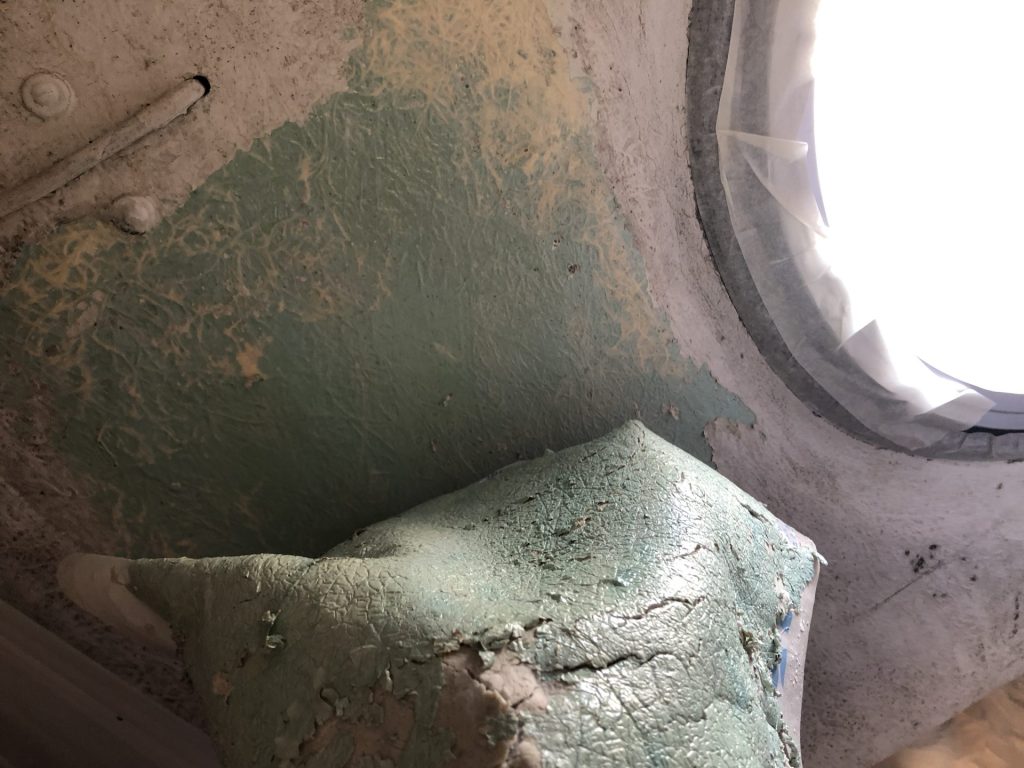
Peelaway Marine Antifouling Stripper looked promising. It claimed to work on most paints in addition to antifoul so decided to try a tester pot. This stuff isn’t cheap with a 4kg pack setting me back over £80. The idea is that the stripper is a paste which you apply to the surface and then cover with provided plastic sheeting to prevent the product from drying out too quickly before it gets to do the business. The tester pot is intended to allow you to work out how thick to apply it and for how long (dwell time) for it to work. You then peel back the plastic sheet whilst scraping gently at the softened paint and it should adhere to the sheet. On a test patch, this worked fine, but on a bigger area in a confined space this was never going to work. Having tested successfully, my dwell time was between 3-4 hours with about a 1mm covering of the paste.
It’s not that easy trowelling on the paste in small awkward lockers and then covering with the carrier plastic but it was do-able. The paint came away nicely using the same scraper I used to apply the product with but in the end I had to pull away the carrier sheet, put on some heavy duty latex gloves and scrape the old paint onto a dust sheet and into a kitchen bowl I had handy. Messy for sure, but much less messy than Peel Tec.
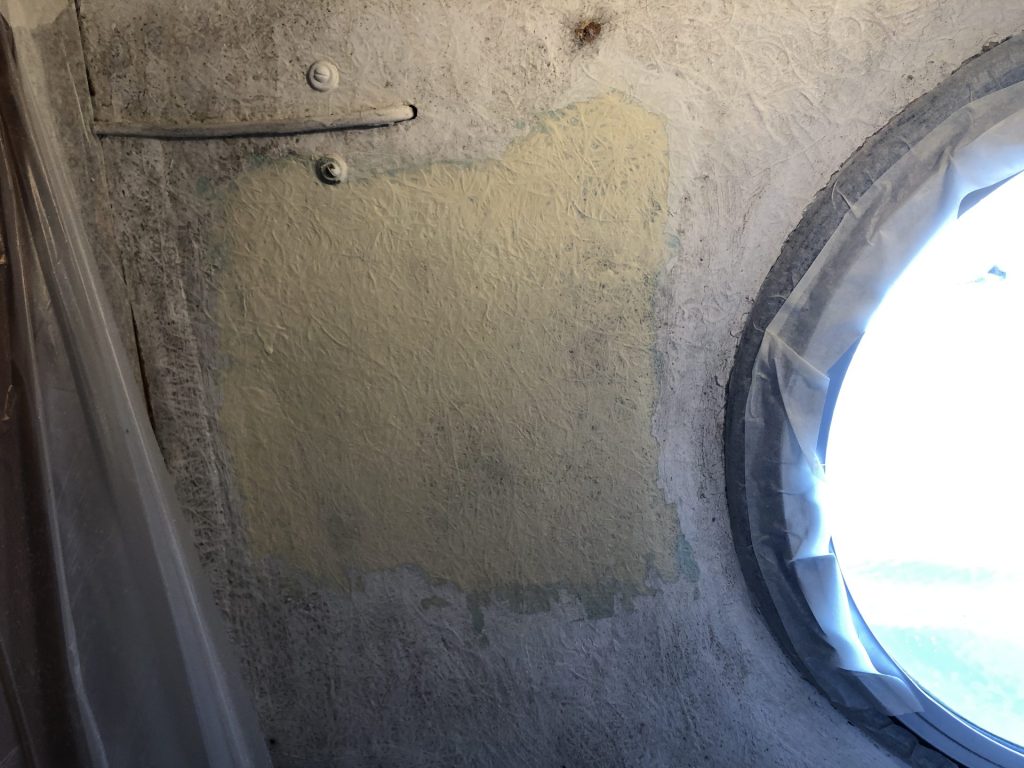
Having scraped the surface, so remaining paint and poultice residue had to be removed by wire brush, but it came away fairly easily. This was then followed up by a sponging down with water just to stop any remaining residue continuing to react with the GRP.
I managed to strip about 1/3rd of the boat’s headlining with a 4kg tub, so I would say a 10kg tub would be just enough to do a full job. I’d already stripped the forcabin with Peel Tec. So I ran out of Peelaway ! To finish the job I need another bucket of the stuff and the wallet has to take another hit but the product is genuinely good.
The Painting

For the topcoat I could have gone with a satin single part paint but having gone to so much trouble already, I opted for a premium satin Polyurethane Topcoat in ‘Pearl White’. The product is called SML Lustre. I painted into the very well and deeply masked corners with a brush and then rollered to give a consistent texture. In fact it went on really nicely and gave me good coverage without brush marks. I did have a bit of a panic having only bought 1 litre and it really did look like I was going to run out but kept on going regardless. If I had one tablespoon less of the paint I’d have come up short but thankfully the quantity was bang on.
The finished job
I’m very happy with the finished outcome, although the satin polyurethane finish came up a bit glossier than hoped for the actual result is pretty good.