by chris
Share
Last autumn (2023) I noticed a small oily water leak from what appeared to be my water pump. It was by no means severe and something I put off till the start of the season. In my mind I’d built it up to be something potentially difficult, given I had no idea how it would all come apart. I needn’t have worried as it was one of the easier things I’ve done to my engine (A pre-crossflow).
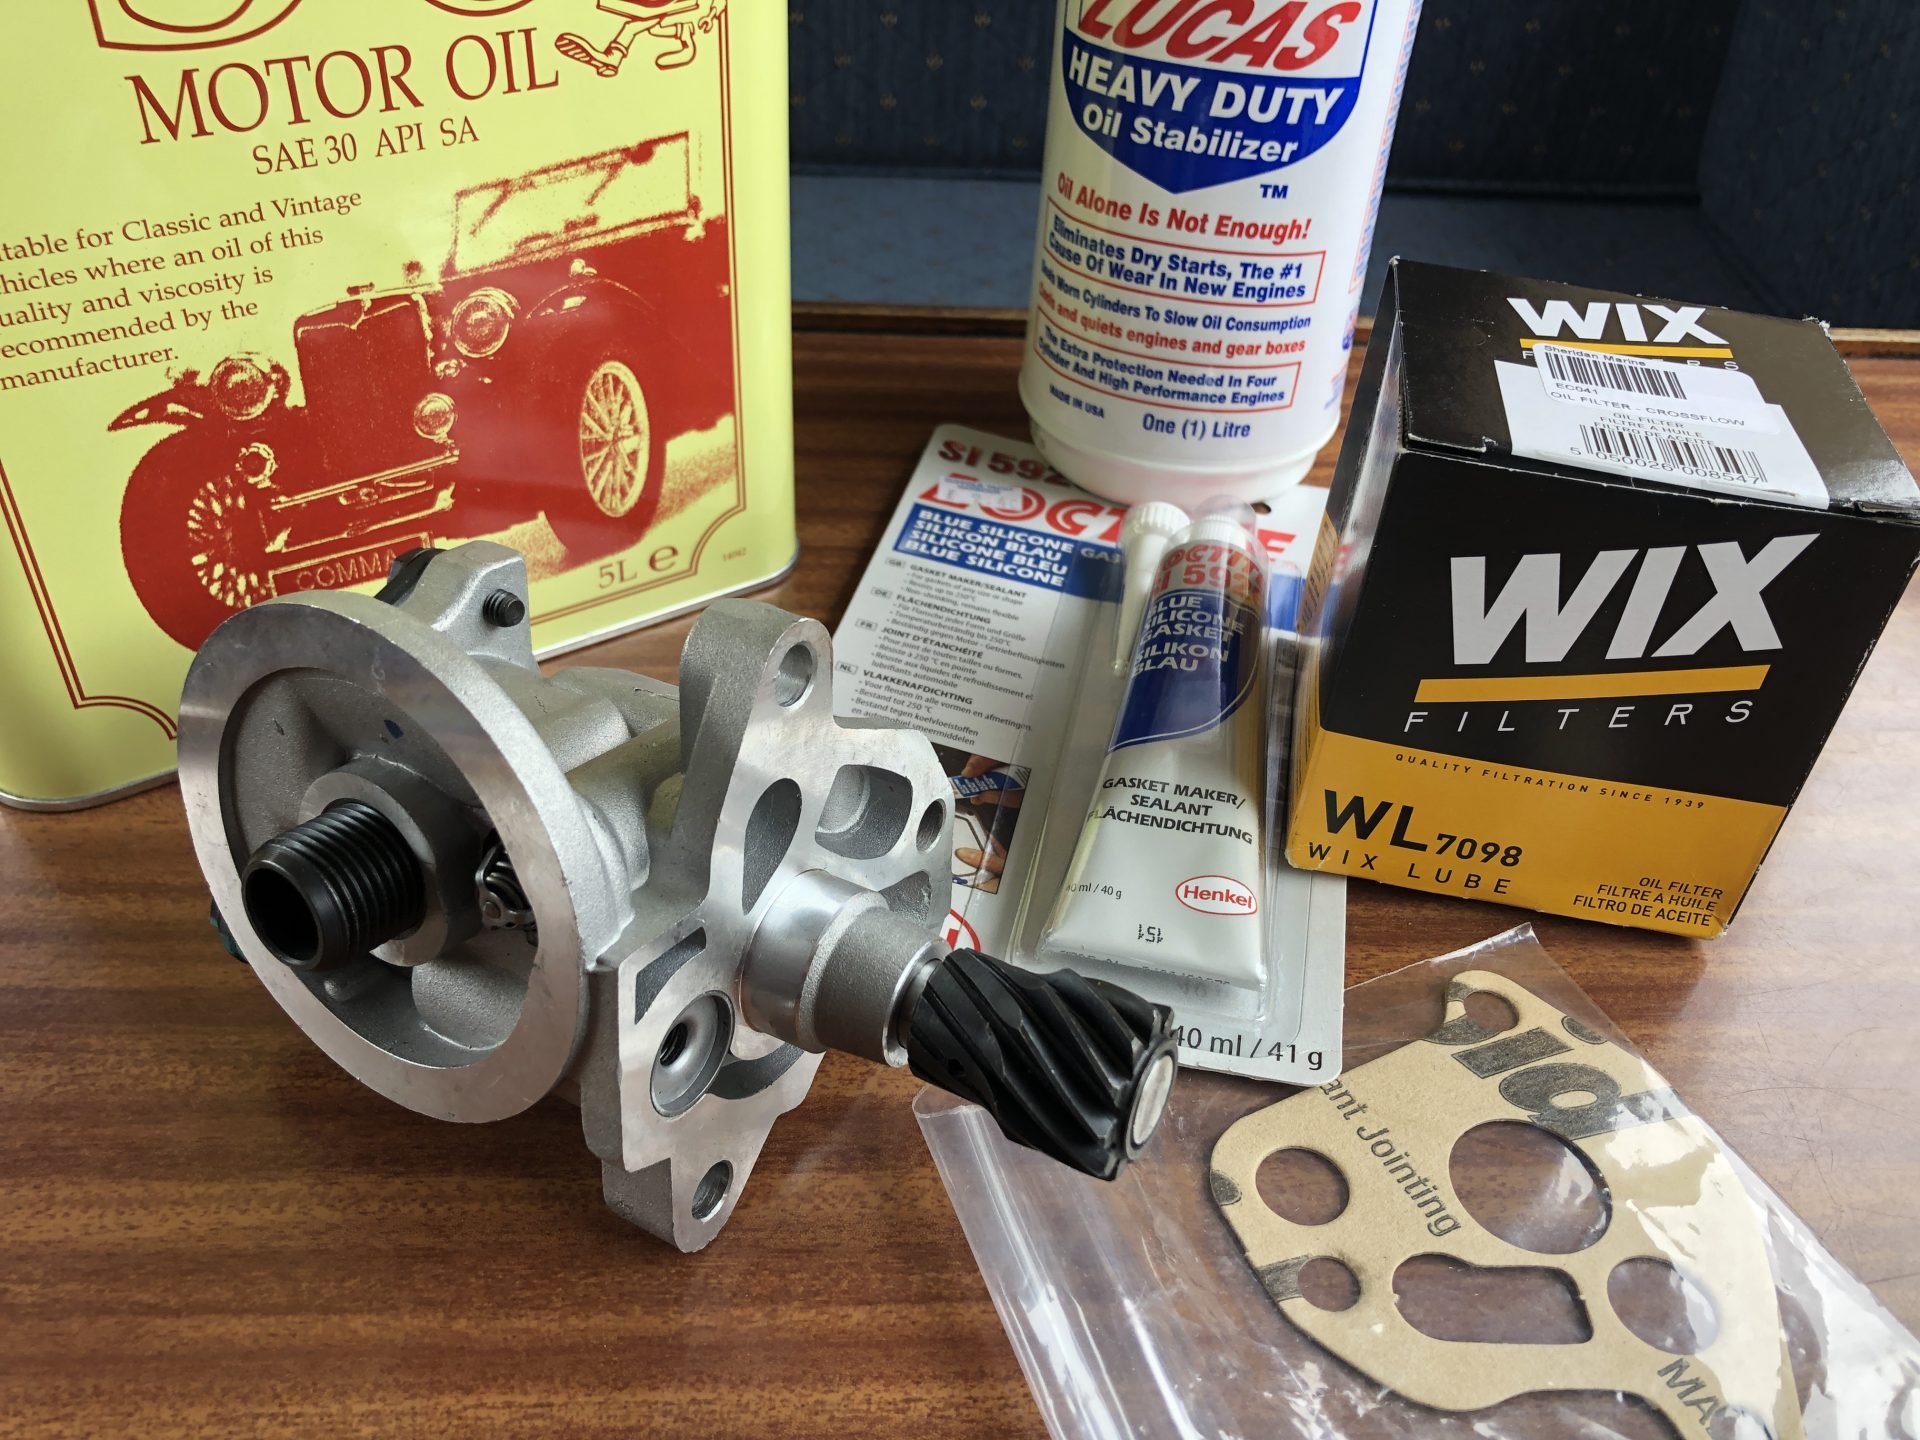
For reference, my pump is a Jabsco 9430 which has a grease cap on top. It’s my understanding that these originals are no longer available but can be replaced with a slightly different pump which doesn’t have a greaser. Service parts were however available for my original pump which comprised of two shaft seals, an O-ring which sits between them, a replacement impeller, pump faceplate gasket and replacement slotted screws for the faceplate. The shaft is available seperately.
The steps I took, not knowing what to expect are shown in the gallery below with captions however I’ll try and desrcibe it. The pump is fixed to the front of the engine with two brass or bronze nuts with spring washers behind them to studs located in the block. On my engine there didn’t seem to be a gasket however some kind of silicone had been used. I detached the water in and outlet hoses. The inlet was onto a barb type hose fitting and the pressure side used copper pipe with an olive type compression fitting. having removed the two nuts, the entire pump pulled away from the engine block easily revealling the end of the pump shaft with a slot type keyway. If only replacing the pump shaft seals, you could just pull the shaft out with ease (no pullers etc. required). I decided prior to realising this to remove the pump faceplate with the 6 fairly chewed slotted screws. The faceplate seperated easily and the impeller pulled out with little effort. The pump shaft also pulled through easily (You can see how the forked shaft slots into the impellor to drive it). It you’re replacing the impeller, and why wouldn’t you, it’s probably worth noting which way the blades are bent for when you re-assemble. I’m sure the impellor would sort it’s self out on it’s own, but I’m sure there’s no harm in helping it along on re-assembly.
The old pump shaft seals are a little reluctant to come out but i levered them out with a reasonably robust screwdriver taking care not to gouge or dent the pump body. It was then just a matter of cleaning everything up (externally with a small wire brush) and re-assembling. The most important part was to follow the little image supplied with the service kit. It tells you which way round to inset the seals and to place an O-ring between those seals. I think the idea is that if the water side seal fails, water will drip from a limber hole in the pump body. Conversely the same would be true of the oil seal but this time dripping oil. Without the o-ring in place, this limber hole could be blocked.
I inserted a new impeller although the old one looked fine, lightly greased the impeller faceplate gasket having checked the faceplate wasn’t too worn. If your faceplate is a bit scored and worn, you can carefully flat it down using wet and dry abrasive paper on a very flat surface, or you could just flip the faceplate over (but then lose the part number and etchings) or buy a replacement which was still available last time I checked.
Once the pump was re-assembled, I used a water pump and thermostat housing gasket maker following the instructions when re-fitting. It is quite important to just do the fitting up to finger tight, then letting the gasket maker/sealant cure for around an hour before biting down on it. If you don’t, the silicone will just expel out the sides and achieve nothing (which is what most people do wrong when using silicone to bed anything in !)
Once I’d re-fitted the pump, it was just a matter of nipping up the (new) screws holding the faceplate in an opposite rotation, which means gently tighten one screw and then the one opposite, proceeding backwards and forwards in rotation. This gives you even tension across the plate and prevents distortion.
Then it was just a matter for re-connecting the water inlet and outlet pipes, run some fresh water pump grease through the greaser and then running up the engine to check for leaks.
It was a surprisingly easy job given that the pump isn’t driven by the alternator belt like many cars.


 side with the shaft seals removed")


 fitted. Note the orientation")


")